Ribbon-Covered Alligator Hair Clips {Tutorial}
These are so fun and simple to make! My daughters helped me make them, and we had a fun time together. They don’t look like something you’d get from a boutique, but the memories of making them together are far more valuable than any we could have purchased!
Here are the supplies you’ll need:

1. A glue gun and glue sticks (my preferred method)
2. Fray Check to keep the ribbon ends from fraying OR a lighter to heat seal the ends, which keeps the ribbon from fraying. I prefer to use the lighter method. You just need to slightly pass the ribbon edge near to the flame, and you can actually see it melt together. If you are uncomfortable doing this, just use some Fray Check.
3. Fabric Glue (you can either use the glue gun or the fabric glue–we’ve used both and they both work fine, although the glue gun bonds things together faster and it seems stronger to me.)
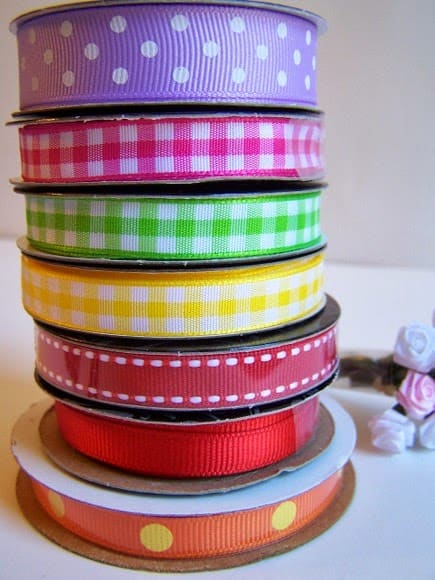
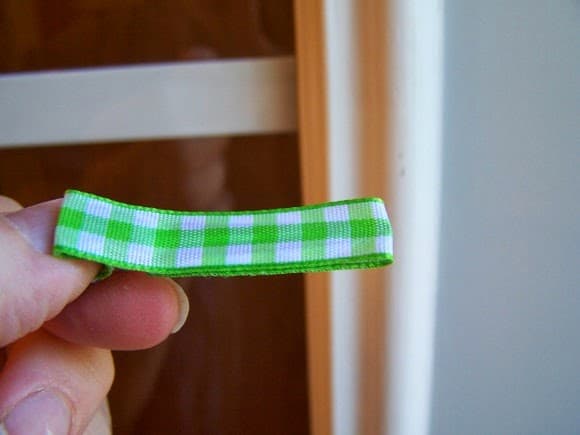
4. 3/8″ wide grosgrain ribbon:
5. Any embellishments you want to glue to the top of the hair clip. We used buttons, rosettes, and some little “treasures” we found in my sewing stash.
6. Standard-sized alligator clips.
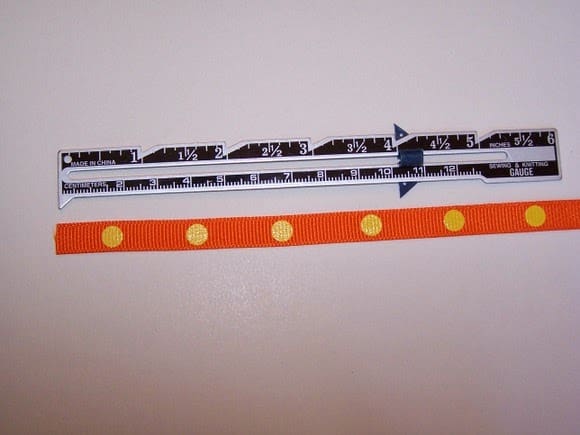
7. A ruler or measuring tape.
8. Sharp scissors.
Instructions:
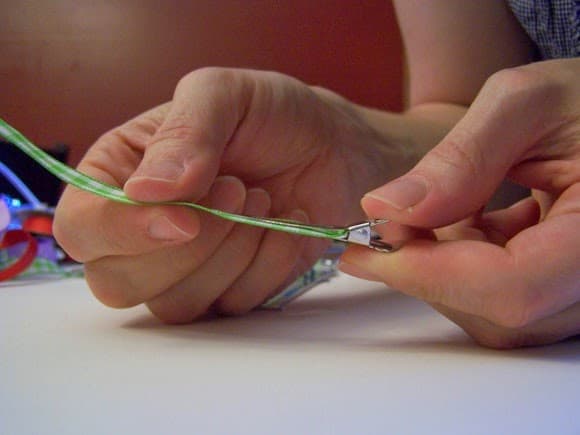
1. Measure about a 4″ piece of ribbon and cut. Pass the ends near a lighter flame or seal with Fray Check.
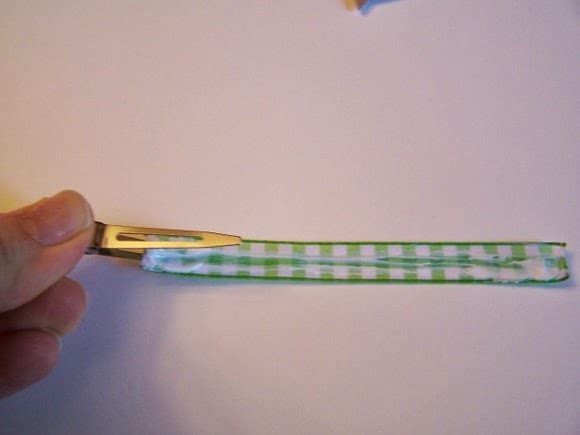
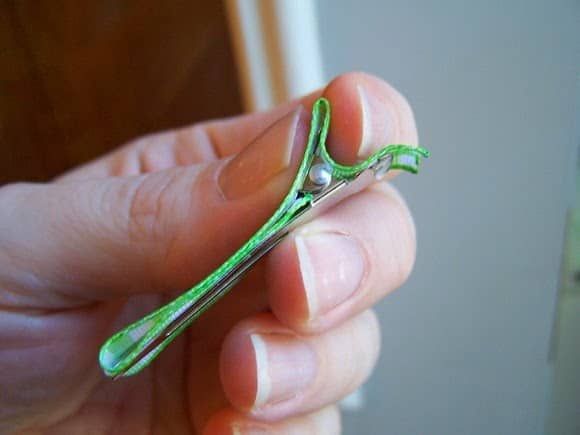
2. Apply glue to the underside of the top of the alligator clip.
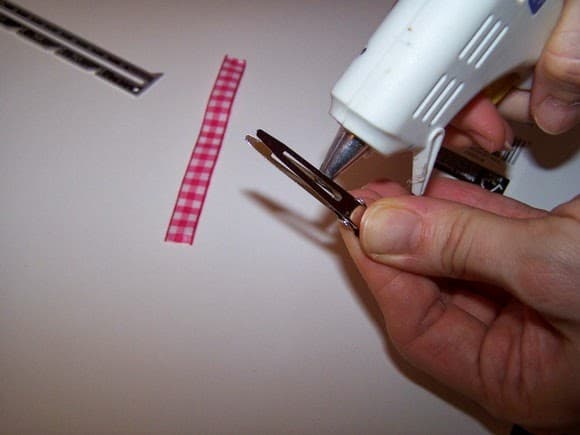
3. Open the alligator clip and close it on the ribbon, making sure it is centered. The ribbon should be in the closed “mouth” of the alligator clip. 🙂
4. With the clip still closed, apply glue to the top of the clip, including the “handle,” where my thumb is in the photo. Also add glue to the bottom side of the handle.
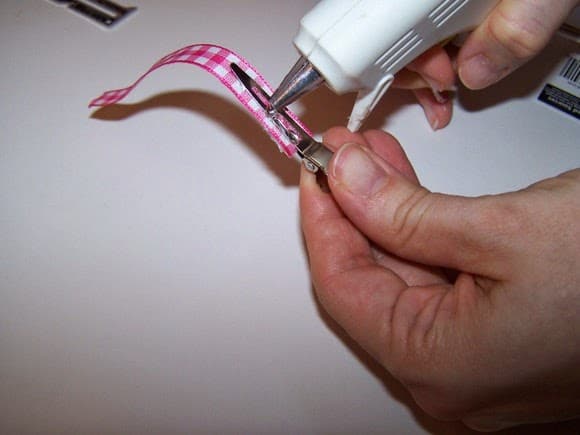
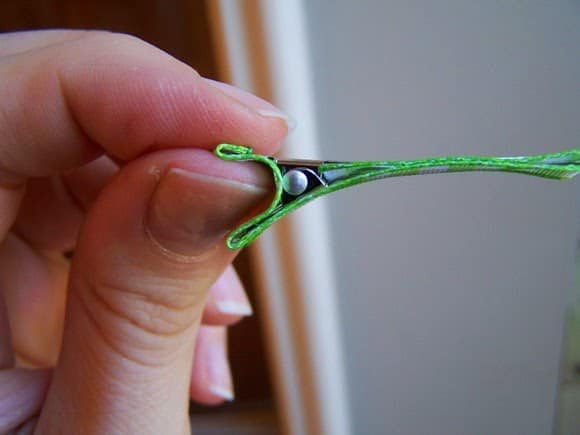
5. Fold the ribbon over the top of the clip, over the handle part, and around to the back.
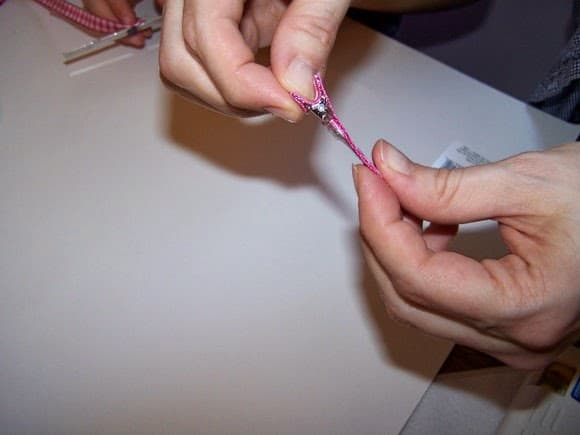
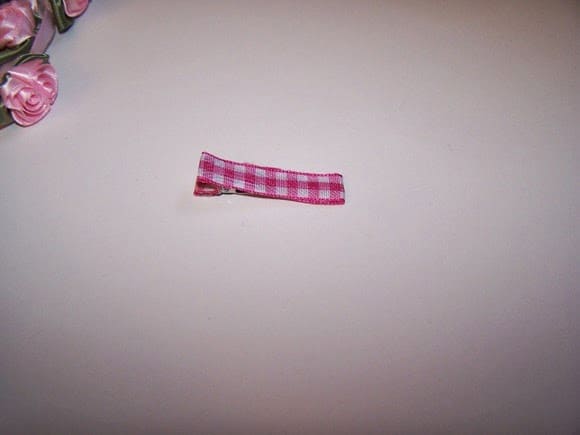
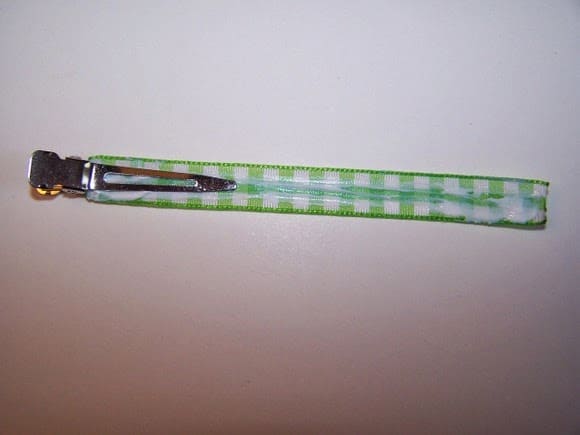
And that’s all there is to it! Now just let the glue dry.
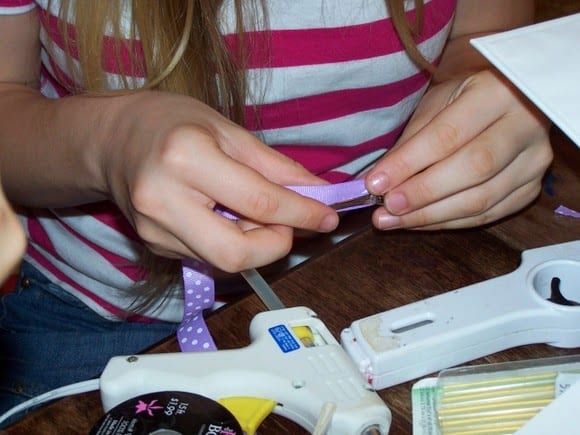
My daughters thought this was so fun.
If you decided to use fabric glue, the steps would be basically the same, but we took photos of both just to illustrate.
When using the fabric glue, we just lay the ribbon down on a flat surface and cover the ribbon with glue. Just spread it over the whole 4″ piece of ribbon (if there is a right and wrong side, you’d want to put the glue on the wrong side).

Then you’d open the alligator clip and close it on the piece of ribbon, glue side up, making sure the ribbon is centered.
Fold the ribbon up and over the top of the clip, pressing with your fingers as you go.

Press the ribbon into the handle area and over to the back.
Fold the ribbon over to the back and press with your fingers.
Done!
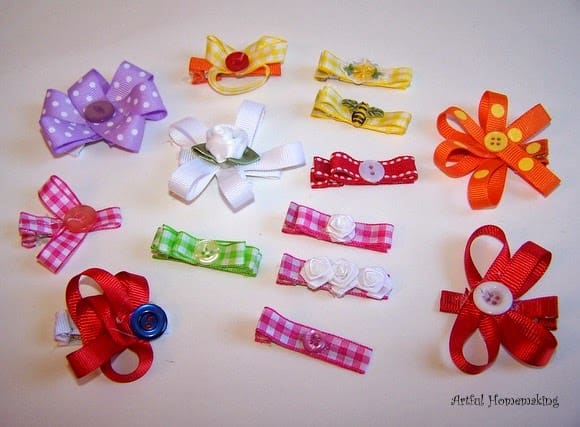
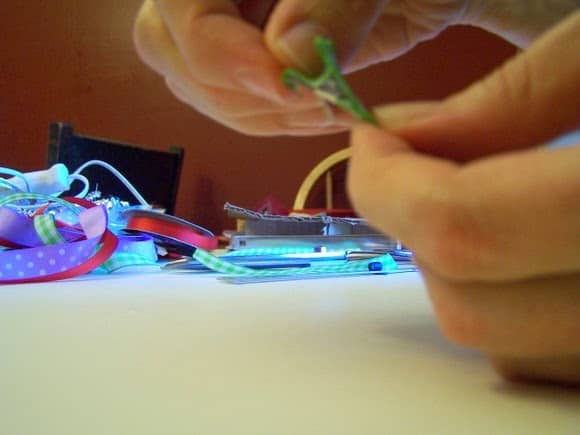
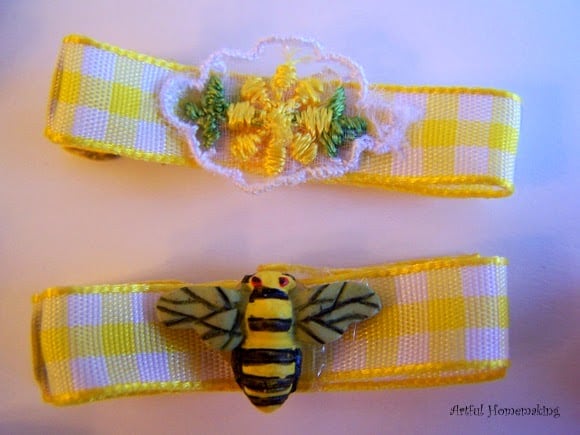
The best part is adding the embellishments. We used old buttons, rosettes, and more ribbon for the top.
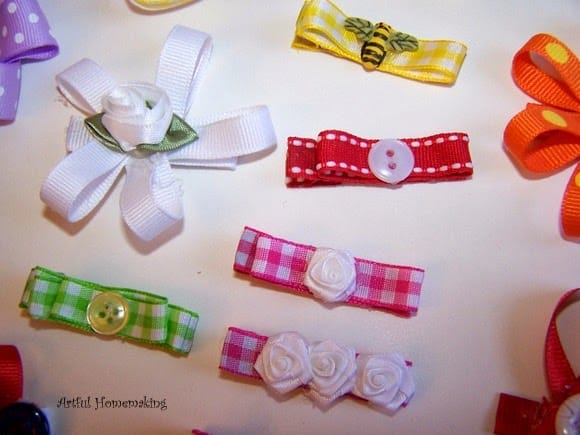
The top clip in this photo is decorated with a little lace and embroidery applique thing that came off of a doll’s dress years ago. The little bee figure was on a purchased hair accessory when my oldest daughter was just a toddler, and when it fell off I saved it.
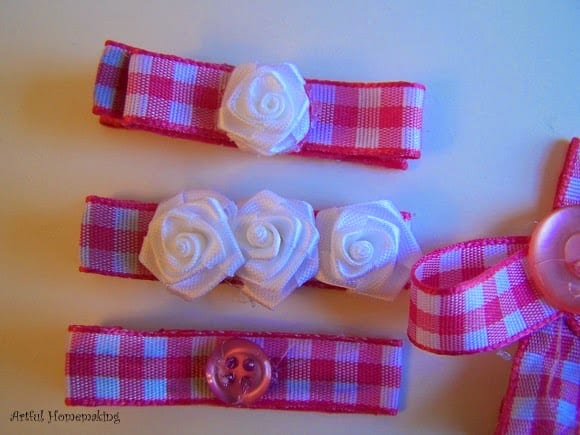
All of our completed hair clips!
Have fun making these! If you do make some, be sure and let me know, as I’d love to see them!
My daughter would love to do this. She's a girly girl. 🙂
Brooke~
This is a great project for girls!
Hi Grace Mae!
Thanks for visiting me here! If you do end up making some I'd love to see them!
Hi Miss Joy~
I love these hair bows.
I'm going to try and make some.
Thanks for the idea.
Bows are so fun! The girls really liked making them, too. 🙂
What pretty bows!! My youngest loves wearing pretty hairbows in her hair. 🙂
Thank you, Jenna!
These are SO cute! I pinned on Pinterest, too! Can't wait to try this.
Angie~
Thank you!
Julie~
Thanks!
Jacinda~
Welcome! Thanks for following, and I'll be sure to visit your blog when I get a chance! 🙂 And happy birthday to your little daughter–our youngest child will be 2 in a couple of weeks–such a fun age!
Sarah~
I'm so glad you came to visit me here! I think these are so fun to make, and they're really simple. There are so many options for decorating them, and that makes it even more fun. 🙂
I love your new blog, Joy! It is simply lovely! I so enjoyed my visit here this morning and I look forward to future posts from you. This tutorial that you gave here was nice, and I think I'll have to try to make some of these sometime. The ones that you made are beautiful!
Just discovered your blog and I love it! Definitely following!
It's my daughter's 2nd birthday today…I think I may whip her up some of these! Thanks for the tutorial!
cute!
Super duper cute! Thanks so much for sharing a great tutorial. I pinned it on Pinterest. 🙂