Coconutty Granola {Soaked}
We are huge fans of granola at our house! So, several years ago, when I found out about the benefits of soaking grains, I was sad to think that we would have to give up granola.
Since I had read that regular granola was not very easily digested, and I didn’t have a recipe for soaked granola, I thought we’d have to give up this breakfast staple.
I occasionally continued making our usual granola recipe, but we weren’t able to enjoy it as often as we had previously. But then I found this recipe for coconut soaked granola, and I’m so happy to be able to enjoy granola again!
{Affiliate links included below}
Coconutty Granola {Soaked}
Soaked granola recipe
Ingredients
- 3 cups rolled oats
- 1/4 cup whole wheat or buckwheat flour
- 1 Tablespoon whey + warm water to make 1 cup you can substitute lemon juice or yogurt for the whey
- 1/4 cup + 2 Tablespoons melted unrefined coconut oil
- 1/4 cup honey
- 1 teaspoon vanilla
- 1 teaspoon cinnamon
- 1/2 cup coconut I used coconut chips
- 1/2 cup chopped nuts
- 1/2 cup sunflower seeds
Instructions
- First, you're going to soak the oats overnight. In a large bowl, combine the oats and flour. Add the whey (or yogurt or lemon juice) to a glass measuring cup, and then add warm water to make one cup. Mix the whey/water into the oats, and stir well. Cover, and allow to sit at room temperature for 12-24 hours.
- When you're ready to make the granola, melt or soften the coconut oil in a saucepan.
- Add the honey and vanilla and whisk together well. You can also add up to a few tablespoons of water if it seems to need it (mine didn't).
- Add cinnamon, coconut, chopped nuts, and sunflower seeds to the soaked oats.
- Pour the liquid coconut oil/honey mixture over the granola and mix well (I found that a fork works really well for this step, but you can also use a couple of butter knives to make the clumps smaller).
- Spread the granola on a rimmed cookie sheet greased with coconut oil (or butter). Make sure to spread it as thinly as possible.
- Bake in a 250 degree oven for 2 1/2 to 3 hours, flipping about halfway through. Then turn the oven off and leave the granola inside to finish drying (this will take several hours or you can just leave it overnight). I baked my granola for about 2 1/2 hours and then turned the oven off. I left it in the oven to dry for several hours, and it was nice and crispy when I was ready to remove it. ***If you have a dehydrator, spread the granola on your dehydrator trays and dehydrate at 135 degrees for 12-24 hours or until crisp.***
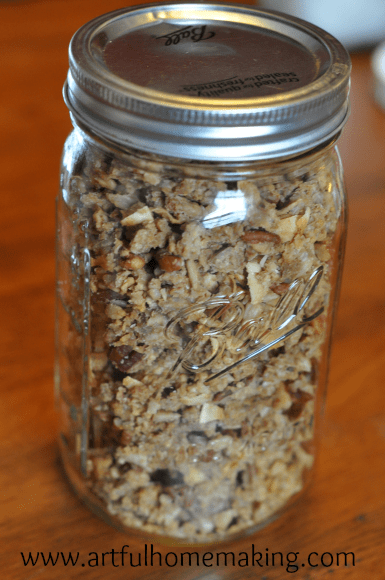
- Store in airtight containers (Mason jars work great and look pretty!) at room temperature. You can also store this in the refrigerator or freezer for longer-term storage.
Ingredients:
- 3 cups rolled oats
- 1/4 cup whole wheat or buckwheat flour (Learn how to make your own flour at home)
- 1 Tablespoon whey + warm water to make 1 cup (you can substitute lemon juice or yogurt for the whey)
- 1/4 cup + 2 Tablespoons melted unrefined coconut oil
- 1/4 cup honey
- 1 teaspoon vanilla
- 1 teaspoon cinnamon
- 1/2 cup coconut (I used coconut chips)
- 1/2 cup chopped nuts
- 1/2 cup sunflower seeds
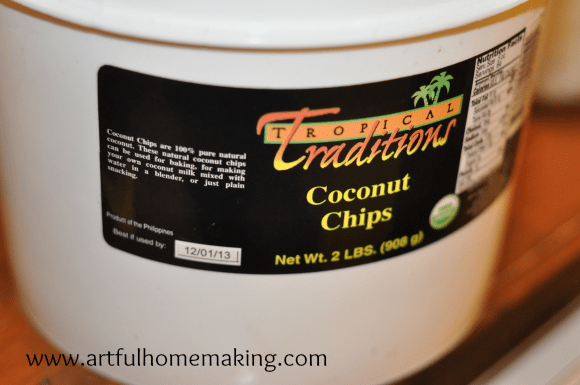
I like to use these large coconut chips from Tropical Traditions.
How to Make Coconut Soaked Granola:
- First, you’re going to soak the oats overnight. In a large bowl, combine the oats and flour. Add the whey (or yogurt or lemon juice) to a glass measuring cup, and then add warm water to make one cup. Mix the whey/water into the oats, and stir well. Cover, and allow to sit at room temperature for 12-24 hours.
- When you’re ready to make the granola, melt or soften the coconut oil in a saucepan. Add the honey and vanilla and whisk together well. You can also add up to a few tablespoons of water if it seems to need it (mine didn’t).
- Add cinnamon, coconut, chopped nuts, and sunflower seeds to the soaked oats.
- Pour the liquid coconut oil/honey mixture over the granola and mix well (I found that a fork works really well for this step, but you can also use a couple of butter knives to make the clumps smaller).
- Spread the granola on a rimmed cookie sheet greased with coconut oil (or butter). Make sure to spread it as thinly as possible.
- Bake in a 250 degree oven for 2 1/2 to 3 hours, flipping about halfway through. Then turn the oven off and leave the granola inside to finish drying (this will take several hours or you can just leave it overnight). I baked my granola for about 2 1/2 hours and then turned the oven off. I left it in the oven to dry for several hours, and it was nice and crispy when I was ready to remove it. ***If you have a dehydrator, spread the granola on your dehydrator trays and dehydrate at 135 degrees for 12-24 hours or until crisp.***
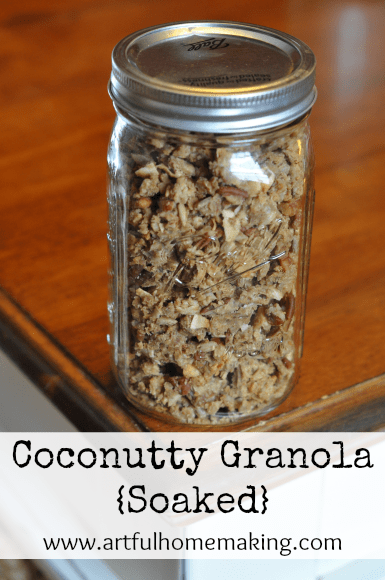
- Store in airtight containers (Mason jars work great and look pretty!) at room temperature. You can also store this in the refrigerator or freezer for longer-term storage.
- This recipe made almost 2 quart jars full. I definitely need to double it next time!
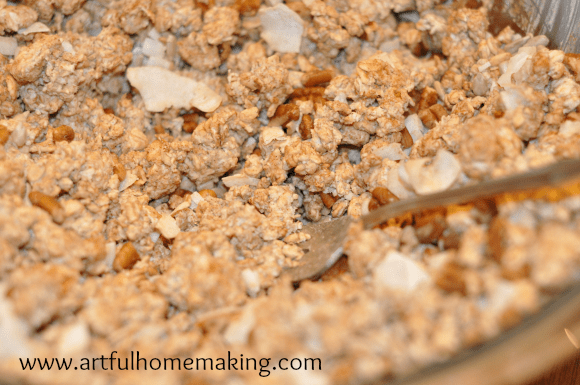
Mixing the granola before spreading it on the pans to bake.
I’m so happy to have found this recipe! I’m kind of addicted to it. I just like to sprinkle a little bit over my Greek yogurt, but it’s also good all by itself as a healthy snack.

Does it work to use all whey instead of adding water to soak overnight? I make Greek yogurt so have an abundance of whey
I haven’t tried using all whey in this recipe, so I’m not sure. If you try it, I’d love to hear how it turns out!
this sounds super tasty I think I would love the flavors together
come see us at http://shopannies.blogspot.com
We love this flavor combo!
I love breakfasts like this!
Hope you enjoy!
We also love eating granola at our house! We use it as our cereal in the mornings. I love the idea of soaking the oats. My other granola recipes only bake for around 30 minutes, turning half way. I wonder if I could just raise the temperature on this recipe to bake it quicker? We usually triple the recipe or more and then freeze it. Thanks for sharing the recipe. I'm going to try to make it next week. ~Krisitn
I don't know about raising the temperature and changing the time–if you try it, let me know how it works! I did notice that this recipe is a lot less sweet than the one I'm used to, so do keep that in mind, too. It's not very sweet at all. Hope you like it if you try it!
P.S. I love your new profile picture! 🙂