This post may contain affiliate links. Please read our disclosure policy.
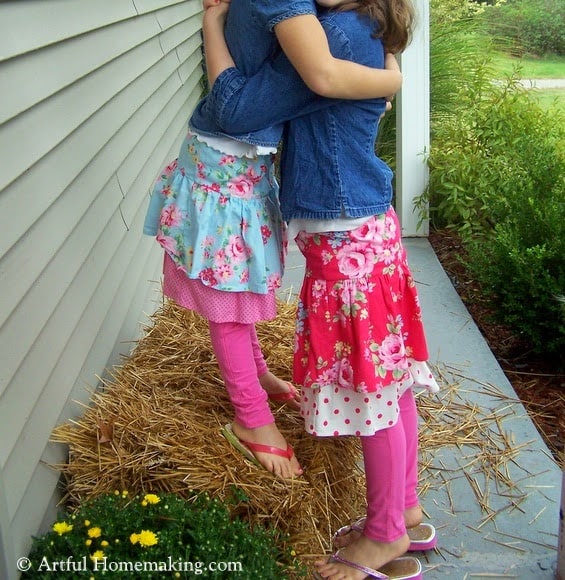
At last, I’m sitting down to write up the tutorial for the ruffle skirts I made for my younger girls this summer.
This tutorial had more steps, so it took longer to get it done. I hope the steps make sense, and I hope you enjoy making these!
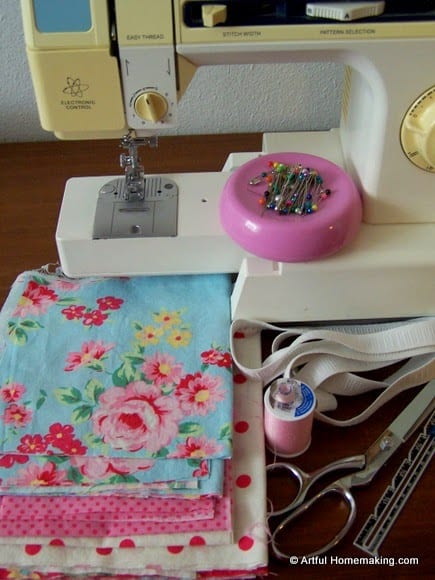
Supplies Needed to Make a Ruffle Skirt
To make these skirts, you’ll need the following:
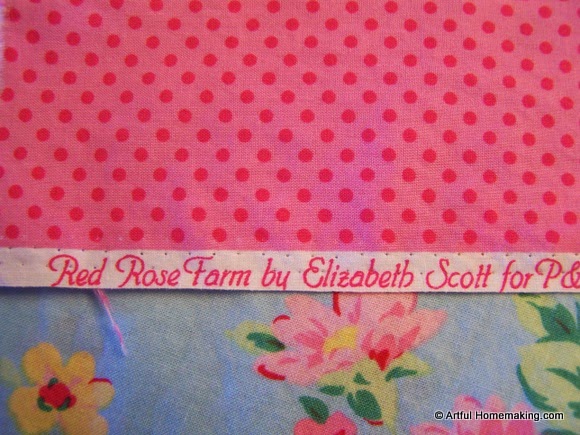
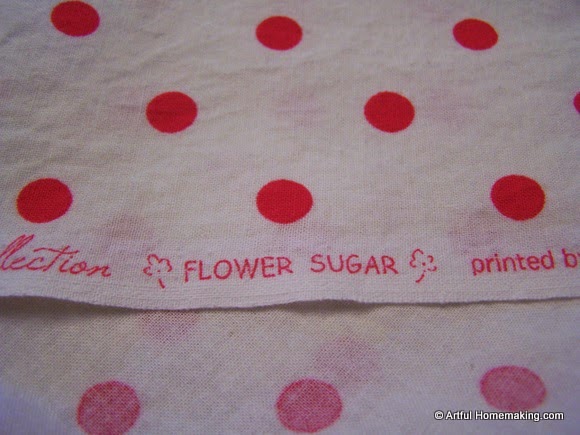
1. Two coordinating fabrics (for sizes 3/4, 5/6, and 7/8, you’ll need 1/2 yard of the floral print, and 1/2 yard of the polka dot print. For size 9/10 you’ll need 3/4 yard of floral fabric and 3/4 yard of polka dot).
2. Scissors
3. Thread
4. 3/4″-wide elastic (you’ll need to measure your child’s waist or an item of clothing that fits them well in the waist to get the right length, as there are no measurements available for this).
How to Make a Ruffle Skirt
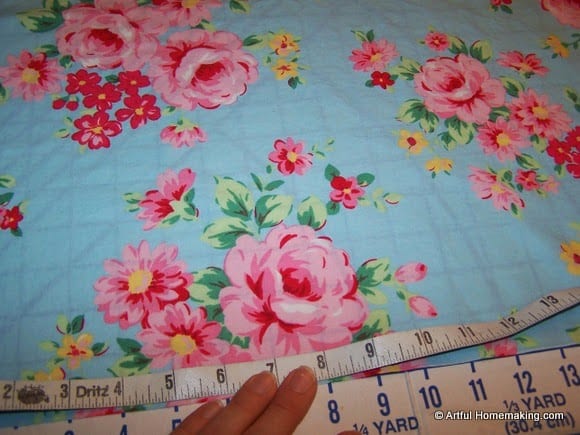
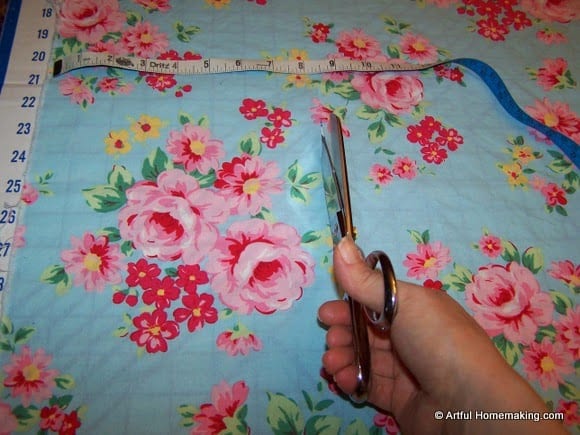
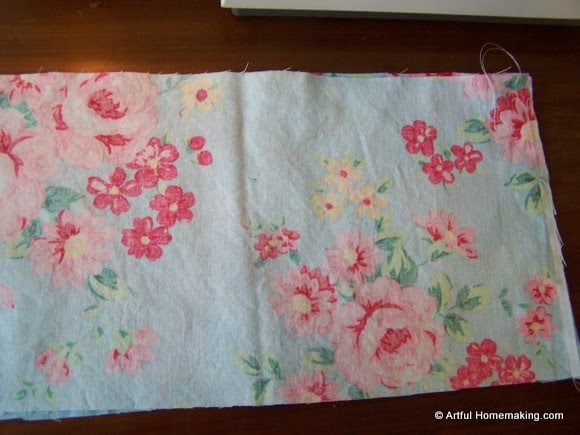
First, cut out your fabrics (here are the measurements for the different sizes):
Size 3/4 (finished length: 10 1/8″)
From the floral fabric, cut:
Two–6 1/4 x 24 1/2″ rectangles for upper ruffle
Two–5 x 13″ rectangles for upper band
From the polka dot fabric, cut:
Two–4 3/4 x 24 1/2″ rectangles for lower ruffle
Two–3 1/4 x 13″ rectangles for lower band
Size 5/6 (finished length: 13 1/8″)
From the floral fabric, cut:
Two–7 1/4 x 25″ rectangles for upper ruffle
Two–6 x 13 1/2″ rectangles for upper band
From the polka dot fabric, cut:
Two–5 3/4 x 25 ” rectangles for lower ruffle
Two–4 1/4 x 13 1/2″ rectangles for lower band
Size 7/8 (finished length: 16 1/8″)
From the floral fabric, cut:
Two–8 1/4 x 25 1/2″ rectangles for upper ruffle
Two–7 x 14″ rectangles for upper band
From the polka dot fabric, cut:
Two–6 3/4 x 25 1/2″ rectangles for lower ruffle
Two–5 1/4 x 14″ rectangles for lower band
Size 9/10 (finished length: 19 1/8″)
From the floral fabric, cut:
Two–9 1/4 x26″ rectangles for upper ruffle
Two–8 x 14 1/2″ rectangles for upper band
From polka dot fabric, cut:
Two–7 3/4 x 26″ rectangles for lower ruffle
Two–6 1/4 x 14 1/2″ rectangles for lower band
(Note: These skirts do tend to run a bit small, so keep that in mind. I made a size 7/8 for my daughter who just turned 6, and it is not too big for her. The 9/10 does fit my 10-year-old daughter, but she is small for her age.)
~Measurements include 1/4″ seam allowances.~
As you cut out your fabrics, you may find it helpful later if you label each piece. Otherwise all the rectangles can get a little confusing (or maybe that was just me!).

And now we’re ready to sew!
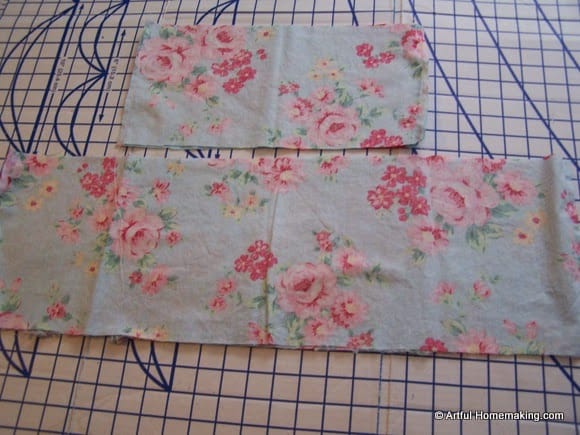
1. Using a 1/4″ seam allowance, sew together the upper band rectangles along short edges to make a tube:
2. Join upper ruffle rectangles along short edges to make a ruffle tube:
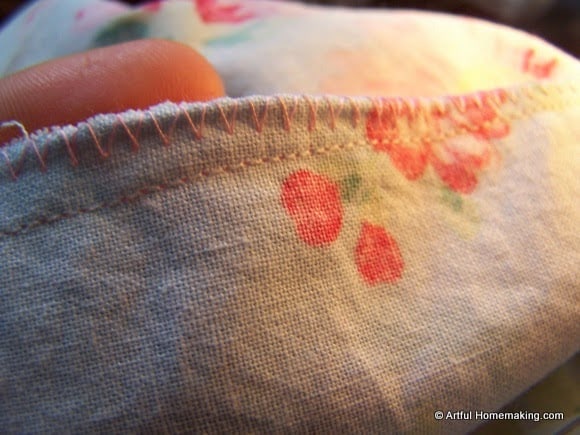
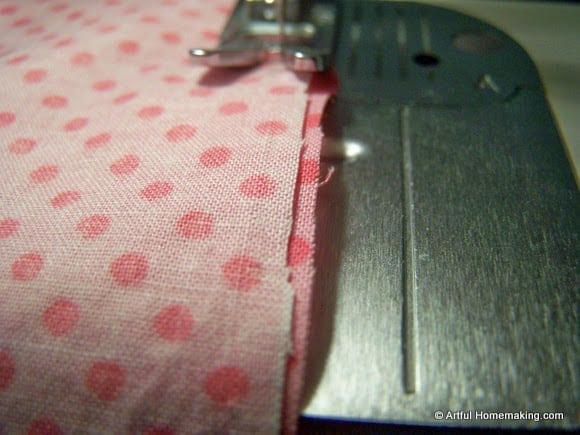
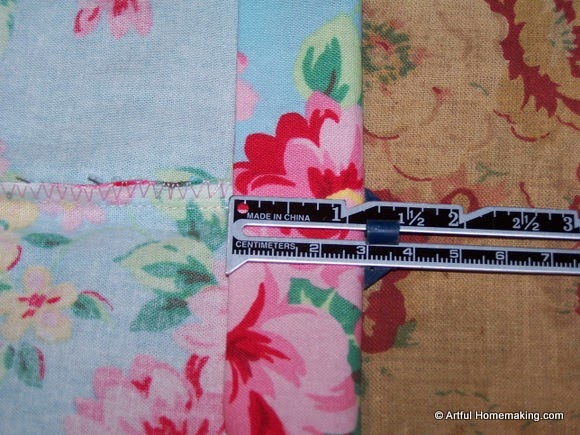
3. Serge or zig-zag the raw edges of the seams:
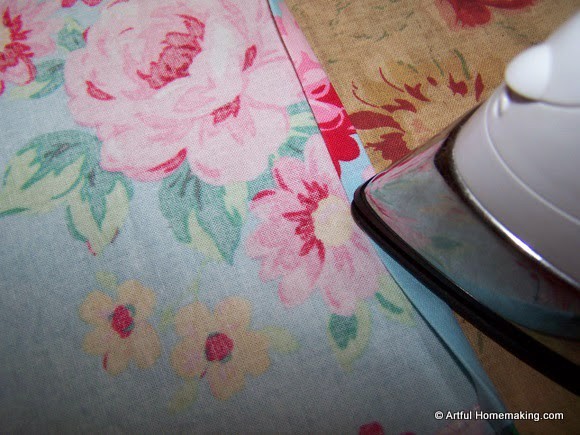
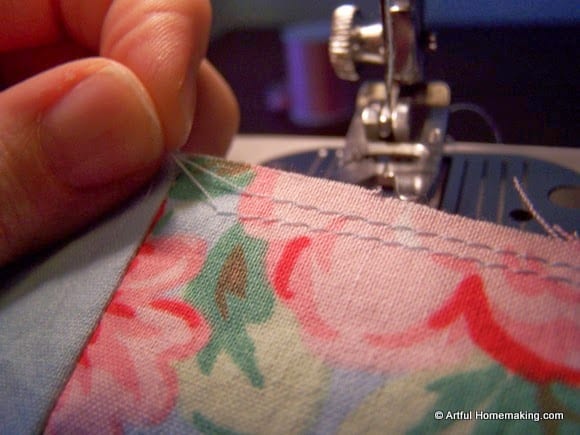
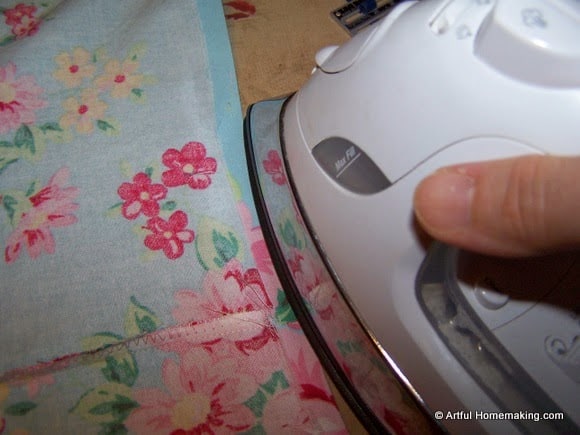
4. Turn under 1/4″ on one long edge of ruffle tube and press. Turn under a second time 1/4″ and press.
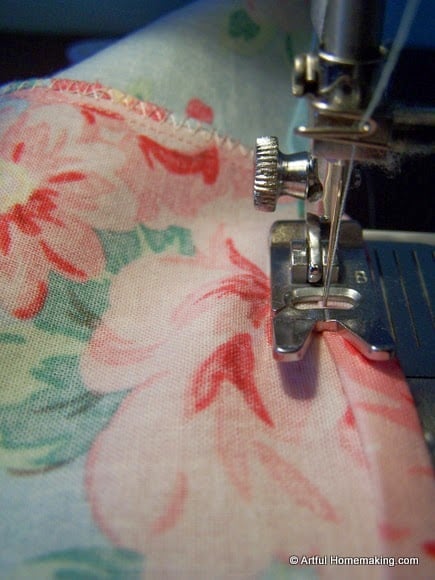
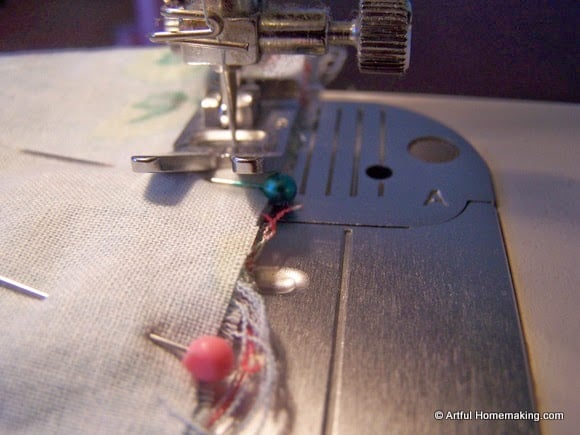
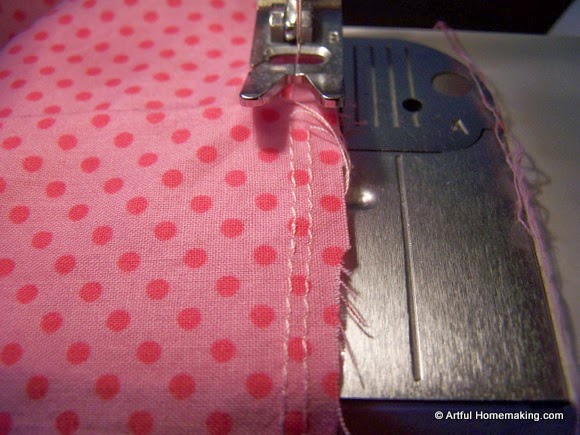
5. Sew through all layers close folded edge to hem:
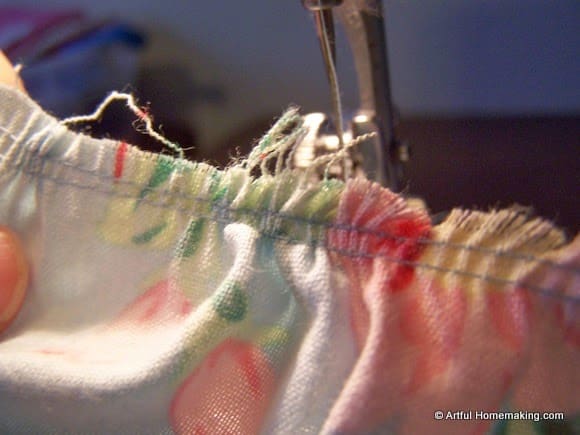
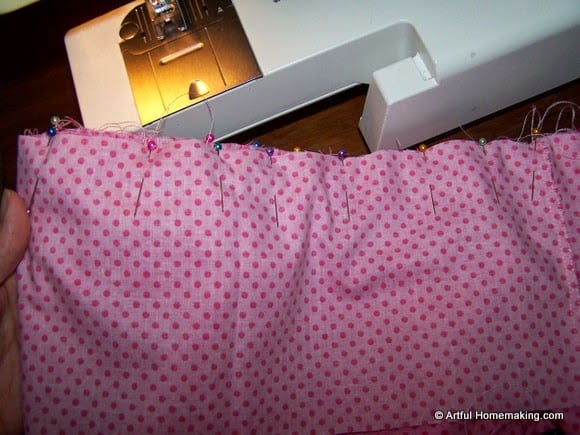
6. Sew gathering stitches 1/4″ from long raw edge of the ruffle tube (the longer rectangle). You only need to sew one row of gathering stitches, but I did two:
7. Pull up threads to gather edge:
8. With raw edges aligned and right sides together, match seams of gathered ruffle with bottom edge of upper band:
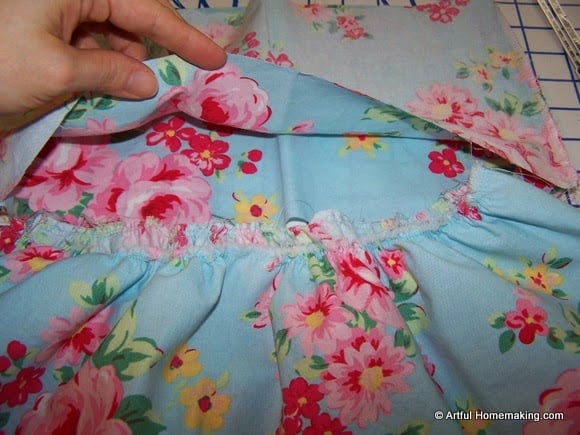
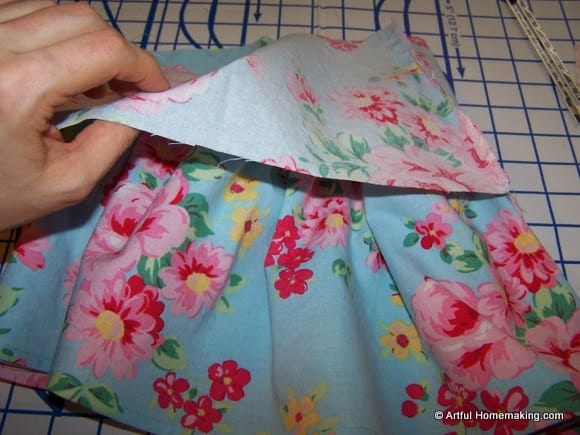
9. Adjust ruffle to fit band:
Line up the side seams:
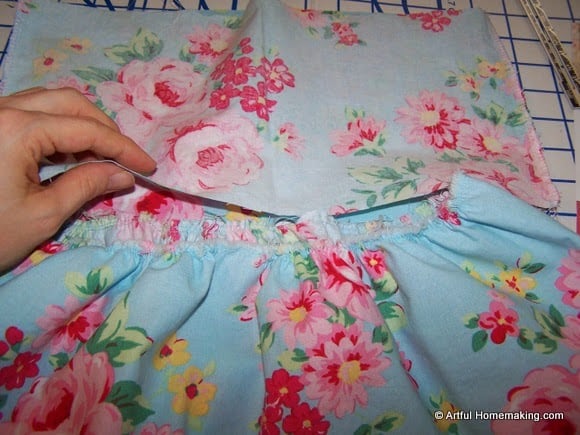
10. Pin and stitch to make upper skirt. Press seam allowance toward upper band:
11. Repeat the above steps using lower band rectangles and lower ruffle rectangles to make the lower skirt:
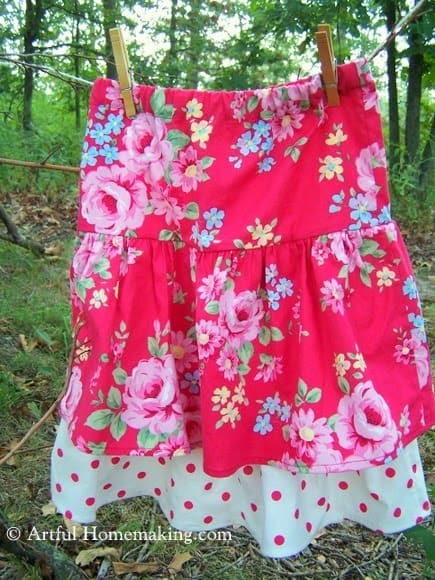
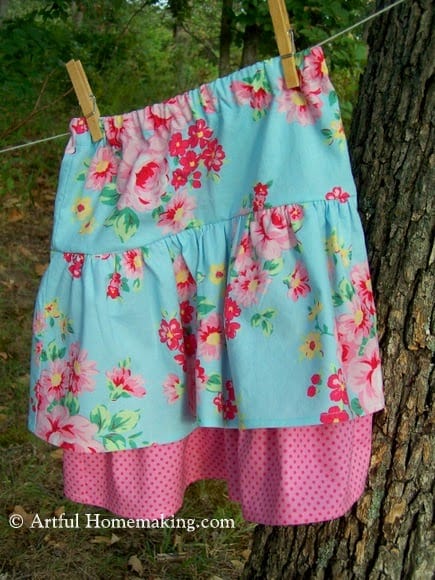
Now you should have the upper skirt (the floral fabric in my example below) and the lower skirt (the polka dot fabric in the example below):
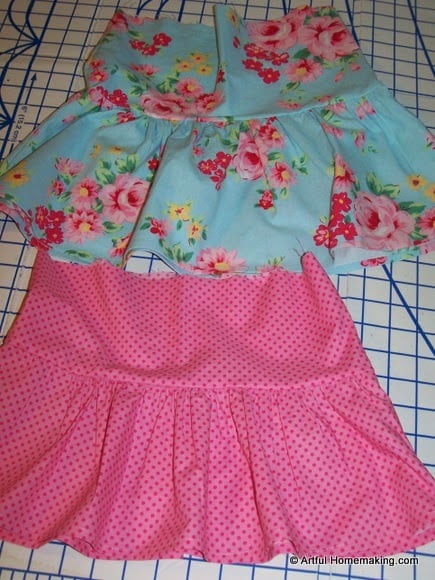
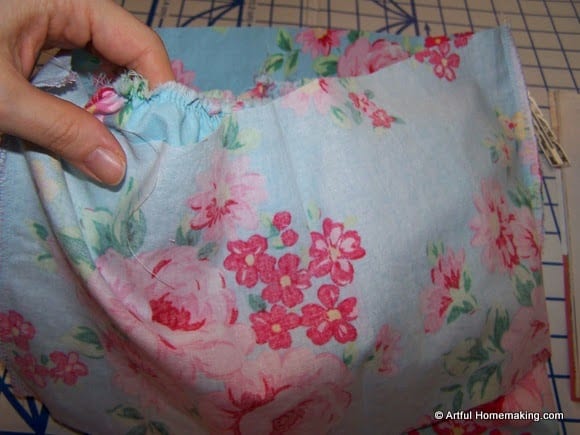
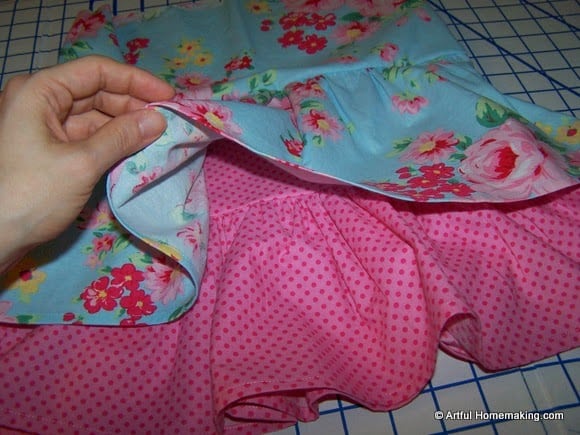
12. With raw edges aligned, match seams of right side lower band with wrong side of upper ruffle where upper band and upper ruffle are joined. To accomplish this, I turned both skirts inside out, so that the wrong sides were showing. I also folded the upper (floral) skirt so that the upper ruffle is at the top.

Then I inserted the upper (floral) skirt into the lower (polka dot) skirt portion.
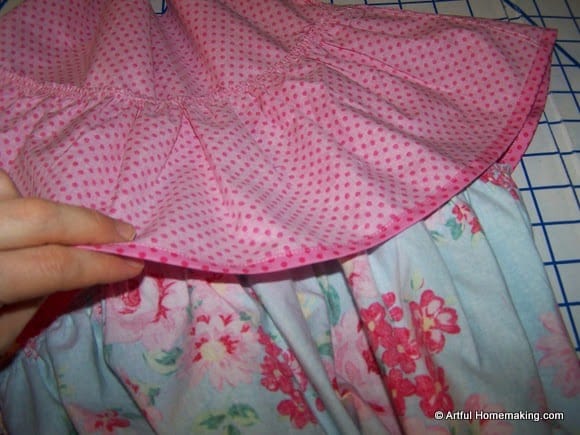
Match up the raw edges… these edges should both be raw, but I got excited and zig-zagged my raw edge on the blue floral fabric before I realized I didn’t need to do this! Oh, well, it still worked out.
Make sure you are matching the right side lower band with the wrong side of upper ruffle where upper band and upper ruffle are joined.
This part is kind of tricky. The “lower band” is the part that isn’t ruffled (the shorter rectangle) on the pink polka dot fabric. The “upper ruffle” is the ruffled portion of the blue floral skirt.
So, you are wanting to match the band of the underskirt to the ruffled section of the overskirt, if that makes sense. I would suggest pinning this and making sure it looks right before sewing it together, so you know you have the right pieces attached.
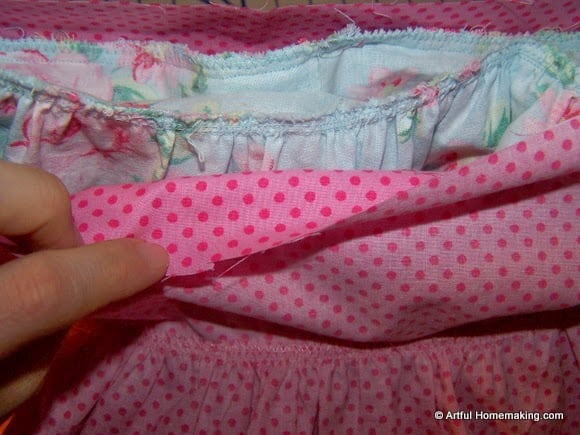
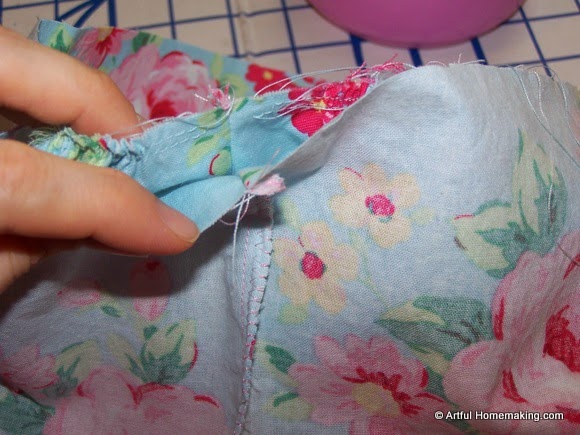
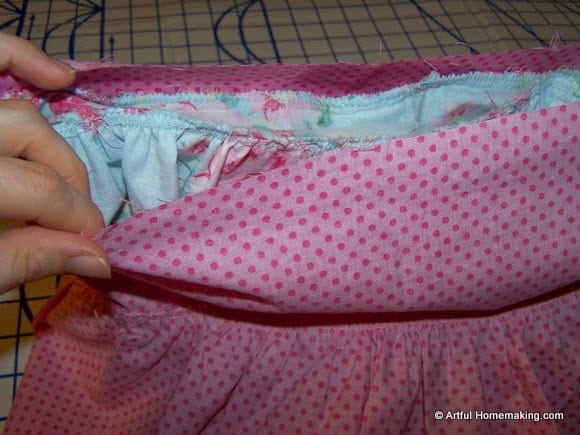
13. Pin and stitch through all layers.
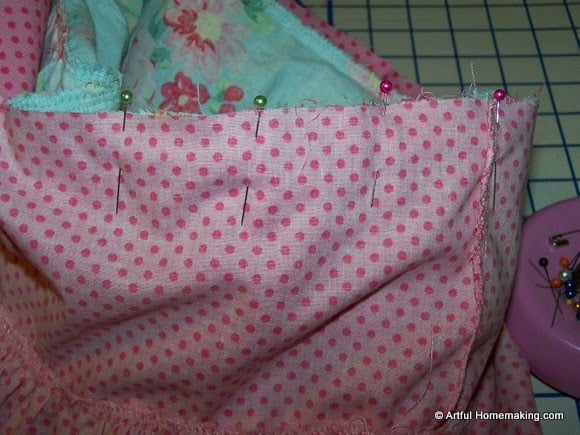
Now you are almost done!
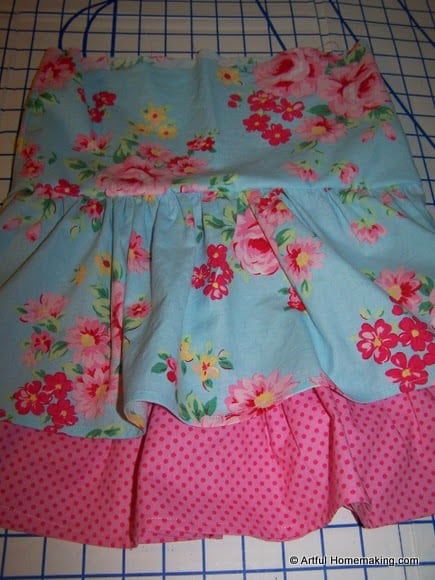
The upper and lower skirt portions are now attached:
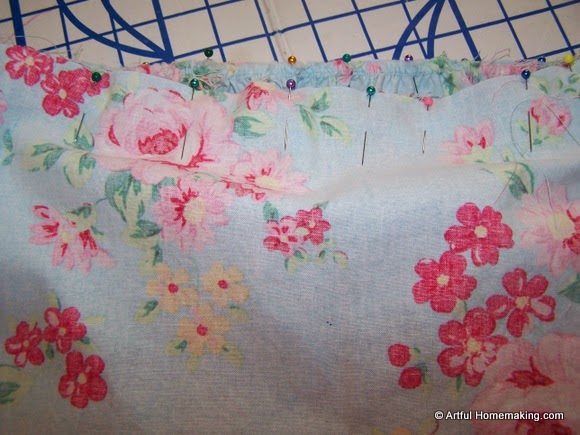
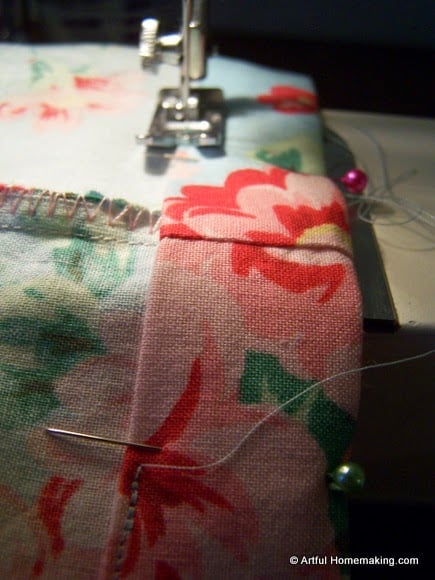
14. Turn under top edge of skirt 1/2″ and press:
15. Turn under a second time 1 1/8″ and press:
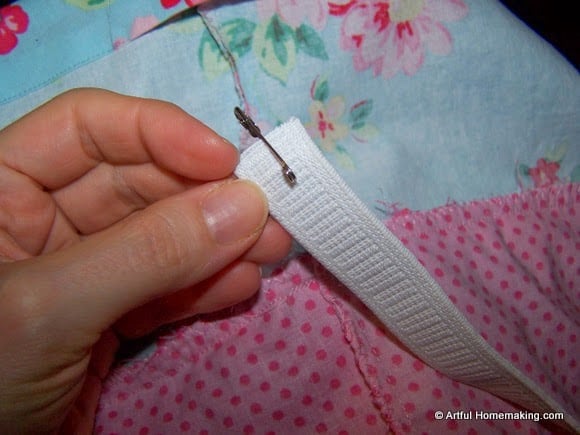
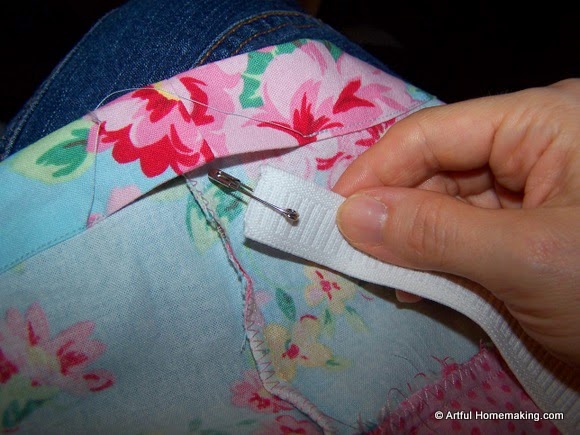
16. Leave a 2″ opening for inserting the elastic (I marked mine with pins), and then sew through all layers:
17. Insert the elastic. I attached a safety pin to the end of my elastic to feed it through the casing. Sew ends of elastic together and sew the opening shut. Then press the skirt, trim all loose threads, and you’re done!
Enjoy your cute new skirt! 🙂
Let me know if I left something out or something doesn’t look right. I’m just a mom typing out a tutorial to help other moms, and I’m not infallible!
The inspiration and measurements for this tutorial came from Quilts and More Magazine, Summer 2008. I have re-written parts of the instructions, and the photos are mine.


Hi Angela!
That was a great idea to use an existing skirt for measurements!
When I was trying to determine which size to make for my girls, I was really wishing the instructions included a size chart to compare their measurements with, but it didn't. That would have been very helpful, but I just had to guess.
I really think each size could include just a bit more ease, especially in the hip area. 🙂
Thank you so much for writing, and thanks for your input, which makes the tutorial more useful to everyone!
I hope your girls love their new skirts!
Thank you for your response Joy! Girls definitely come in all shapes and sizes!! 🙂
I just used an existing skirt and took the measurements off of that one and it seemed to work ok. The next one I make for my younger daughter I think I will just measure her hips and go with the size that's closest to that, taking into account the correct seam allowance.
I am so excited for my girls to open these on Christmas morning! Thank you again for posting this tutorial!
Angela,
Thank you so much for your very gracious comment! After reading your comment, I rechecked my post, because I was afraid I may have not typed the measurements correctly. The measurements are typed correctly, but I did note on the post that these measurements do seem to run small. I made a 7/8 for my daughter who just turned 6, and it fit her well (with no extra room). She does seem to be a bit bigger than other 6-year-olds we know, though.
I made a 9/10 for my 10-year-old daughter, and it does fit her, but she is small for her age! And there isn't any extra room. It fits snugly in the hip area.
Thanks for mentioning that, though, and I did note that just now on the instructions about the measurements seeming to run small.
And none of your questions are dumb! Any seamstress would want to know what the seam allowance is! And I am so sorry, but I scanned through the post and couldn't find it anywhere! So I just added a note that the seam allowances should be 1/4". It would make the skirt fit tighter if you used a standard 5/8" seam allowance. I really apologize for that very important detail not being in the instructions!
I hope that with the adjustments you made, your daughter is still able to wear her skirt.
Just let me know if you have any further questions or notice any other missing details! 🙂
Well I actually sat down and made one if these adorable skirts!! Your instructions along with the pictures were a huge help!! I'm a very visual learner, so having a tutorial to follow was great! I had 2 questions…1) I'm a very novice seamstress, so please excuse this question if it's a dumb one – what seam allowance should be used for this pattern? 2) I made the 9/10 size but the measurements seemed way off to me. Perhaps my daughter is larger than average but there was no way the pieces I cut would fit her, I ended up having to add some inches to my rectangles. Did I do something wrong?? Have you found the measurements to be true to your girls size? Sorry for the long post and many questions!!
You're welcome, Angela! Yes, they would make great gifts–enjoy! 🙂
Thanks, Amy! My girls love theirs. 🙂
Thank you so much for this tutorial!! I really admired these skirts when you first posted about them. I think they would make fantastic Christmas gifts for my daughters who are 6 & 9. I want one too!! 🙂 So cute!