This post may contain affiliate links. Please read our disclosure policy.
Learn how to make sourdough starter from scratch with this easy recipe. All you need are two ingredients to make your own homemade sourdough starter!
You’ll be making your own homemade sourdough bread in no time!
I made my first sourdough starter almost 15 years ago. I used the rye sourdough starter recipe in the Nourishing Traditions cookbook.
Back then there were very few resources online for making your own sourdough starter. I had no one to turn to for help, and I kind of freaked out when a gray liquid formed on the top. Was it mold? Was it safe? I wasn’t sure, but it looked strange.I ended up dumping it out, because I was afraid to poison my family!
Now I know that the gray liquid is normal, and it just means that the sourdough starter is hungry. I feel so sad now thinking about throwing out that valuable starter!
But the great thing about sourdough is that you can always start over if you need to. All you need is some flour, water, and patience.
Today I’m going to share with you the sourdough starter recipe that finally worked for me. It’s so easy to make!
And, this recipe only calls for a small amount of flour and water, so it’s cheaper to make. It’s also easier to keep up with a smaller amount of sourdough starter, especially in the beginning.
What is a Sourdough Starter?
A sourdough starter is a live culture made by mixing flour and water to create a natural leavening agent. Over a period of several days, the flour-and-water mixture will combine with bacteria and wild yeast to form a culture that can be used to make bread rise. You’ll no longer need commercial yeast, but you can instead use the natural yeast in your starter!
This post contains affiliate links, which means I may make a small commission at no extra cost to you. See my full disclosure here.
How to Make Sourdough Starter
Making your own homemade sourdough starter is a pretty simple process. You really just need two ingredients and some simple supplies that you probably already have in your home.
Supplies You Will Need
- A quart jar like this one
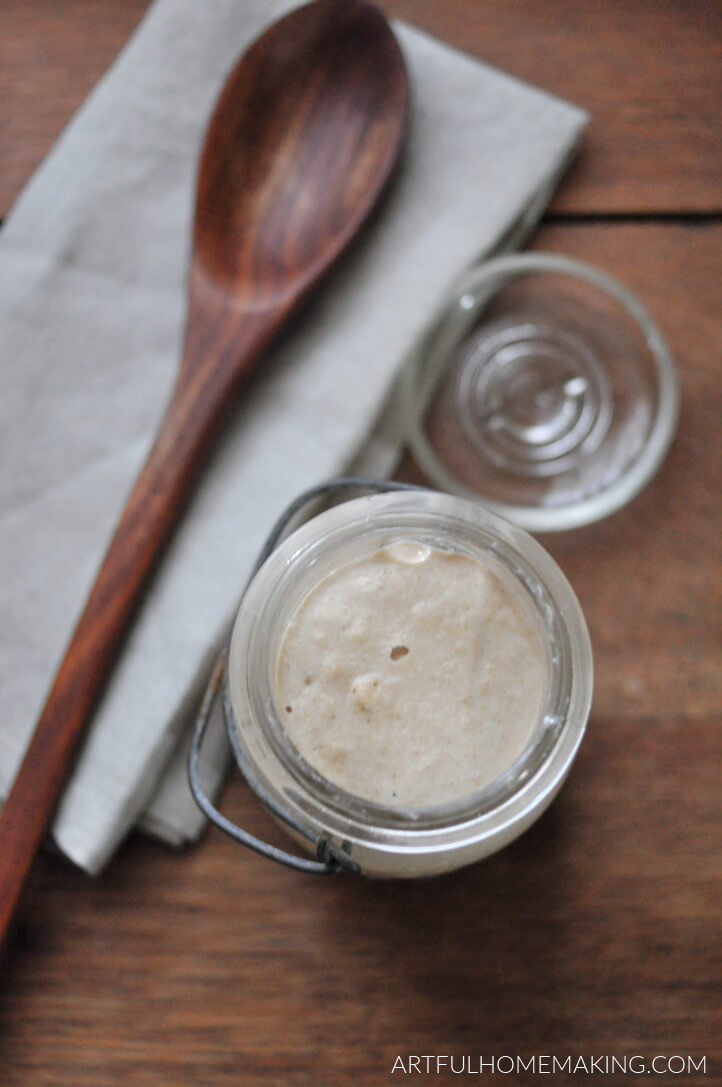
- Wooden or plastic spoon like this or this
- Bag of flour
- Filtered water (I use our Berkey water) Note: Some people have had success using tap water, so it just depends on your water.
Once you have your supplies, it’s really just a matter of mixing together some flour and water, and waiting for the natural fermentation process to happen!
What Kind of Flour Should You Use?
A few notes about what kind of flour to use for your starter. I prefer whole wheat flour, but you can use whatever flour you prefer. Whole wheat, spelt, rye, bread flour, and unbleached all-purpose flour will all work.
For my current sourdough starter, I started off with freshly ground whole wheat, because that’s what I usually have on hand.
However, I switched to store-bought flour about halfway through the process, because my starter wasn’t taking off as quickly as I hoped. There are some differences to store-bought and freshly ground flour, and in this case, the prepackaged flour was more successful.
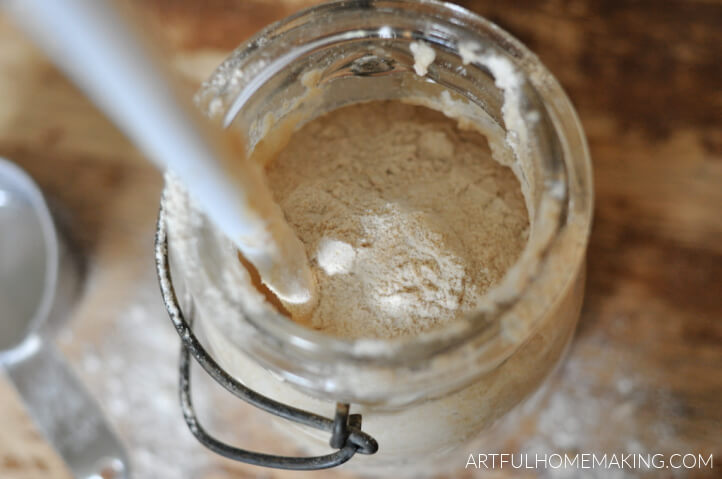
Step One: Making Your Starter
Add 1/2 cup flour and 1/4 cup filtered water to a clean quart jar. Mix well. Scrape down the sides of the jar with a wooden or plastic spoon. Cover loosely with a piece of plastic wrap, coffee filter, or small cloth. Secure the cover with a rubber band or canning ring.
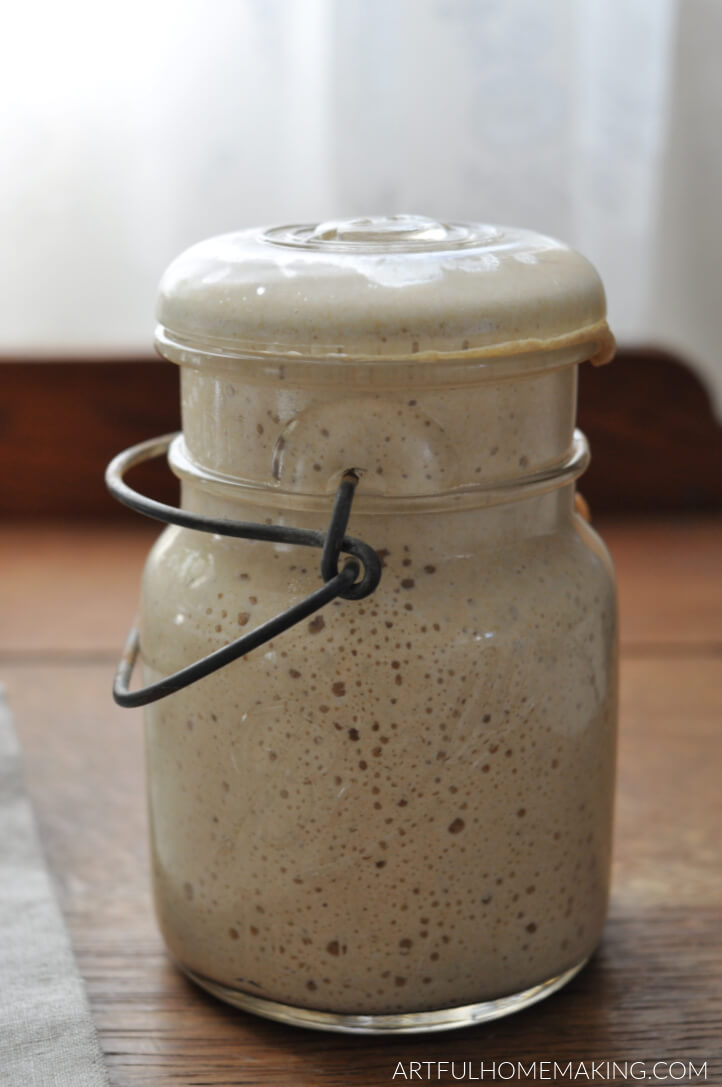
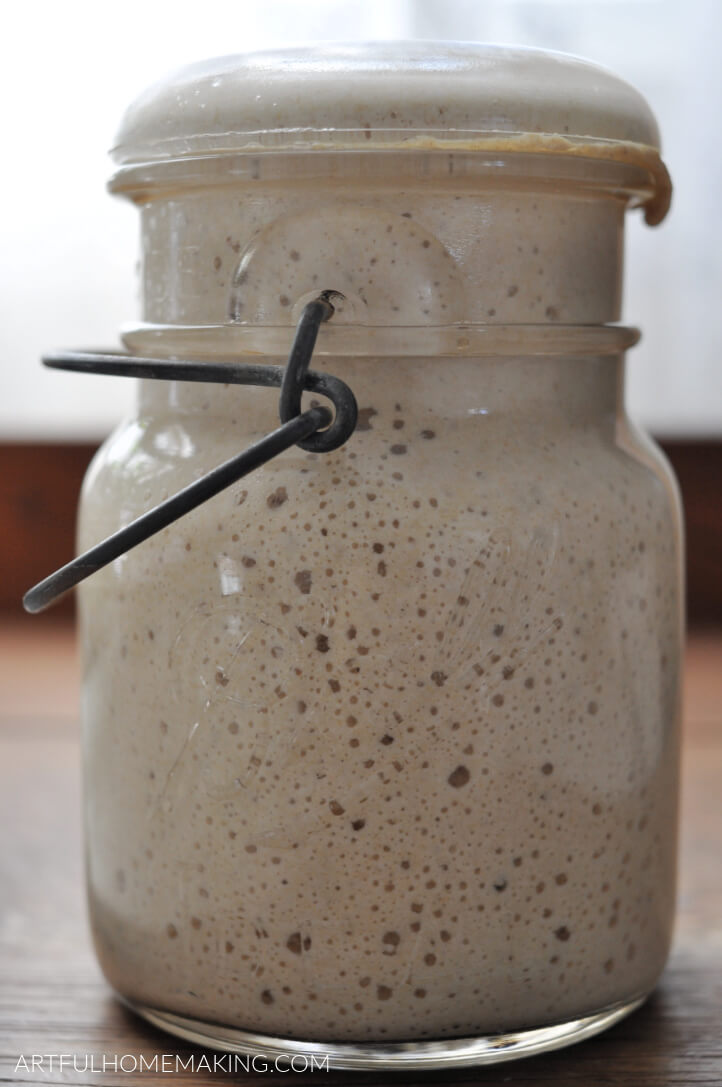
You can also use a jar with a glass lid (like the one in the photos in this post), and just set the lid on top of the jar.
Let sit for 12 hours at room temperature (around 65-85 degrees F). If your kitchen is cold, you can put the jar in the oven with the oven light on. Just be sure to leave a note on the stove to remind yourself and/or family members that your starter is in there!
Sourdough starters prefer warmth, so keeping it at a warmer temperature helps it grow more quickly. If your kitchen is too warm (over 85 degrees), you may need to find a cooler place to keep it.
Step Two: Check for Growth
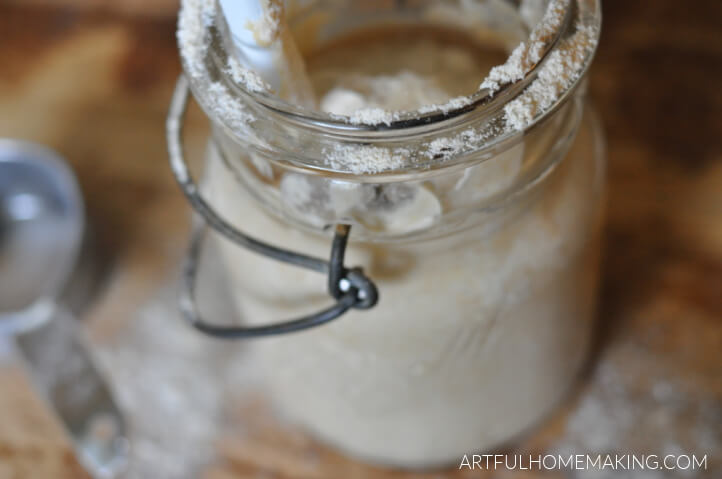
After 12 hours, check your starter. If there are bubbles, add 1/4 cup water to the jar. Stir well. Add 1/2 cup flour. Stir thoroughly (using a whipping motion to incorporate air) and scrape down the sides of the jar. Cover, and set aside for 12 more hours. Then go on to step three.
If you don’t see any bubbles, stir, scrape sides, replace the cover, and allow to sit for about 12 more hours. It’s totally fine if you don’t see any growth happening yet. Sometimes it just takes a bit longer!
Check again after the 12 hours are up. If there are bubbles this time, add 1/4 cup water and stir. Add 1/2 cup flour and stir, scrape down the sides, and cover.
Step Three: Continue Feeding
After 12 hours, check your starter. By this point, you may see lots of bubbles, and your starter may have doubled in size. If you see bubbles*, stir well. Discard half of the starter (this is necessary so you aren’t overrun with starter—you can add it to your compost).
To a clean quart jar, add the half of the starter that you didn’t discard, and 1/4 cup water. Stir well. Add 1/2 cup flour and stir again. Scrape down the sides of the jar, cover loosely, and let sit for another 12 hours.
Your starter may smell very sour or fruity. It may have a variety of smells. All are fine.
*If you don’t see any bubbles at this point, you may want to dump it out and start over at step one with fresh water and flour in a clean jar. Or, you can wait a bit longer and see if it shows signs of life. Personally, I would give it a week or two before starting over.
Step Four: Feed it Some More!
After 12 hours, check your starter. Stir. Discard half of it and transfer to a clean jar and stir. Add 1/4 cup water and stir. Add 1/2 cup flour and stir again. Scrape down sides of jar, cover, and allow to sit for another 12 hours.
I like to transfer my sourdough starter to a clean jar fairly regularly, about every other feeding, in the beginning. After it has matured, I only transfer to a clean jar when the jar looks like it needs to be refreshed. This is just personal preference, and you can wait longer than this to switch containers. Or, you can switch out the container every time if you prefer. It’s up to you.
Caring for Your Sourdough Starter
From this point forward, continue with your feeding routine every 12 hours.
- Stir
- Discard half
- Add 1/4 cup water and stir
- Add 1/2 cup flour and stir
- Scrape down sides of jar
- Cover loosely
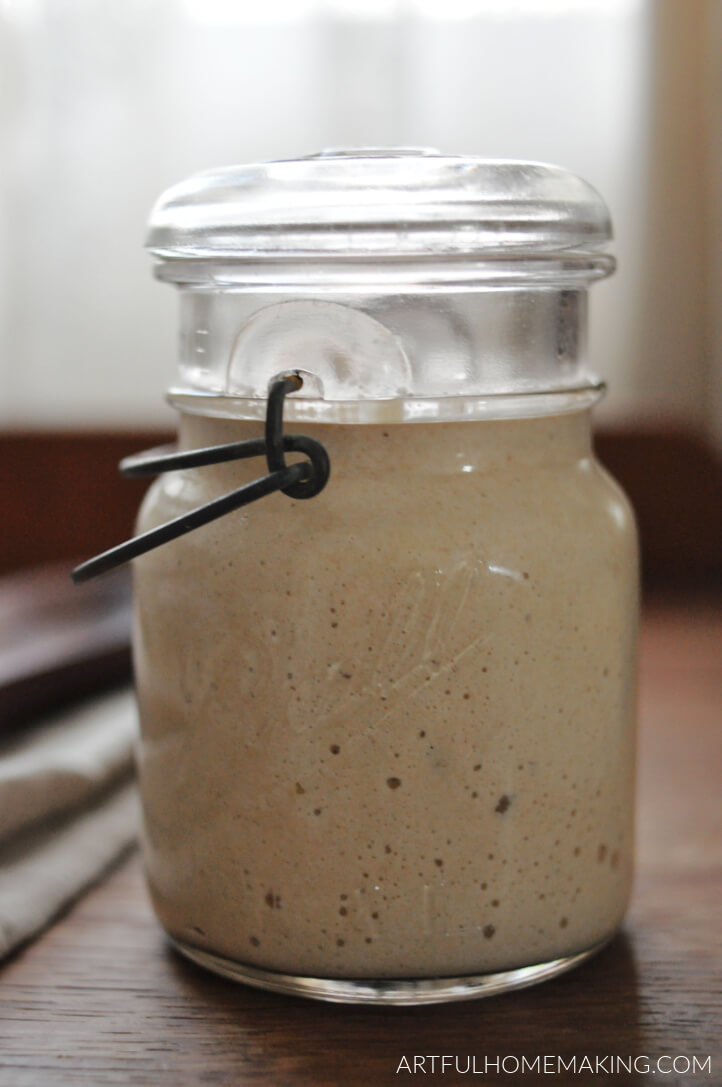
Usually, by the end of the first or second week (the time it takes can vary greatly), your sourdough starter should be active and bubbly and ready to use!
When Is Sourdough Starter Ready to Use?
After about a week, your starter may start to look very active and bubbly (sometimes it takes a bit longer, so don’t be discouraged if this happens—it can take a couple of weeks for it to become fully active).
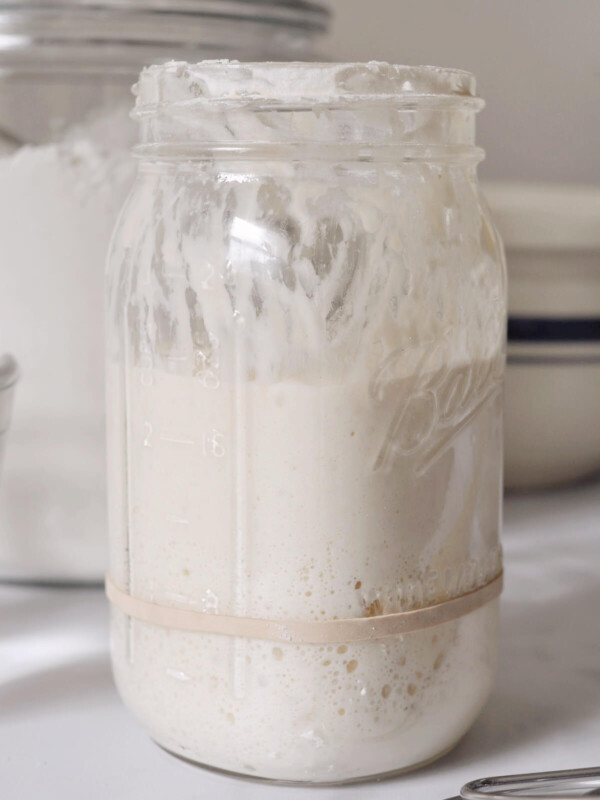
You’ll know it’s ready to use when it starts to double in size, filling the jar after it has been fed.
At this point, it should also have a pleasant sourdough aroma. If it smells unusually bad (or if you see mold), you’ll need to throw it out and start over.
To test your sourdough starter to see if it’s ready to use, you can do the float test. First you’ll want to feed your starter and then wait for it double in size. Fill a glass measuring cup or a jar with water, and drop about a teaspoon of active starter into the water. If the starter floats, it’s ready to use.
How to Store Sourdough Starter
I recommend keeping your sourdough starter at room temperature for at least the first few weeks. This allows it to become strong and active.
While your starter is at room temperature, you’ll need to continue feeding it twice a day (every 12 hours).
After the first few weeks, you may decide it’s more convenient to store your starter in the refrigerator. This is a good choice if you only want to bake with it once a week.
I usually store mine in the fridge with a lid unless I’m planning to use it more frequently, and then I store it covered on the countertop.
To Store Your Sourdough Starter in the Refrigerator:
Give your starter a feeding, stir well, and then stick it in the fridge, making note of the date you put it in there (I use a piece of masking tape on a canning jar lid for this). The cold will slow down the growth of your starter so it won’t need to be fed as often.
Be sure to take it out and feed it in the usual way (discard half, add 1/4 cup water and 1/2 cup flour and stir) at least once a week.
Before you want to use it again, you’ll need to remove it from the fridge 24 hours before you want to bake with it. Let it come to room temperature, stir, and feed it the day before you want to use it.
If you’re just going to use your starter in a sourdough discard recipe, it works fine to just remove it from the refrigerator and use it (without feeding it).
Troubleshooting Your Sourdough Starter
Making your own starter from scratch is easy! However, there are several issues that can arise that you need to be aware of.
Here are a few common sourdough concerns.
1.) You see a brown or gray liquid in your starter.
This is normal! It’s called “hooch,” and it simply means your starter is hungry! You can either pour it off or stir it back into your starter.
Experts have different opinions on which action is best here. Some say you should pour it off, but others say that will mess up the hydration. I usually pour it off and then feed it.
2.) Your sourdough starter smells bad.
Sourdough starter can take on many different smells throughout the process of maturation. At one point (especially in the beginning), it may smell unpleasant. But if you just give it some time, it will often end up smelling just as it’s supposed to.
A fully mature sourdough starter will usually have a pleasant, yeasty sourdough smell.
If your starter does smell really terrible, that may be a sign that the “bad” bacteria have gotten the upper hand. You may need to start over. But I would give it a few days at least just to be sure.
3.) Your starter isn’t doubling in size.
There can be many reasons why a sourdough starter refuses to rise. Sometimes the room is too cold. If your kitchen is on the cooler side, try to find a warm spot to keep your starter. I like to keep mine on top of the fridge.
When you’re just getting started (especially in the cooler months), putting the starter in the oven with the oven light on can help. However, some oven lights are a bit too warm, so you’ll have to monitor this closely.
You can also set your starter container on top of a heating pad on low heat. And you can try wrapping a towel around the jar for added insulation. I also have this bread proofer which works well.
Sometimes it helps to switch the type of flour. For instance, if you’re using home-milled fresh flour (like I was), it can help to switch to store-bought flour. Usually, whole-grain flour can help to give your new starter a jumpstart. You can also try feeding it with some rye flour.
4.) You see mold on your starter.
If you actually see mold growing on your starter, you’ll need to throw it out and start over.
Creating a homemade sourdough starter can seem overwhelming and complicated. Sometimes it takes a bit of trial and error to get one going.
But once you get it going, it can be with you for many years, and even be shared with family and friends! It’s definitely worth the effort!
Frequently Asked Questions
Can I switch the type of flour used to feed the starter?
Yes, you can. For instance, I used whole wheat flour to make my starter, but then I decided to switch to unbleached all-purpose flour because it was easier and cheaper.
You can always just start feeding your starter with whatever flour you want to use. However, I took a more cautious approach and put some of the sourdough discard into a jar and started feeding it with the all-purpose flour just to be safe. So I still had my original whole wheat starter, but then I essentially created a new starter that was fed with all-purpose flour.
Do you have to discard sourdough starter every time you feed it?
For the first week or two, when you’re first making your starter, I recommend just discarding the starter you remove from the jar during feedings (I put mine on the compost).
After your starter is mature, you can start using the discard in recipes, so you never have to actually discard any of your starter again! Discarding the starter is really only necessary during the sourdough starter creation phase, which only lasts for a week or two. After that, just use your starter in recipes instead of discarding the part that is removed before feeding.
If you want to increase the amount of starter you have in your jar for a day of baking or a specific recipe, you can also just feed it without discarding or using half. Just feed your starter until you have the amount you need.
Sourdough Recipes
I hope this post has been helpful to you! Here are some recipes you can make with your new starter once it’s bubbly and active (usually after about a week).
- Sourdough Pancakes Recipe
- Sourdough English Muffins Recipe
- Easy Sourdough Crackers
- Sourdough Tortillas
- Overnight Sourdough Biscuits
- Easy Sourdough Bread Recipe (Perfect for Beginners)
Homemade Sourdough Starter Recipe
How to Make Sourdough Starter From Scratch
Ingredients
- 1/2 cup (60 g) flour , whole wheat, spelt, rye, unbleached all-purpose or bread flour
- 1/4 cup (60 g) water
Instructions
- Step One: Add 1/2 cup flour (I use whole wheat) and 1/4 cup filtered water to a quart jar. Mix thoroughly (using a whipping motion to incorporate air) and scrape down the sides of the jar. Cover loosely with a piece of plastic wrap, small cloth, paper napkin, or coffee filter. Secure with a rubber band or a canning ring. Let sit for 12 hours at room temperature (between 65 and 85 degrees F is the best). If your kitchen is cold, you can put the jar in the oven with the oven light on.
- Step Two: After 12 hours, check the starter. If there are bubbles*, add 1/4 cup water to the jar. Stir well. Add 1/2 cup flour. Stir well and scrape down the sides of the jar. Cover, and set aside for 12 hours. *If you don't see any bubbles, stir, scrape sides of the jar, replace cover, and allow to sit for about 12 more hours. Then check again. If there are bubbles this time, add 1/4 cup water and stir. Add 1/2 cup flour and stir, scrape down sides, and cover.
- Step Three: After 12 more hours, check your starter. By this point, you might see lots of bubbles and it may have doubled in size. If you see bubbles*, stir well, and discard half of the starter. Get a clean quart jar and add the half of the starter left in the jar (that you didn't discard), and 1/4 cup of water. Stir thoroughly using a whipping motion to incorporate air. Add 1/2 cup of flour and stir well. Scrape down the sides and cover. Let sit for another 12 hours. At this point, your starter may smell very sour and fruity. Or it may have any variety of smells. All can be normal at this point. *If you don't see any bubbles at this point, you may want to dump it out and start over at step one with fresh filtered water and flour.
- Step Four: After 12 hours, check your starter. Assuming you see bubbles, stir the starter. Discard half of it, and transfer to a clean jar. Add 1/4 cup water and stir. Add 1/2 cup flour and stir again. Scrape down the sides, cover, and allow to sit for another 12 hours.
- Step Five: After 12 hours, discard half of the starter. Add 1/4 cup water and stir. Add 1/2 cup flour and stir again. Scrape sides and cover. Let sit for another 12 hours.
- Step Six: After 12 hours, discard half of the starter. Add 1/4 cup water and stir. Add 1/2 cup flour and stir again. Scrape sides and cover. Let sit for another 12 hours.
- From this point forward, continue with your feeding routine every 12 hours (Discard half, add 1/4 cup water, stir, add 1/2 cup flour, stir, scrape sides, and cover) until your starter is bubbly and has doubled in size.
- Once your starter seems bubbly and active (usually after about a week or two of regular feeding), it's ready to be used in basic recipes like pancakes, English muffins, or simple breads.


Hello;
My starter was continuing fine – I thought I had FINALLY got it working.
Went to bed the starter was about 3/4 the way up in the jar I was using. I had fed that day using 30 gms flour and 30 gms water and it was starting to work – I thought. Next morning the starter was back down to less than 1/2 the jar ??? What am I doing wrong?
Hi James! Creating a sourdough starter can be a bit of a process. How many days old is your starter? For a new starter, it’s very common to have days where it looks like not much is happening. If it’s a very new starter, I would just keep feeding it every 12 hours. It will naturally deflate as it runs out of food. Could it have just been hungry? If your kitchen is cold, that can also be a factor. Starters love warmth, and in the winter months it can be a bit more difficult to get a starter going. But it can still be successful if you keep it someplace warm.
I am thankful that many various flours are able to be used making the sourdough starter from scratch. I’m wondering if anyone has tried freshly ground Einkorn flour and how it worked for them.
Hi Bev! I have some einkorn grain in my pantry and I’m hoping to try that this year. I plan to use these same instructions, just with freshly milled einkorn for the flour.
This is how I successfully created my own sourdough starter years ago, and it’s still going strong!
Really sorry, I had forgotten I read this post in 2022! (what can I say, I’m old! (71)
No problem! I’m happy to help.