This post may contain affiliate links. Please read our disclosure policy.
Last year we really enjoyed using All About Reading Pre-reading and Level 1. My daughter liked Level 1 so much that she begged me to get Level 2 for this year! I’m amazed with the progress she’s made in her reading journey, and I credit much of her success to All About Reading. I was so thankful for the opportunity to review Level 2!
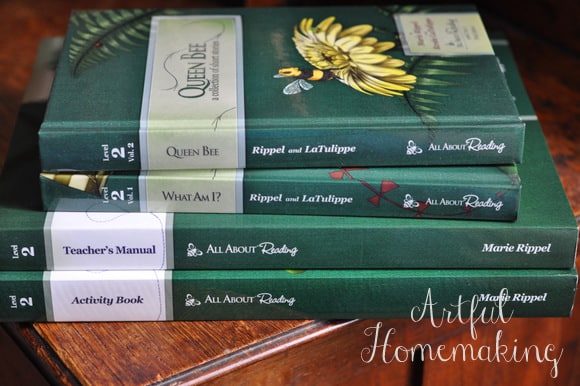
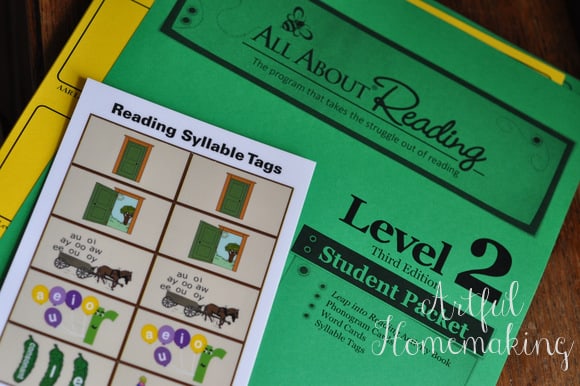
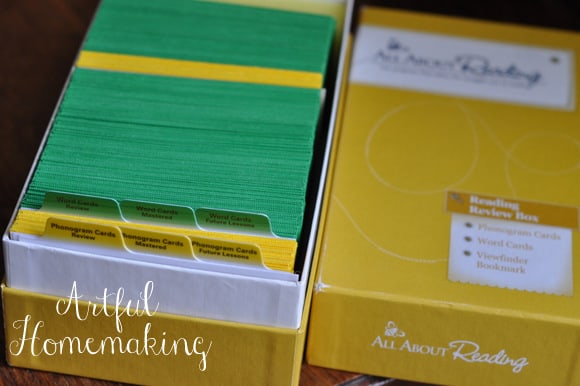
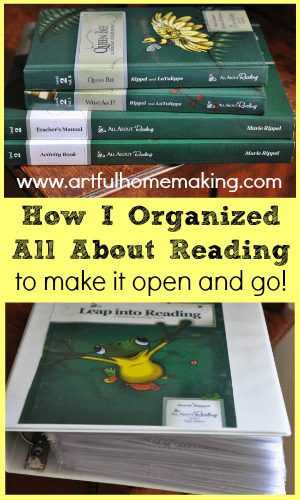
Since we already had the Interactive Kit from last year (which contains the magnetic letter tiles and the reading review box), all we needed was the Level 2 Materials Kit. This kit contains the teacher’s manual, one student packet, and two readers.
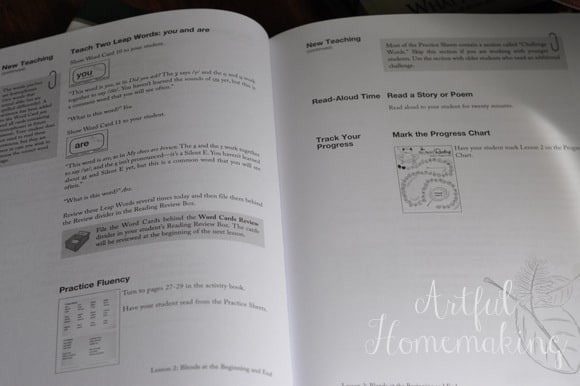
The teacher’s manual is laid out in an orderly way that is easy to follow and understand. Each lesson page tells you exactly what materials you’ll need from the student packet, and also tells you which stories or pages to read in the readers.
The student activity book is full of fun reading games and activities.
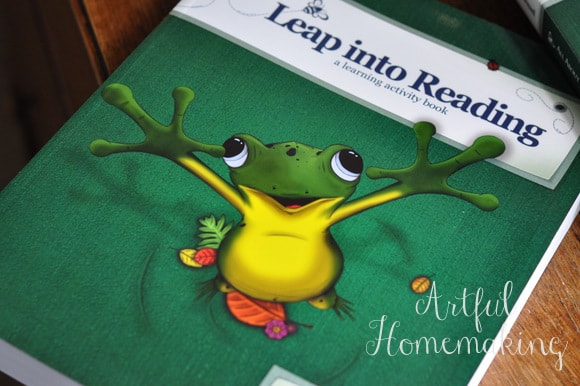
My daughter really enjoys the games. They’re simple to understand and quick to play, and everything you need for each game is contained right in the student activity pack.
The Student Packet also includes word cards, phonogram cards, and syllable tags.
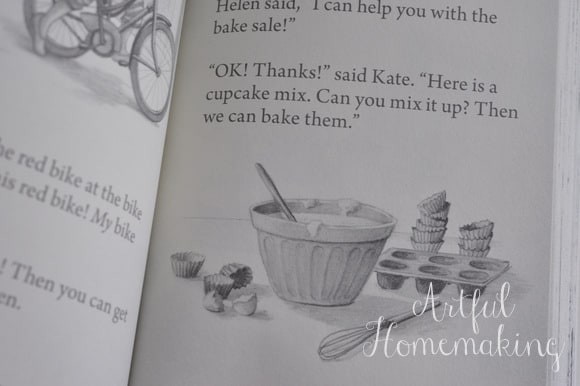
The readers include “Queen Bee,” and “What Am I?”

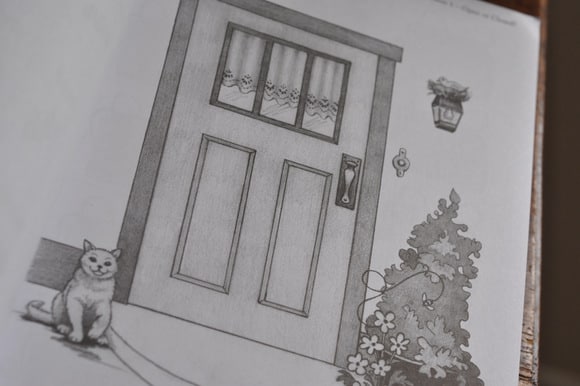
I really love the cheerful illustrations in the readers.
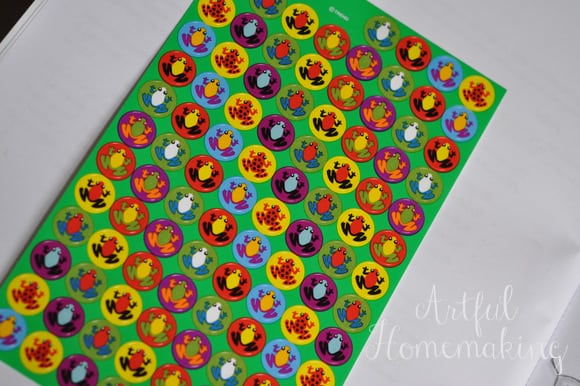
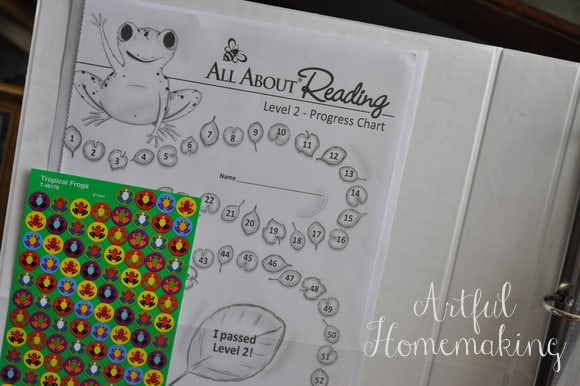
The kit doesn’t come with the tropical frog stickers, but they’re such a huge motivator to children that I highly recommend them (and they only cost $1). The stickers are used to mark the student’s progress on a progress chart. Both of my children using All About Reading are very motivated by adding a sticker to their chart after each lesson.
All About Reading Level 2 is just as wonderful as Level 1 and the Pre-reading program! The lessons are well-laid-out and easy to use. We’re looking forward to continuing our reading journey with All About Reading!
Organizing All About Reading to Make it Truly Open and Go
1. If possible, have a dedicated place to store your materials.

I set up a space in our finished basement to put a magnetic white board and the pre-reading poster. However, when we first started with All About Reading I didn’t have a space like this. So, I just used a magnetic cake pan with a lid to store the letters (you can see it in this post). You can also just have a white board that slides under a bed, or you can just use the letter tiles on a table top. A wall-mounted board isn’t a necessity. But wherever you decide to store your materials, just keeping them all together is a great help to efficiency when it comes time to do a lesson.
2. After getting your kit, separate all the cards along the perforated edges and file in the reading review box.
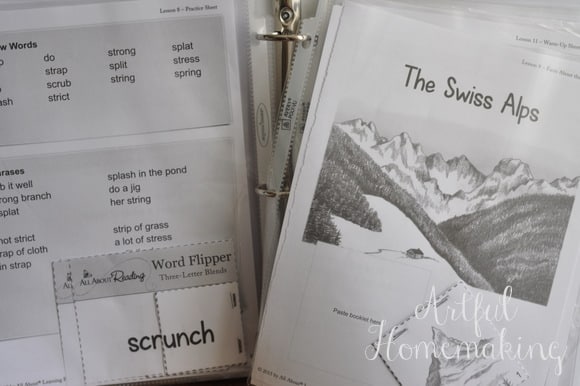
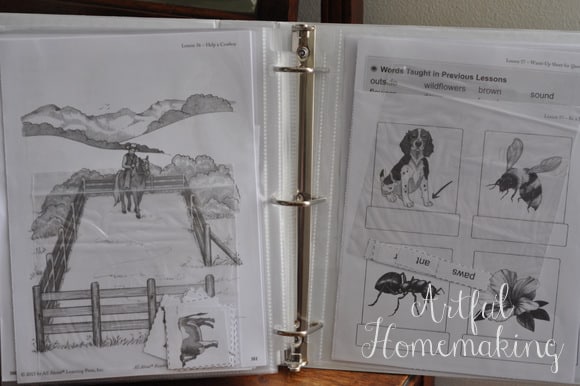
3. Take apart the student activity book and file everything in a 3-ring binder.
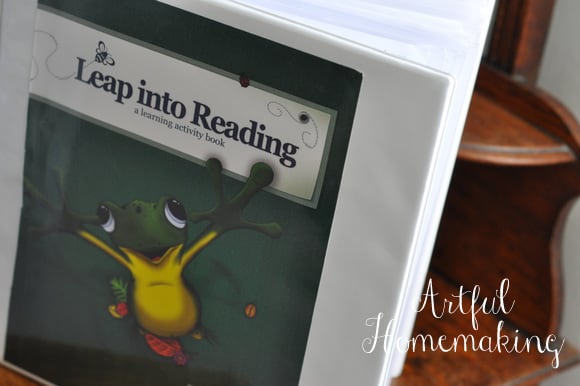
I had a binder that wasn’t being used, and I had page protectors. I carefully removed all of the pages from the student activity book and filed them all in plastic page protectors. It took me a few hours, but the time I’ll save this coming school year is invaluable to me!
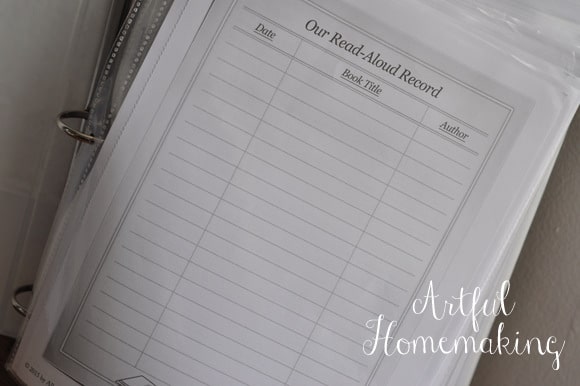
In the front of the binder I have the progress chart in the front pocket, and the read-aloud record in the first page protector.
Then I put together all of the word flipper books, cut out game pieces, and filed the reading practice pages.
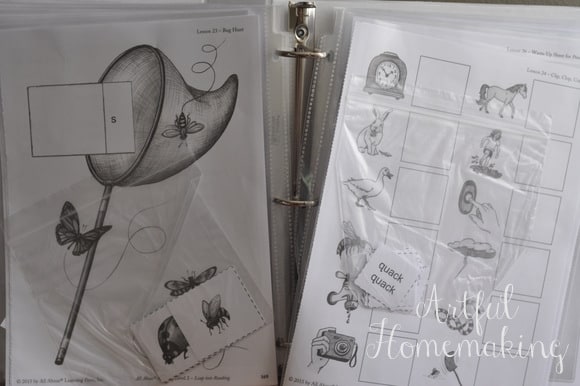
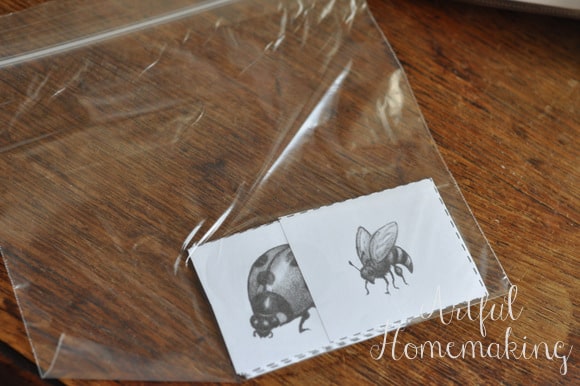
I stored the game pieces in zippered sandwich bags and then filed them with the game in a page protector.
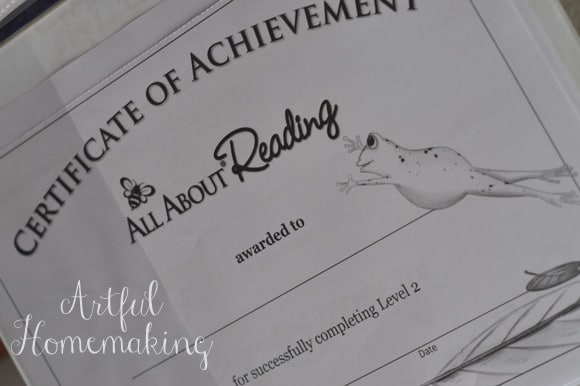
At the back of the binder I have the certificate of achievement page in the pocket. My daughter really looks forward to receiving her certificate.
These few hours of preparation in the summer will save me so much time during the school year as we do our All About Reading lessons!

Disclosure: I received the Level 2 materials kit and stickers for free in exchange for an honest review. The opinions expressed here are my own, and I only review products I would use and recommend. This post contains my affiliate links. Thanks so much for your support!


Thank you for sharing your story. My daughter has reading dyslexia so I pray this helps her get better at reading.
So glad it was helpful!
Love these ideas, thank you! I’m excited to be using this program for the first time with my son this year!! Just curious, how did you pace the lessons or schedule it? Obviously every child and family schedule is different, but did you dine a lesson a day was typical?
Glad it was helpful! We aimed to complete one lesson per day, but if a lesson was on the longer side or included a more difficult concept, we might spread it out a little longer and do half one day and half the next. Hope that helps, and enjoy your year with AAR!
Thanks for posting these ideas. I love the binder with sheet protectors. I wonder why you cut and assembled the activities instead of having your child do those tasks? I would think that they provide a wonderful opportunity for following directions and fine motor skill development. I say that only to offer that suggestion for others.
You could definitely have your child do the cutting if you wanted to. We did that with Level 1 (when I used it with my daughter), but we found it took up a lot of time assembling the materials and for my daughter there wasn’t a lot of added benefit (as she was already proficient at cutting/fine motor skills).
With my younger son (who went through the levels after his sister), I pre-assembled everything because he has dysgraphia, and cutting was extremely (unusually) challenging for him. It actually would have detracted from the reading lesson to include a cutting lesson at the same time. I decided instead to just keep the focus on reading, and we did other fine motor skills activities during another part of the school day. It worked out very well for us, and he’s an excellent reader today (after going through All About Reading).
So, feel free to do what works best for you and your child! 🙂
In your opinion, does this follow with grade 2 or grade 1?
That’s hard to say, since it’s not a graded program. It really depends on each child’s individual reading ability. I highly recommend using the placement test on this page (it’s at the bottom of the page under FAQs). If a child did the AAR pre-reading program in Kindergarten, then did Level 1 in grade 1, then they would probably be ready for Level 2 in grade 2. So, it could correspond nicely with grade level, but I’d try the placement test just to make sure.
Hi, great review! I’m starting AAR with Level 1. I’m excited to find such an organized and thorough review! Now I’m wondering, was I supposed to also buy readers to go along with Level 1?! Ack! Thanks and take care.
Thanks, Danielle! I’m glad it was helpful! Yes, the AAR readers are an integral part of the program, so those are necessary. For instance, on some days, the lesson will instruct you to read from one of the readers. Hope that helps, and hope you have a great year with AAR! 🙂
Thanks Joy!
You're welcome!
Such an awesome idea! May I ask how large your binder was? From the pic it looks to be bigger than a 1 inch.
Glad if it was helpful! I'm not totally sure, since I just used one we already had, but it looks like a 2" D-ring binder. And it's pretty full, so maybe even a bigger one could be used!
Great idea! About how many page protectors do you think you used?
Thanks! I'm not exactly sure how many I used, since I just gathered up a pile of them, including an already-opened package. I would say I used at least a full package of page protectors (just guessing).
Also, I filed more than one lesson in some of them. For instance, I put lesson one on the front side of the page protector (including all of the pages that went with that lesson), and then I put lesson two on the other side of the page protector (if they would all fit). I hope that makes sense.