This post may contain affiliate links. Please read our disclosure policy.
Making your own homemade diaper cream is easier than you might think, and it allows you to use simple, natural ingredients you trust on your baby’s delicate skin.

If you’ve ever dealt with diaper rash, you know how important it is to have something gentle and effective on hand for your baby’s skin.
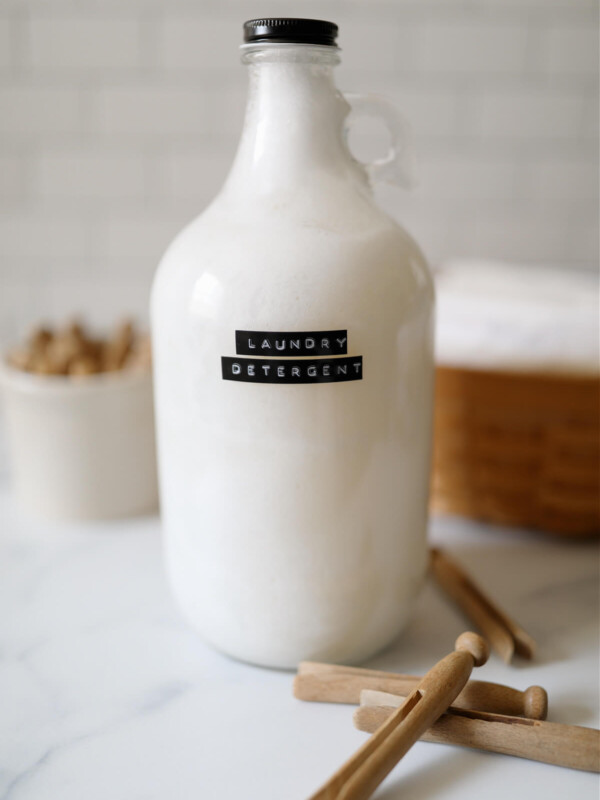
Be sure to also check out this lactation overnight oats recipe, this healthy gummies recipe, and my homemade liquid laundry detergent recipe.
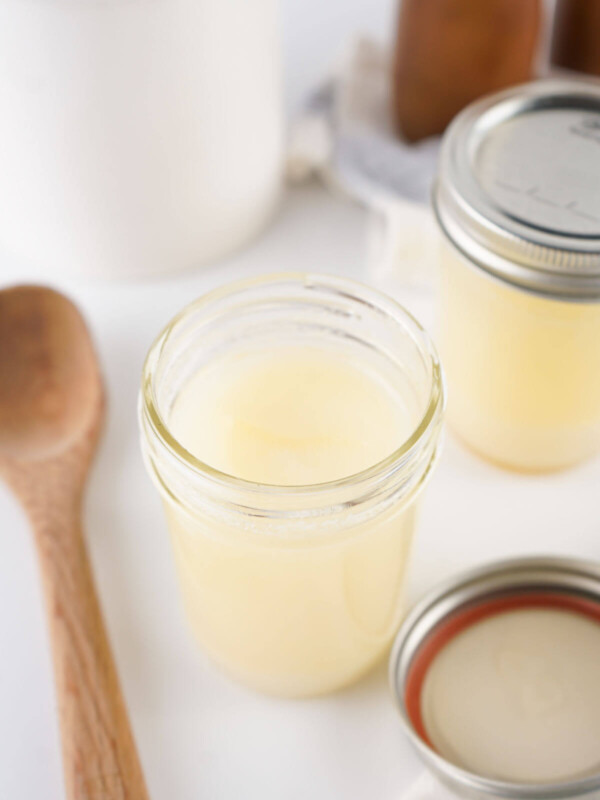
This easy DIY diaper cream uses herbal infused oil, rich shea butter, and zinc oxide to help protect against diaper rashes and soothe delicate skin.

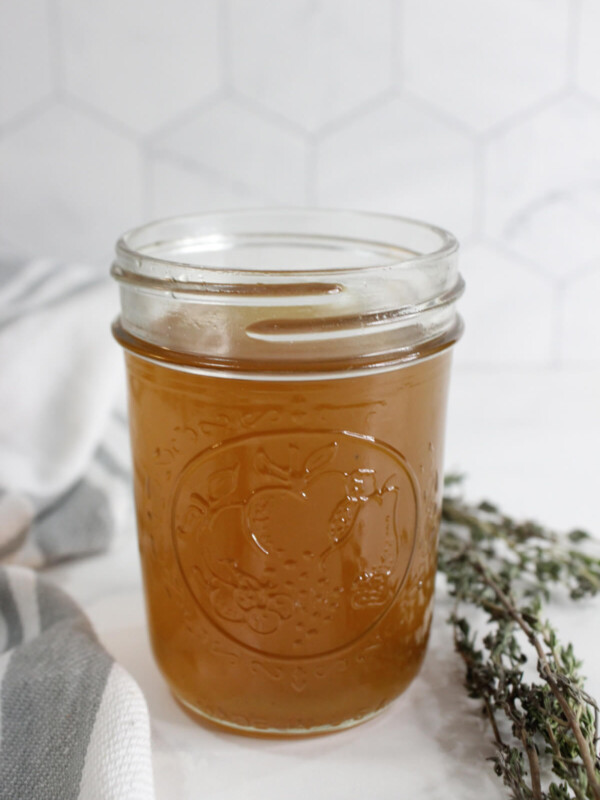
The infused oil is made with herbs traditionally used for sensitive skin, including calendula, chamomile, marshmallow root, and lavender.
These herbs have a long history of use in herbal salves and baby care because of their calming and skin-supporting properties. Combined with beeswax and shea butter, they create a creamy, protective ointment that can help protect baby’s skin.
Zinc oxide is what gives diaper cream its protective barrier. It helps shield the baby’s bottom from moisture while allowing irritated areas to heal. Once you have the infused oil ready, the cream itself comes together quickly and stores well for future use.
Why You’ll Love Homemade Diaper Cream
- Naturally protective: Zinc oxide forms a moisture barrier that helps prevent or treat a baby’s diaper rash and supports healing from diaper dermatitis.
- Herb-infused nourishment: Marshmallow root, calendula, chamomile, and lavender are traditionally used to soothe irritated skin.
- Customizable ingredients: You can use your preferred carrier oil and optional essential oils in your diaper balm.
- Free from harsh additives: No synthetic fragrances, preservatives, or unnecessary fillers that could worsen skin irritations.
- Long-lasting and economical: A small batch makes several ounces and lasts a long time.
Equipment
- Quart glass jar
- Heat-safe glass container (this works well)
- Double boiler
- Mixer
- 4 oz glass container
Ingredients

Find the full list of ingredients, amounts, and instructions in the recipe card at the bottom of this post.
Here are the key ingredients that make this diaper cream so effective:

- Carrier oil: Acts as the base and extracts the beneficial compounds from the herbs. Avocado oil, olive oil, or sweet almond oil work well.
- Calendula: Known for its calming properties that promote healthy skin and relieve irritation.
- Chamomile: Gentle and calming, traditionally used for sensitive skin and inflammation.
- Shea butter: Deeply moisturizing and helps protect and soften delicate skin.
- Beeswax: Thickens the cream and creates a protective barrier against moisture.
- Non-nano zinc oxide: The key ingredient that helps prevent and soothe diaper rash by forming a protective layer.
How to Make Homemade Diaper Cream
Here are the step-by-step instructions for making your own diaper cream:
Step 1: Infuse the herbs
Place the marshmallow root, lavender, calendula, and chamomile into a clean glass jar. Pour the carrier oil over the herbs until fully covered.

Seal the jar and let it infuse for 4 to 6 weeks, shaking gently every few days. This slow infusion extracts the soothing properties of the herbs.
After the infusion period, strain the oil through cheesecloth or a fine mesh strainer and discard the herbs.

Step 2: Melt the base ingredients
Add the following to a heat-safe glass container:
- ½ cup infused oil
- 3 tablespoons shea butter
- 1 tablespoon beeswax

Place the container in a double boiler or microwave in short intervals, stirring between each, until everything is fully melted.
Step 3: Chill until solid
Place the melted mixture in the refrigerator for about 30 minutes, or until completely firm. This step helps create the whipped, creamy texture later.

Step 4: Whip and add zinc oxide
Using a hand mixer or stand mixer, whip the hardened mixture until smooth and fluffy.
Add 2 tablespoons non-nano zinc oxide, mixing thoroughly to ensure it is evenly distributed.

Step 5: Add essential oils (optional)
If desired, add 5–10 drops of baby-safe essential oil, such as lavender or chamomile, and stir well.
Essential oils are optional, and many parents prefer to leave them out for newborns or very sensitive skin.
Step 6: Transfer to container
Spoon or pour the finished cream into a clean 4-ounce glass container or similar storage jar. Allow it to fully set before using.

Tips for Success
- Choose high-quality herbs for the best skin-soothing results.
- Non-nano zinc oxide is essential, as it sits on the skin instead of absorbing into it.
- Avoid overheating the oils to preserve their beneficial properties.
- Label your jar with the date so you know when it was made.
- Skip essential oils for newborns unless recommended by a qualified professional.
How to Store
Store your homemade diaper cream in a cool, dry place away from direct sunlight.
- Shelf life is typically 6–12 months, depending on the freshness of your oils.
- Always use clean, dry fingers or a spoon to prevent contamination.
- If the cream melts in warm temperatures, simply place it in the refrigerator to firm up again.
Frequently Asked Questions
Non-nano zinc oxide contains particles too large to be absorbed through the skin, making it safer for topical use, especially for babies.
Yes. Avocado oil, olive oil, sweet almond oil, or jojoba oil all work well.
This provides the strongest infusion, but you can also use a gentle heat infusion method if you need it sooner.
Zinc oxide can sometimes cause buildup. Consider using a cloth liner to protect your diapers.

More DIY Recipes
- Homemade Coconut Mint Toothpaste
- Beeswax Lip Balm
- Homemade Liquid Laundry Detergent
- Homemade Natural Sunscreen
- How to Make Comfrey Salve
If you make this recipe and enjoy it, please leave a 5-star recipe rating and let me know! Thank you so much!

Homemade Diaper Cream
Ingredients
Infused Oil Ingredients
- 1 cup carrier oil, avocado oil works well
- 1/4 cup marshmallow root
- 1/4 cup lavender
- 1/4 cup calendula
- 1/4 cup chamomile
Diaper Cream Ingredients
- 1/2 cup infused oil
- 1 tablespoon beeswax
- 3 tablespoons shea butter
- 2 tablespoons non nano zinc oxide
- 5-10 drops essential oil, optional
Instructions
- Add each of the herbs into a glass jar. Pour the carrier oil on top of the herbs and screw on the lid. Allow herbs to infuse for 4 to 6 weeks, shaking every couple of days. Then strain. This is your herbal infused oil.
- Add the shea butter, infused oil, and beeswax to a heat-safe glass container. Slowly melt it in a double boiler or in the microwave, stirring frequently.
- Once completely melted, put the mixture in the fridge for about 30 minutes until it is fully hard.
- Put the mixture into a bowl and mix with a mixer. An immersion/stick blender works well for this, but you can also use a handheld electric mixer. Add in the non-nano zinc oxide. Make sure to mix it thoroughly.
- Add in the optional essential oils (if using) and stir once again.
- Pour into a 4-ounce glass jar or other container, and add the lid and a label.
Notes
- Choose high-quality herbs for the best skin-soothing results.
- Non-nano zinc oxide is essential, as it sits on the skin instead of absorbing into it.
- Avoid overheating the oils to preserve their beneficial properties.
- Label your jar with the date so you know when it was made.
- Skip essential oils for newborns unless recommended by a qualified professional. These are optional for any age, if you prefer not to use them at all.
- Shelf life is typically 6–12 months, depending on the freshness of your oils.
- Always use clean, dry fingers or a spoon to prevent contamination.
- If the cream melts in warm temperatures, simply place it in the refrigerator to firm up again.


Is it a good or bad idea to store unused diaper cream in the refrigerator? Just wondering if it ruins the lovely whipped texture.
Hi Emily! I haven’t tried storing it in the refrigerator, but you could, especially in warmer climates/warmer weather. The texture will tend to firm up when it’s stored in the refrigerator, so it may change the texture somewhat.