This post may contain affiliate links. Please read our disclosure policy.
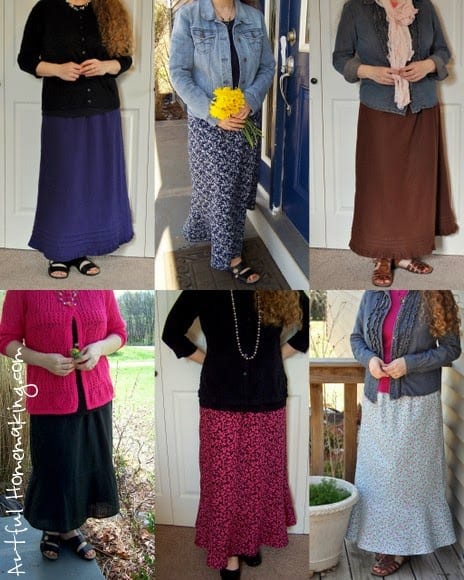
I’ve been busy depleting my fabric stash and adding to my wardrobe at the same time! Using a favorite versatile skirt pattern (the Blessed Designs Florinda Maternity Skirt), I was able to come up with several different looks. I bought this pattern almost three years ago when I was expecting my fifth baby. I made several maternity skirts and then decided to alter the pattern to be wearable for regular wear, and it has been a great pattern to sew with. Very straightforward and simple, and I can make one from start to finish in a few hours.
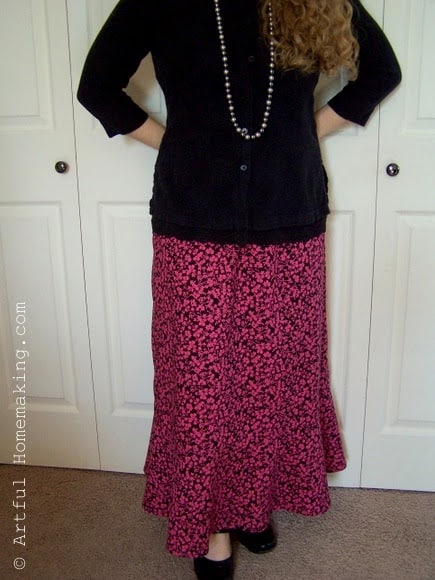
All of the fabric and notions I used had already been in my stash for years, purchased on sale here and there, except for the black and pink floral print, which I got on sale at Fabric.com. So, the total current cost for these skirts was $8 (Stash fabric always seems free, doesn’t it? And I’ve had most of it so long I don’t even remember what I originally paid, I just know it was on sale, as I almost never pay full price for fabric).
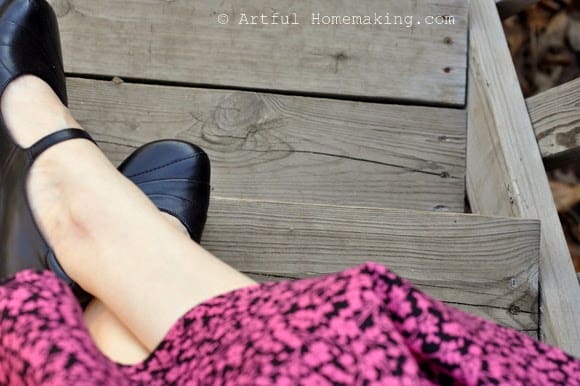
This first skirt isn’t new. In fact, it’s a couple years old. It’s made of black linen with a striped weave in the fabric, and it has a flounce on the bottom. (And the black sandals are from last year, still in great shape for the coming spring and summer months.)
I really like the way this skirt turned out, and I like the fabric a lot.
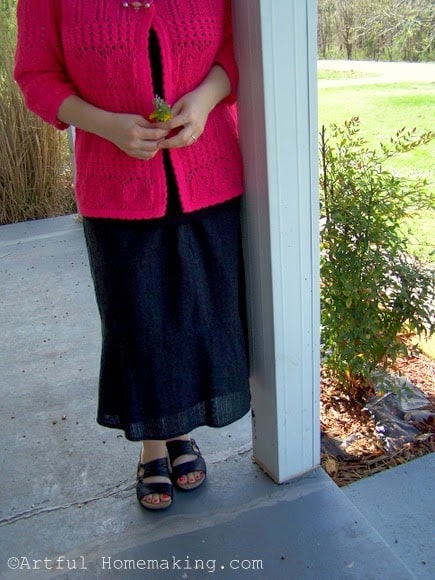
This skirt isn’t my favorite. But my husband likes it. 🙂
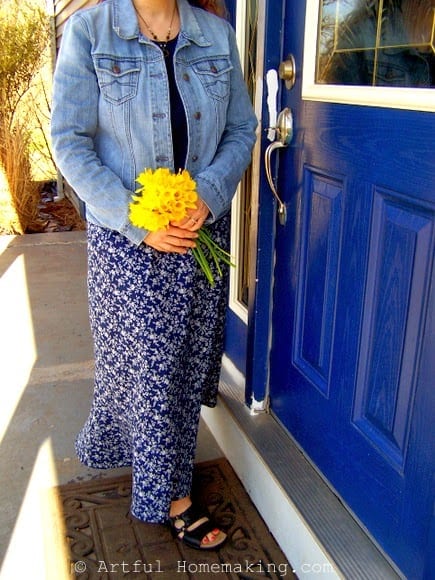
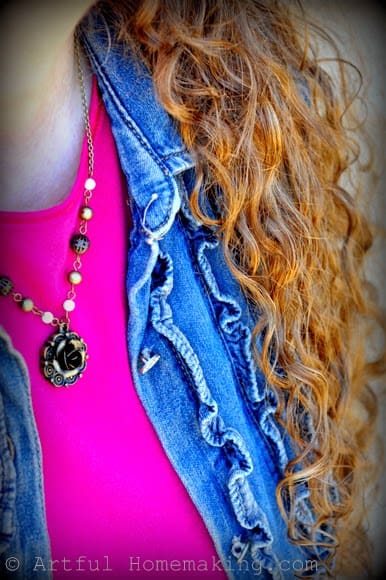
I was so excited to find this brand new Old Navy denim jacket for only $4! The reason it was on sale is because the side seam had ripped open. Took me about 10 seconds at the sewing machine to fix it.
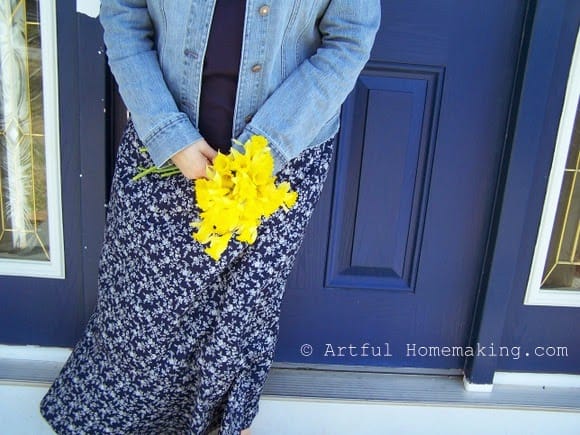
This skirt also isn’t my favorite, but it will work for church. And in this picture it is ballooning out in the wind a bit…My girls helped me take these photos (taken over two different weeks), and they also made suggestions for poses, etc. I don’t really enjoy having my picture taken–I’d rather be behind the camera. 🙂
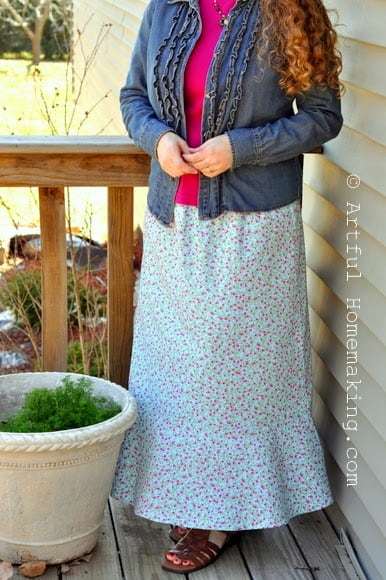
I got this denim shirt at a thrift store years and years ago…I like the ruffles.
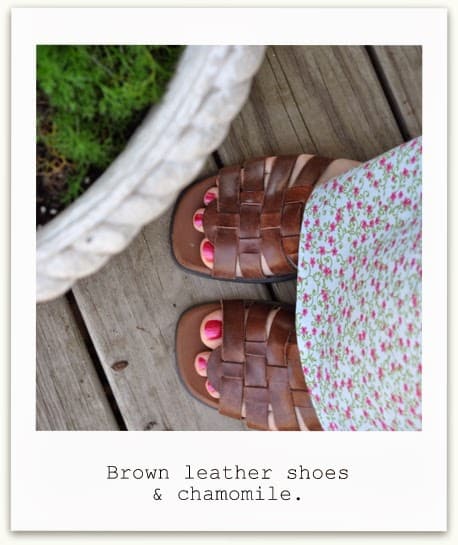
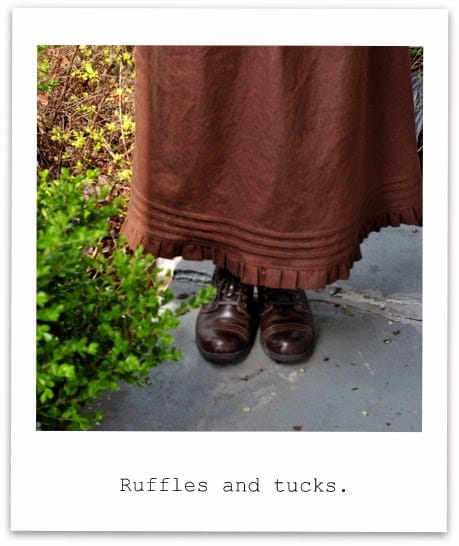
I have been wearing these brown sandals for about six years now! I had to show you a glimpse of my chamomile, blooming in a pot. It was planted for our Apologia Botany course last fall. I was sure it would die over the winter, but it was such a mild winter that it is now thriving! There is also some lemon balm in there that we planted at the same time.
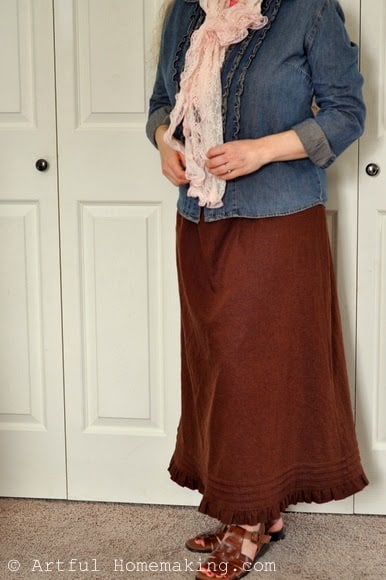
Now this brown linen skirt I really, really like. I did have a hard time getting a good picture of it, though. I have had this fabric in my stash for years. I just couldn’t bear to cut into it because I loved it. Well, now it’s done, and I’m so thankful that I like it so well. I added about an inch to the ankle-length pattern piece, created a 1-1/2″ wide ruffle, and made three 1/4″ tucks at the bottom.
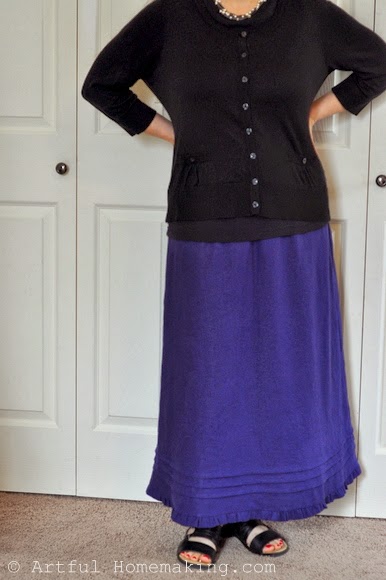
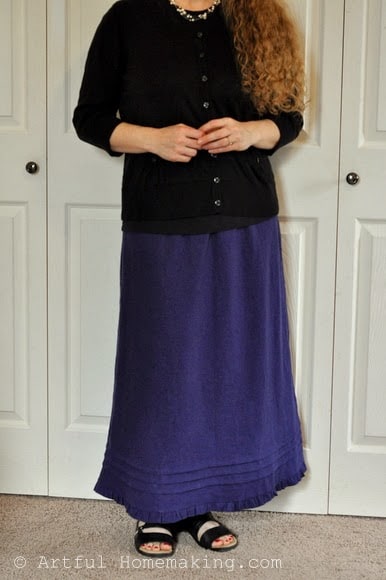
I originally intended to do something different with this blue linen, just to have some variety, but I liked the brown linen skirt so well that I just did the same thing for the blue. The only tiny detail I changed was to add an extra inch to the length. I prefer long skirts for church or special occasions. It also seems that the longer skirts make me look taller (than 5′ 2″). 🙂
I’m so glad I got all that sewing done while it was raining, so now I can be outside while it’s nice and sunny!

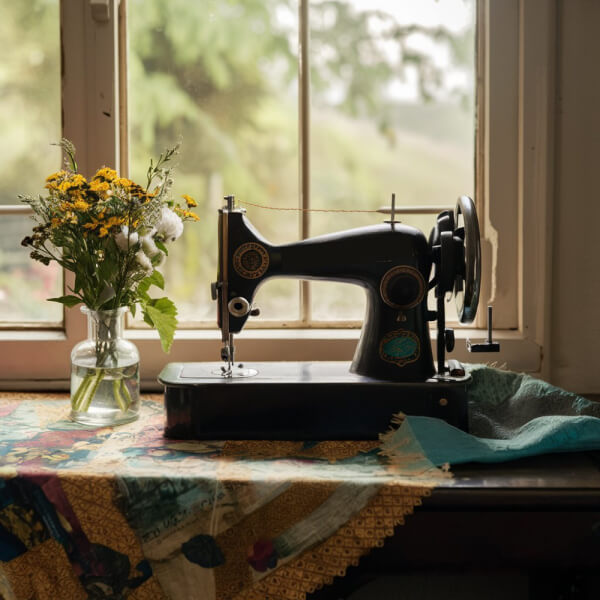


Alright, I am really inspired to get out the sewing machine now! I've got quite a stash to stitch through.
Have fun!
where is the pattern?
The link to the pattern is in the first paragraph of this post. 🙂
One more question ~ Before you added the tucks and ruffle; did you actually add the ruffle that's on the pattern, or take the skirt straight down? I can't tell from the picture. Thanks!
No, I didn't use the flounce pattern piece. I just used the straight a-line pattern piece without the flounce.
Thank you ~ that's what I thought it looked like! Thanks for your help! : )
You're welcome!
I just bought this pattern from you link to Blessed Designs. Did you add the ruffles and tucks on you own? If so, could you explain how you did that ~ I really love you skirts!! Thanks!
Hi Tamara,
Thanks so much for your kind words about my skirts. 🙂 Yes, I added the ruffles and tucks on my own. Maybe someday I can do a tutorial for how I did that, but it's a little too complicated to just explain here in the comments. So, I suppose the next best thing would be some tutorials already done by others. Perhaps viewing these tutorials will give you an idea of how it's done.
For the ruffles:
https://www.helium.com/items/862350-sewing-projects-adding-a-ruffle-to-a-hem
https://www.squigglytwigsdesigns.com/2009/09/tutorial-how-to-add-ruffleto-nearly.html
Neither of the two links above are as thorough or helpful as I would like, but they're all I could find. I made my ruffle 1 1/2" wide. So if you like that size of ruffle, you can use that measurement (as part of the mathematical calculations needed).
For the tucks:
https://sensibility.com/pattern/pinaforehelp.htm
https://www.burdastyle.com/techniques/make-pin-tucks
The instructions by Jennie Chancey on the pinafore pattern (the first link above) are very helpful, I think. I made three 1/4" tucks at the bottom of my skirt.
I hope this is somewhat helpful to you, Tamara!
Thank you for you help Joy ~ I will check out these links now! Appreciate it! But, yes you will have to do a tutorial sometime ~ you do a good job! : )
You're welcome, Tamara!
Hi again, OrangeBlossom!
I couldn't find an email address for you, so I thought I'd just put this in the comments here.
Did your Florinda pattern come with instructions for converting to non-maternity? I just got out my pattern and looked at the instructions, and that's how I converted mine. I've had this pattern for several years, so maybe she didn't include these instructions on later editions, I don't know. Here's what you do:
1. You don't need the maternity panel, just the two skirt pieces (front and back).
2. Lengthen the top of front and back skirt pieces about 7" (8" for size XL and XXL) by continuing the side seam and center lines. Make sure your side seams and center lines are the same length, and that the front and back pieces match at the sides.
3. Draw a gentle curve for the waist.
4. Make sure the waist is at least 4" larger than your hips. This allows you to slip it on over your hips. Add width if necessary.
And that's it! It's pretty easy to convert. Hope that's helpful!