This post may contain affiliate links. Please read our disclosure policy.
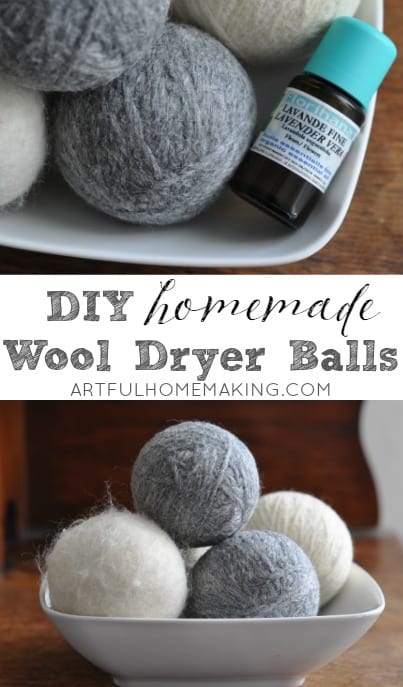
Homemade wool dryer balls are so simple and fun to make! Here’s a simple tutorial for how to make your own dryer balls.
Some time ago, I heard that wool dryer balls were a natural alternative to fabric softener and dryer sheets.
I occasionally see wool dryer balls for sale online, but it looked like such a fun DIY project that I decided to make my own!
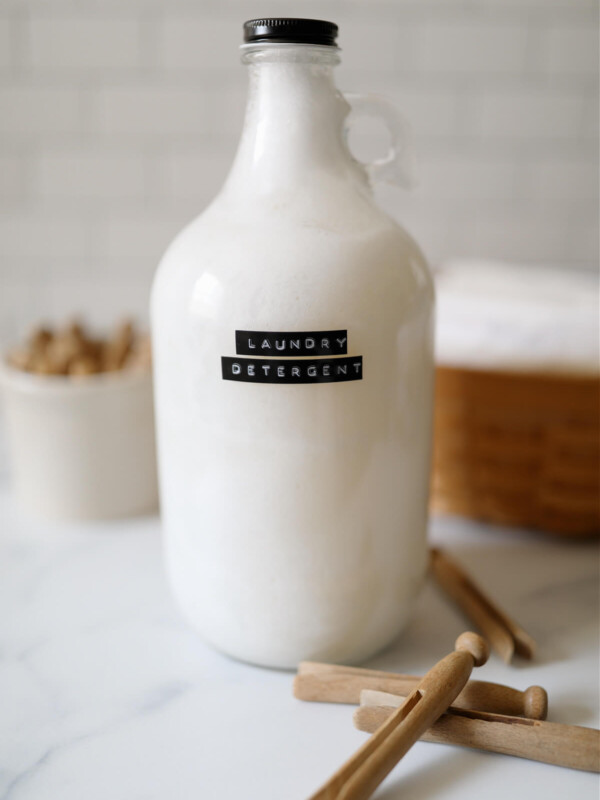
Be sure to also try my homemade liquid laundry detergent recipe if you’re into DIY projects!
I did quite a bit of research before making my dryer balls, trying to decide which way would be best.
In the end, I decided to test out two different types of yarn and also some wool roving just for fun.
Homemade Wool Dryer Balls
Affiliate links included below for your convenience. Read my disclosure here.
Supplies:
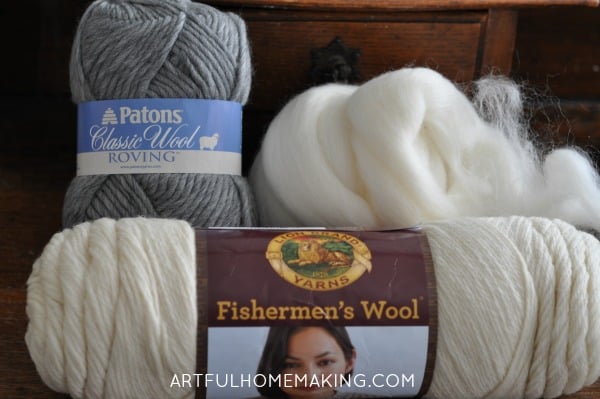
- Wool yarn (I used this one) or wool roving yarn (I used this one)
- knee high pantyhose (like these)
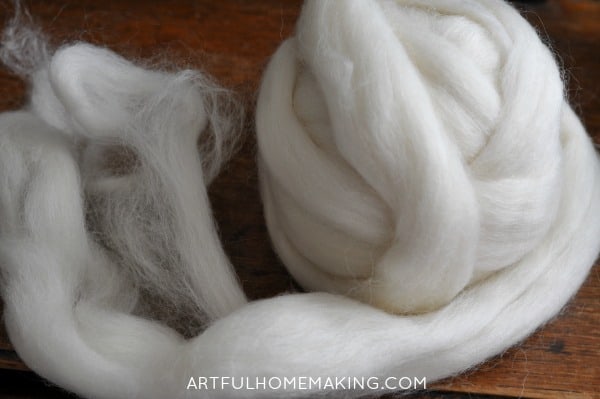
- wool roving like this (optional, you can use either the yarn or the wool roving, or both, like I did)
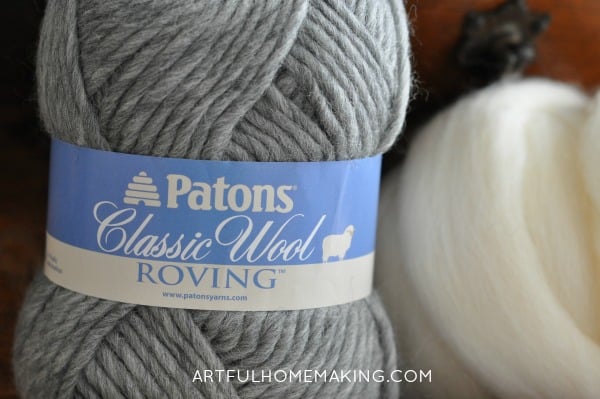
1. Make sure the yarn you use is 100% wool.
This is very important, since yarn that isn’t 100% wool won’t felt properly. It shouldn’t be a blend, but just all wool.
You can find this online or in craft stores. It may seem expensive, but keep in mind that you can get several dryer balls out of each skein (how many depends on how big you make your balls).
You can also save by using a coupon at a fabric/craft store or waiting until it’s on sale.
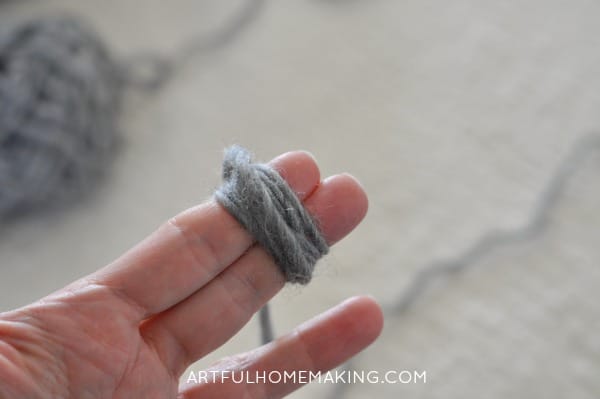
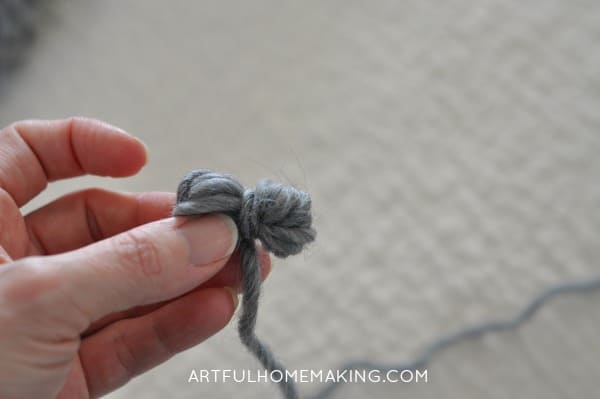
 2. To get the ball started, wrap the yarn around two fingers about 15-20 times.
 2. To get the ball started, wrap the yarn around two fingers about 15-20 times.
I used to help my grandma wind her yarn into balls, so this step was familiar. 🙂
3. Then slip the yarn off your fingers and wrap the yarn around the middle.
Wrap the yarn tightly 2-3 times around the middle (it will look kind of like a bow).
4. Continue wrapping the yarn tightly. You’ll see a ball beginning to form!
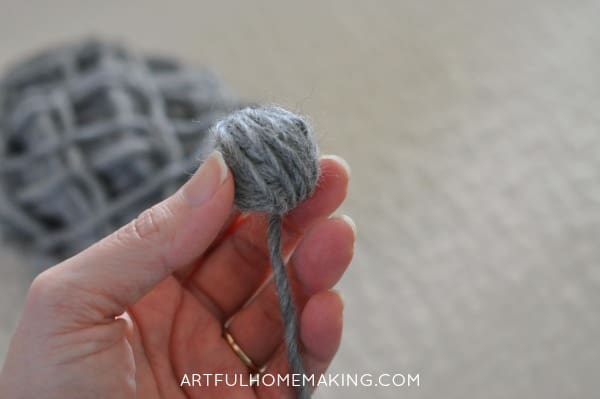
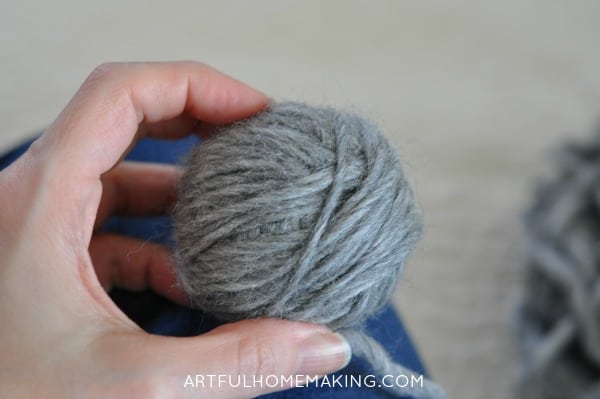
5. When your ball is as big as you want it (about the size of a tennis ball), cut the yarn and tuck the end under the strands of yarn to secure it.
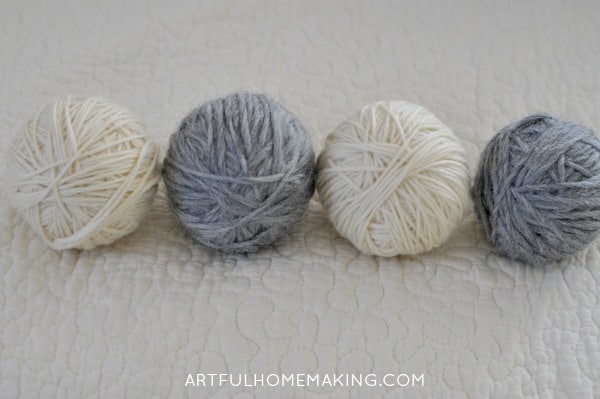
Here are my four balls made with yarn:
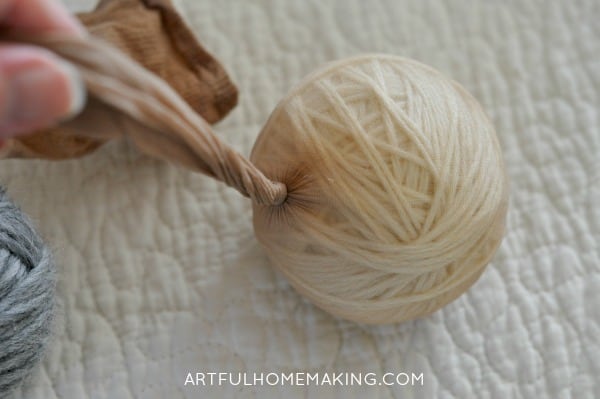
6. Tie the balls into a knee-high stocking.
I used one knee-high stocking for this (you can also use an old pair of pantyhose or tights by cutting one leg off).
Just put the first ball into the toe part of the stocking and then tie a tight knot right above the ball to secure it.
Insert the next ball and tie a knot. Repeat this process until all of the balls are tied into the stocking.
Directions for making dryer balls with wool roving
The procedure for using the wool roving is a bit different.
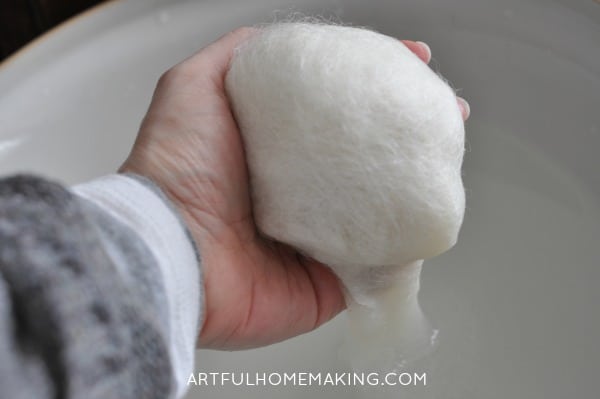
First, you take a small piece of the wool and soak it in warm water. The heat and moisture help the wool fibers felt together.
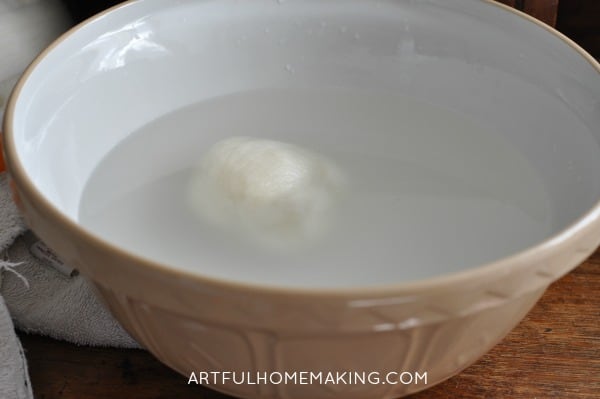
Wind the wool tightly into a walnut-sized ball. This is the core of the wool ball.
Then you take strips of the wool and wrap them around that core piece. Keep the wool soaked and massage it until the wool fibers join together.
Spread the fibers on each strip thin to prevent unraveling.
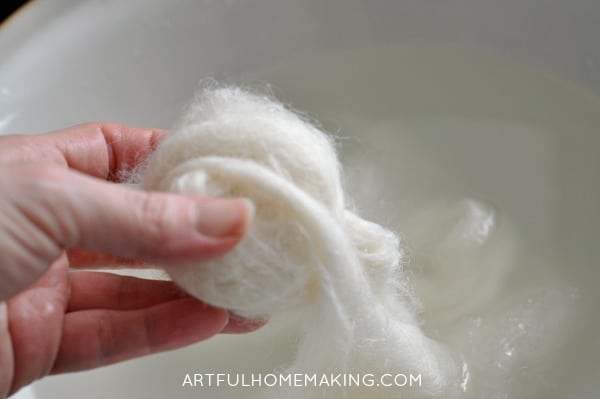
Once you have a ball shape, massage the fibers together and press the loose ends onto the surface of the ball and put it into the stocking.
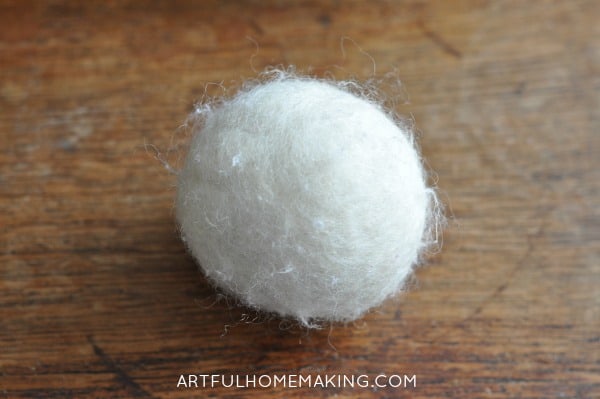
I wasn’t sure this was going to turn out right, but it did!
Even though it didn’t look like much of a ball, after going through the felting process, this is what it looked like:
7. To felt, each ball should be tied individually into the stocking.
Put your stocking full of balls (looks like a caterpillar!) into the washing machine on a very hot wash cycle.
You need heat to encourage the felting process (felting makes the yarn fuse together so the balls won’t unwind).
They don’t need to be washed all alone, they can wash with a load of towels or other laundry that can withstand a hot wash cycle.

8. After washing, dry the balls in the dryer on a very high heat setting.
After they’re completely dry, remove them from the pantyhose. (You may need to cut the pantyhose away from the balls.)
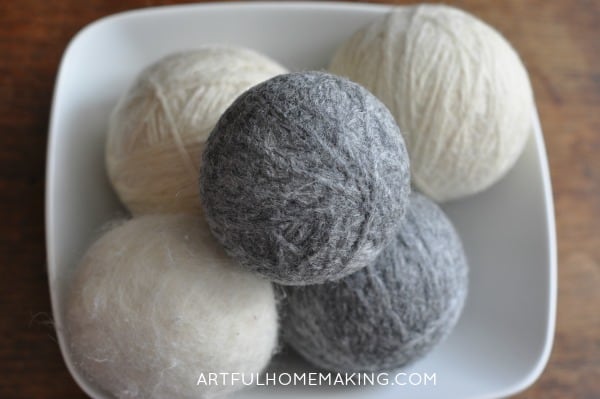
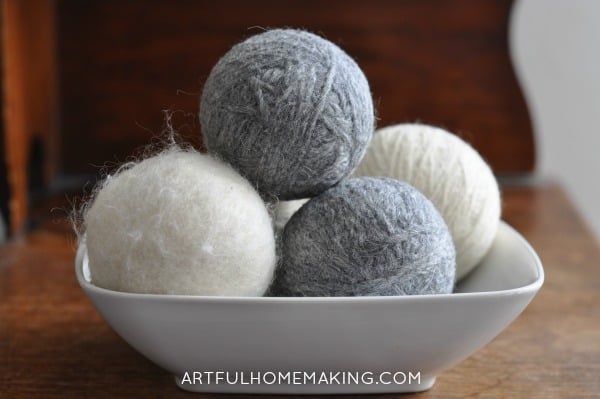
Aren’t they beautiful? Just looking at them inspires me to go do some laundry! 🙂
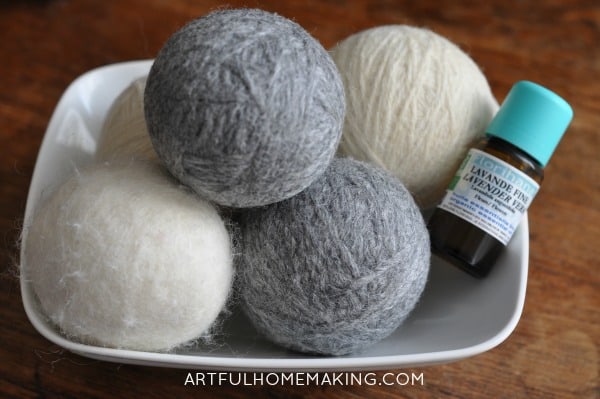
I love to add a few drops of essential oils to each ball, just for some added aromatherapy benefits. For some reason I gravitate toward lavender, but you can use any scent you like!
The laundry really does seem fluffier (especially towels) when the dryer balls are used in the dryer.
I made these dryer balls in January, and they still look great and none of them unraveled even a tiny bit. In fact, the longer I use them the more felted (and sturdy) they seem to get.
Enjoy your useful, beautiful, money-saving creation!


Love this idea! I have been using dryer balls for several years and never thought about making them myself!! Thanks for the info!
Glad it was helpful!
I didn’t know it was possible to make these!
They’re an easy and fun project!
In the past I have machine-felted wool sweaters from Goodwill, to be cut up and made into tote bags. When I did that, I found dish detergent rather than laundry detergent worked with the felting process. By any chance did you put dish detergent in the washing machine when you made the dryer balls?
I used regular laundry detergent for mine. I would be afraid to put dish detergent in my front loading washer.
Good point, my washing machine is 26 years old, I didn’t even give that a thought.
Sometimes I miss our older washing machine (it broke and had to be replaced several years ago), because I didn’t have to be as particular about what type of soap, etc.!