This post may contain affiliate links. Please read our disclosure policy.
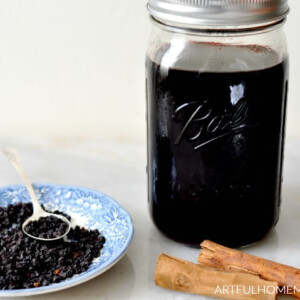
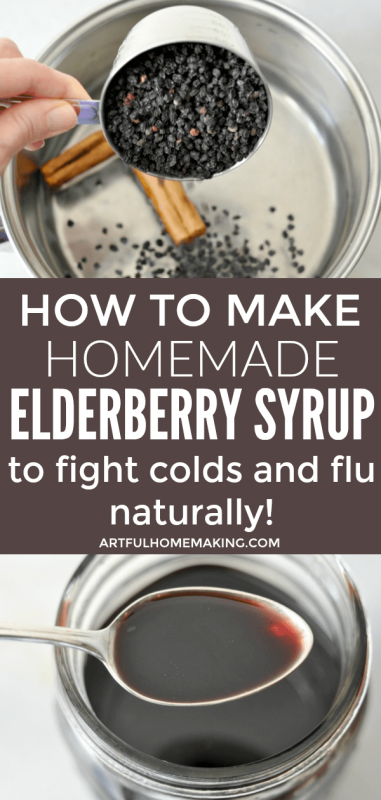
How to make elderberry syrup on the stove top for natural immune support during cold and flu season. This is such an easy tutorial for making homemade elderberry syrup!
One of the things we always make to keep on-hand during cold and flu season is elderberry syrup. Sometimes I buy it ready-made, but I also love making it from scratch.
Making your own elderberry syrup from dried elderberries is simple and I always feel like it’s more potent when it’s fresh.
Why Take Elderberry Syrup?
For years, we’ve been hearing about how beneficial this little berry is for immune health and fighting cold and flu.
As this article states:
Elderberry holds a bounty of flavonoids and triterpenes packed within its tiny fruit. These chemicals seem to be the key to elder’s anti-inflammatory, antiviral and immune stimulating effects.
Many symptoms connected to colds and flus are effectively treated with this tiny berry. Coughs, fevers and sinus infections all bow to elder’s healing touch. This makes elderberry a rare herb as it not only prevents infection but also treats the infection after it’s taken hold.
This study using a liquid elderberry extract:
…showed a reduction in symptoms and duration of influenza infection.
For these reasons I love keeping homemade elderberry syrup on-hand during cold and flu season. And, it’s surprisingly easy to make!
How Do You Make Elderberry Syrup?
I’ve previously shared a tutorial for making Instant Pot Elderberry Syrup, but I’ve had questions about how to make it on the stove top. So, I thought I would do a separate post about making it from scratch the old-fashioned way.
We’re going to be using just a few simple supplies and ingredients to make this easy recipe.
What Do You Need to Make Elderberry Syrup?
Rather just buy it or don’t have time to make it yourself? Get some ready-made elderberry syrup here.
Supplies
All you need are a few simple things.
- medium saucepan
- spoon
- fine mesh strainer
- jar or container for completed syrup (I use a quart jar)
Ingredients
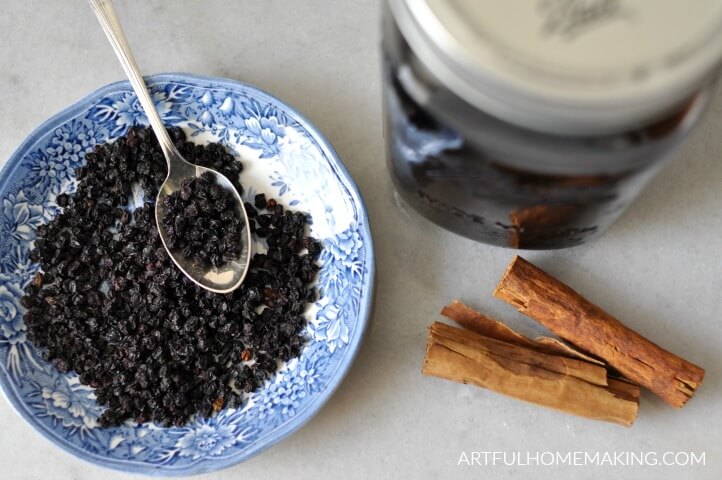
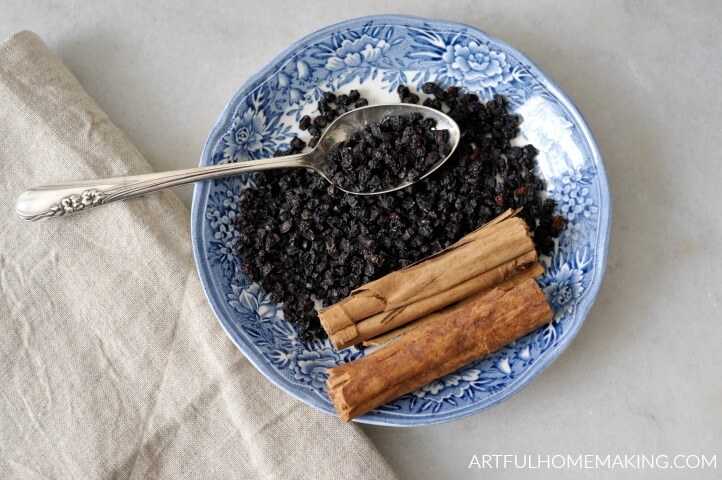
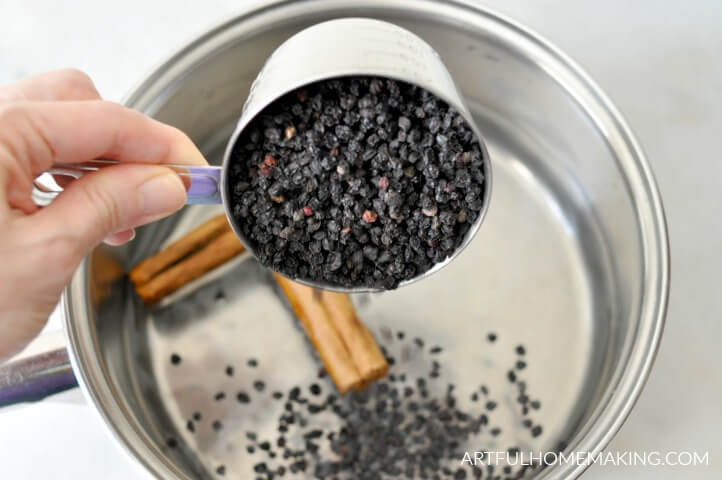
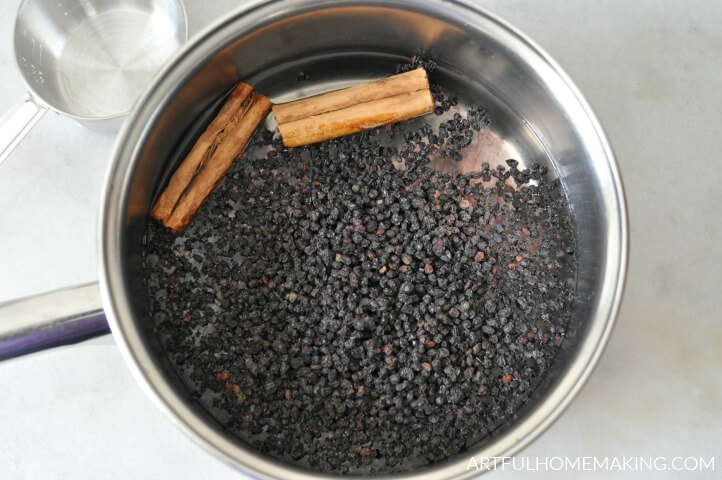
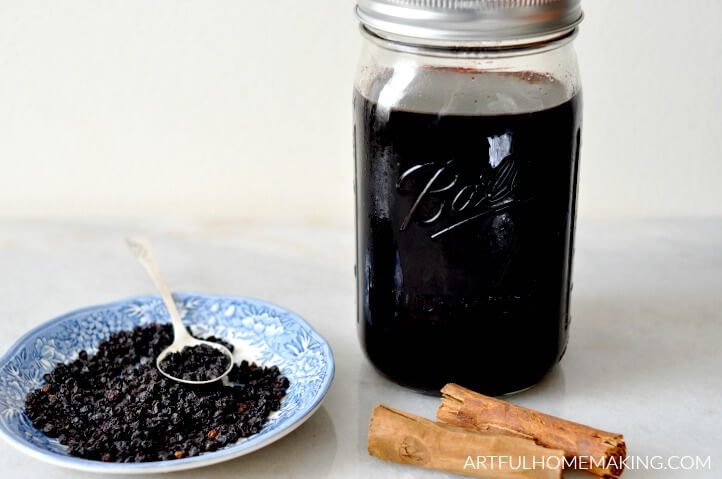
- 4 cups water
- 1 cup elderberries – either these dried elderberries or these elderberries will work
- 2 cinnamon sticks (or 1 teaspoon Ceylon cinnamon)
- 1″ piece of ginger root (optional)
- 1 cup honey (using raw honey is preferred)
Instructions
1. In a medium saucepan, combine the water, dried elderberries, cinnamon sticks, and ginger (if using).
2. Heat on medium heat until the mixture starts to boil. Reduce heat to simmer and cover with a lid.
3. Simmer for about 1 hour, stirring occasionally, until the syrup is reduced by about half.
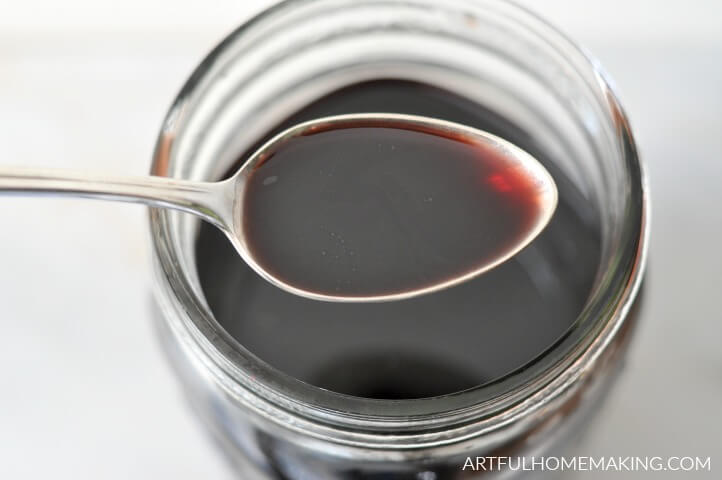
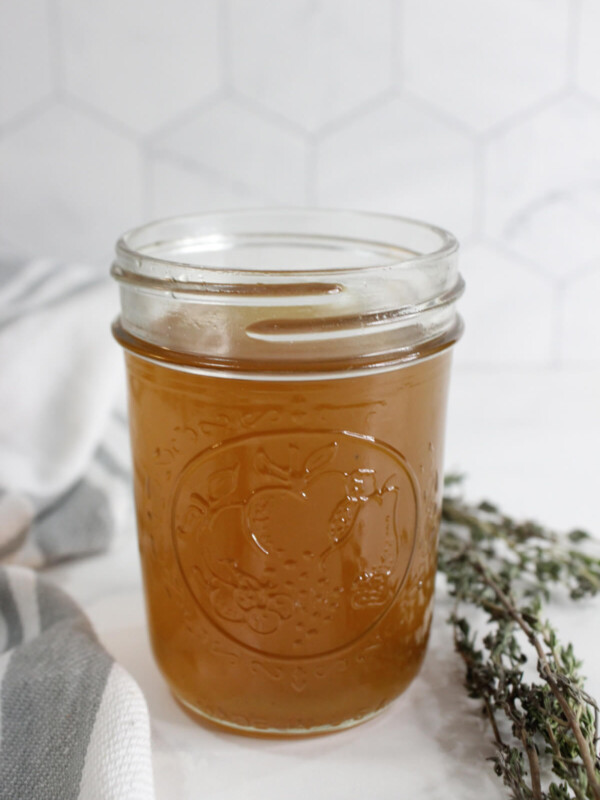
4. Remove from heat and allow it to cool for 10-15 minutes. Pour the syrup through a strainer into a glass bowl. Use the back of a spoon to squeeze any remaining juice out of the berries. Discard the elderberries.
5. Allow the elderberry syrup to cool completely before whisking in the honey.
6. Add the honey and stir until it dissolves into the mixture.
7. Pour the completed elderberry syrup into a jar, add a lid, and store in the refrigerator for up to two weeks. For longer storage, freeze syrup in ice cube trays and thaw whenever you need them.
How to Take It
Suggested Use: children over 1 year of age can take 1/2—1 teaspoon a day (do not give to children under 1 because the recipe contains honey). Adults can take 1 tablespoon per day as a preventative, and increase to every 2-3 hours if you feel an illness coming on.
These are the amounts that we personally use.
Once you’ve made your elderberry syrup, you can turn it into gummies! That’s my children’s favorite way to take it.
Can I Use Fresh Elderberries in Place of Dried?
Yes, you can use fresh elderberries, but increase the amount of berries to 2 cups. And be sure to remove the stems before cooking. Cook for 45 minutes to an hour.
If you make this recipe and enjoy it, please leave a 5-star recipe rating and let me know! Thank you so much!
How to Make Elderberry Syrup on the Stovetop
Equipment
- spoon
- jar or container
Ingredients
- 4 cups water
- 1 cup dried elderberries
- 2 cinnamon sticks, or 1 teaspoon cinnamon
- 1 ” piece of ginger root, optional
- 1 cup honey, using raw honey is preferred
Instructions
- In a medium saucepan, combine the water, dried elderberries, cinnamon sticks, and ginger (if using).
- Heat on medium heat until the mixture starts to boil. Reduce heat to simmer and cover with a lid.
- Simmer for about 1 hour, stirring occasionally, until the syrup is reduced by about half.
- Remove from heat and allow it to cool for 10-15 minutes. Pour the syrup through a strainer into a glass bowl. Use the back of a spoon to squeeze any remaining juice out of the berries. Discard the elderberries.
- Allow the elderberry syrup to cool completely before whisking in the honey.
- Add the honey and stir until it dissolves into the mixture.
- Pour the completed elderberry syrup into a jar, add a lid, and store in the refrigerator for up to two weeks. For longer storage, freeze syrup in ice cube trays and thaw whenever you need them. Makes about 3 cups of elderberry syrup.
Notes
Nutrition
Nutrition information is automatically calculated, so should only be used as an approximation.
Related Posts:
- Instant Pot Elderberry Syrup
- Elderberry Syrup Gummies
- How to Make Fire Water
- Stocking Your Natural Medicine Cabinet
Pin This Post for Later
Disclaimer: This post is not medical advice, and I recommend that you talk to your doctor for any health-related issues.


This is my go to recipe for elderberry syrup! Works great for my family.
Thank you so much for the positive review, Keisha! Your comment made my day! 🙂
This stovetop elderberry syrup is easy to make and tastes great—such a great recipe for cold season!
I froze my elderberries when I harvested them…I had to many things going on at that time. Can I use those for the syrup and should I thaw them first and then use the recipe as fresh elderberries?
I am so looking forward to using the ones I have!
Thank you for the recipe!
I’ve never tried using frozen elderberries but I would guess you can use them in place of fresh ones. Let me know if you try it!
What is the sugar content per jar and serving?
I just plugged the ingredients into an online nutrition calculator. This is just an estimate, but for the whole jar it looks like it would be around 82 g of sugar. For one tablespoon, it would be around 2 g.
hey! looking to make this. could I can it? 🙂
Hi Nicole! I haven’t ever tried that, so I’m not sure. The only thing I’ve tried for preserving it is freezing the syrup in ice cube trays. It would be nice if it could be canned, I’m just not familiar with that.
Thank you so much for sharing this recipe. I’ve pinned it for later.
Bridie @ Heart, Heath and Crafting
https://hearthearthcrafting.wordpress.com/
So glad it was helpful!
By mistakenly not reading far enough into the recipe, I added honey to syrup before cooking it. It’s simmering right now and it’s too late to change what I did. Think it’ll be ok?
Yes, it should still be fine. It might change the consistency a bit, but the beneficial properties of the elderberries will still be present.
Can the honey be optional as well?
I haven’t tried that before, but I suppose you could leave out the honey and just use the elderberry juice.
It is really bitter. I know a certain place that sells elderberry syrup offers it with honey or maple syrup so you could use maple syrup especially if feeding to a very young child (not sure what the age is that you can start giving a child honey)
Thanks so much for sharing that, Sheila! That sounds like a great alternative.
Just made it. Awesome! But question; I’ve used a bunch of different recipes in the past. Is there any way to cut down the bitterness? They all seem bitter to me.
So glad to hear that! I think the bitterness is maybe just a feature of elderberry syrup.
I would like to add rose hip and turmeric to my syrup. How much of each? And do I use powder or oil? Thanks!
Hi Stacy! I’ve never added either of those ingredients to my syrup, so I’m not sure. I just did a quick search, and it looks like you could add 1-2 teaspoons dried rosehips and maybe the same amount of dried turmeric powder?
If you already have concentrated elderberry juice, how much would you use of the juice to make this recipe and would you add water?
If you have around 2 to 2 1/2 cups of juice (that has already been reduced, as shown in the recipe), I would just add the 1 cup of honey and no water.