This post may contain affiliate links. Please read our disclosure policy.
At times I am so amazed that the time is drawing so near, and yet our baby’s birth still seems so far away. While we anticipate the arrival of this new little one, we have been keeping busy.

This rag quilt was so easy and fun to make. I cut out the squares one night…
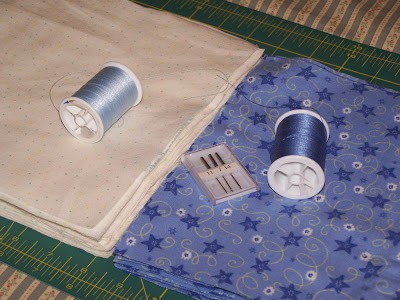
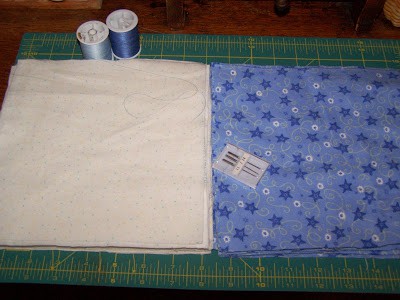
- You will need a total of 2 yards of fabric. I used 1 yard of blue star flannel fabric and 1 yard of white dot flannel fabric. (Do not pre-wash your fabric! This is very important, to get the frayed look.)
- Rotary cutter, cutting mat and quilting ruler (optional)
- Scissors
- Matching thread
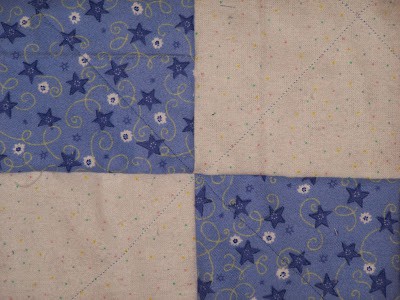
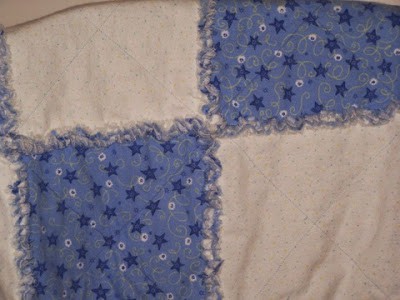
Pin two squares together (if you used contrasting fabrics, you’d pin one of each of these together), and draw a straight line diagonally through the center of the square (using chalk or a quilter’s marker or something that will wash out). Or, you can just sew diagonally through each square like I did, without taking the time to mark through the center. You want to sew from corner to corner to make an x through each square. You can magnify the photos above to get a better idea how this looks.
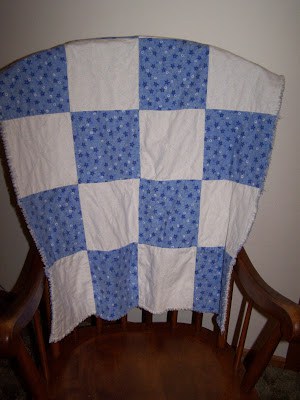
After you have sewn “x’s” through each pair of squares, lay your squares out and see how you want to put them together.
Now pick up two squares and use a 1/2″ seam allowance to sew them together, with the seams facing up toward you. Sew all of the rows and columns together, being careful to keep the seams facing upward rather than sewing right sides together as in most sewing.
After you have all the squares sewn together, use a 1/2″ seam to sew a straight stitch all the way around the whole perimeter of the quilt.
Next comes the fun part. Take your scissors and clip about 3/4 of the way down on all the seams, including the outside seams, being very careful not to clip into the seams. Make the clips about 1/4″ apart.
After all of the seams have been clipped, wash the quilt and then dry it. Give it several good shakes to shake off all the loose threads.
That’s all there is to it!