This post may contain affiliate links. Please read our disclosure policy.
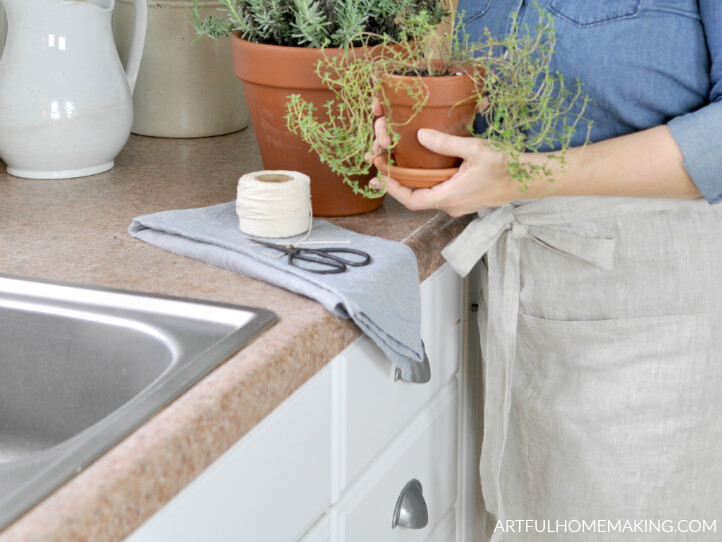
This simple linen half apron pattern is easy to make and fun to wear! This free apron pattern will fit most sizes.
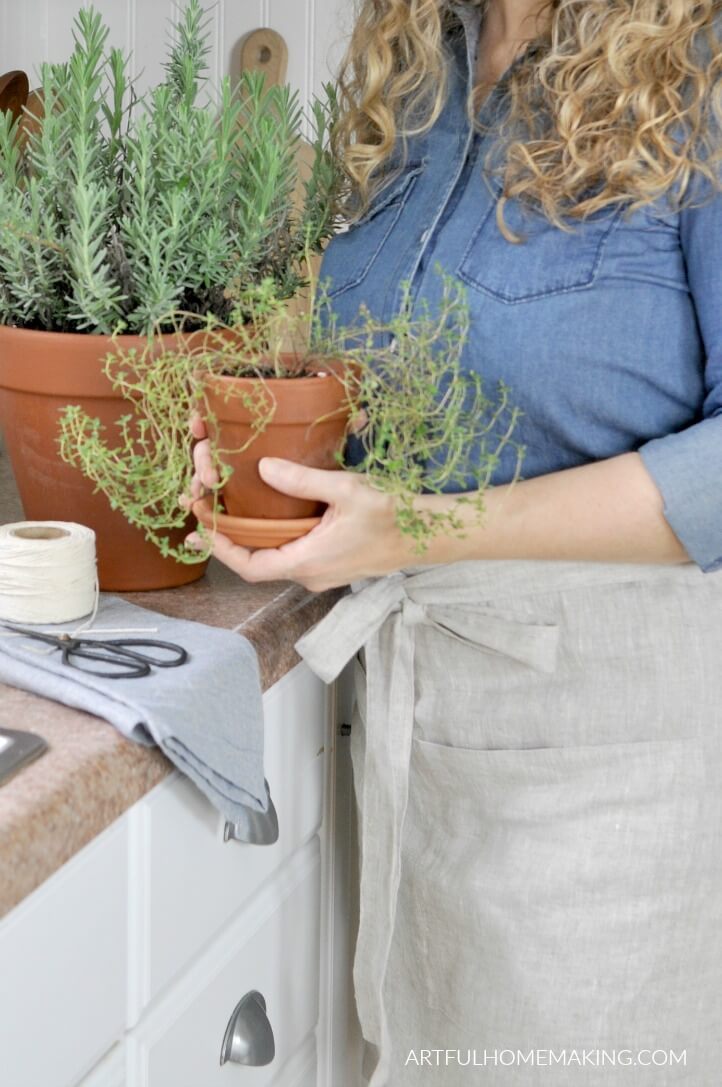
If you’re looking for a good, basic kitchen apron, this linen half apron pattern is a great one to try! And even though it looks great in linen fabric, you can use any cotton or linen blend fabric to sew this apron.
RELATED: Japanese Linen Cross-Back Pinafore Apron Pattern
Half Apron Pattern with Pockets
This half apron pattern features one large pocket at the center front that’s divided to make two pockets. It’s such a simple but ingenious way to add pockets to your apron!
It’s so easy to make that you can cut out and sew one up in an afternoon.
And, these make great handmade gifts!
Unlike this Japanese linen pinafore apron pattern, you won’t need to know the measurements of the person you’re planning to give it to.
The long waist tie allows this apron to fit a wide range of sizes.
With some exceptions, this simple linen half apron should fit most. It fits my daughters, who are sizes extra small and small, and it also fits me (size large).

Supplies Needed for This Project
This post contains affiliate links. As an Amazon affiliate I earn from qualifying purchases.
To make this linen half apron, you’ll need the basic sewing supplies listed below:
- 2 1/2 yards linen fabric (or a linen blend or cotton also works just as well)
- Matching thread
- Scissors
- Sewing pins
- Measuring tape
- Sewing gauge
- Sewing machine (this one is similar to mine)
Watch the Video Below
Linen Half Apron Pattern
In this post, I’m going to show you how to make a half apron with just some basic measurements. This linen half apron pattern is so simple. It’s basically just a few rectangles.
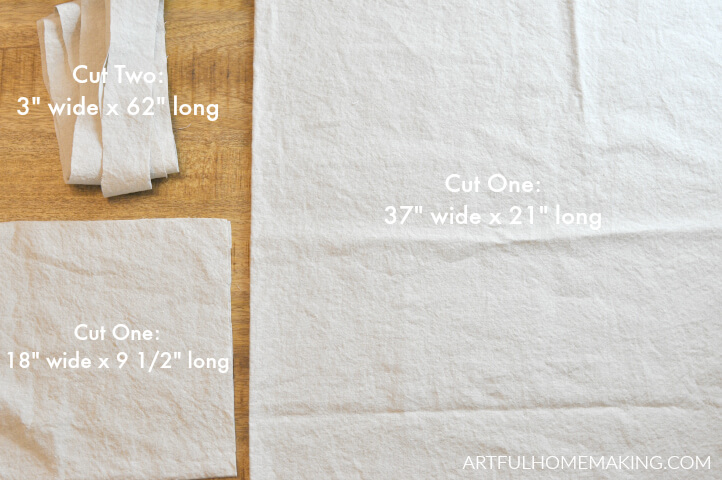
First, cut out these pieces:
- Apron body piece (cut one): 37″ wide x 21″ long
- Apron ties (cut two): 3″ wide x 62″ long
- Pocket (cut one): 18″ wide x 9 1/2″ long
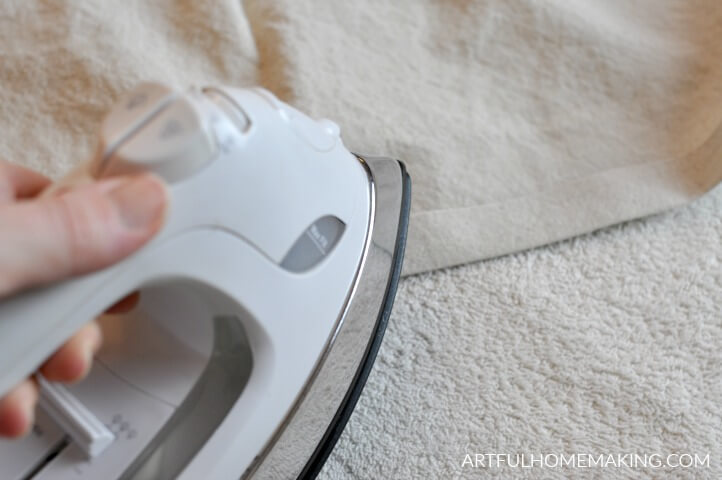
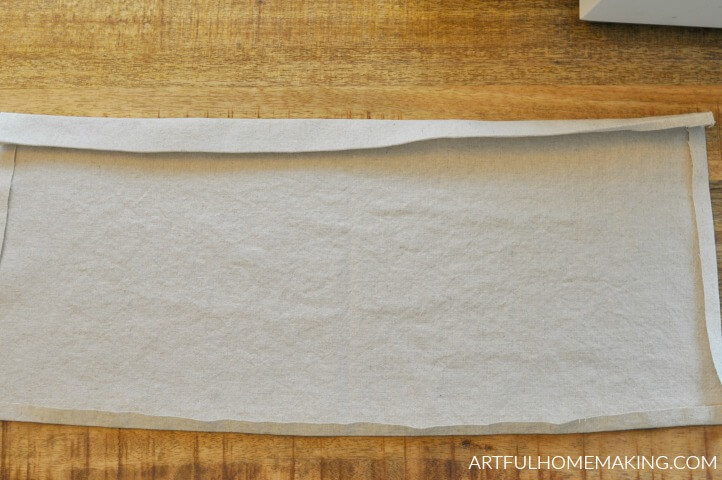
After cutting out the pieces, take the main apron body piece. Turn under 1/4″ at bottom and press. Then turn under again 3/4″ for hem and press. Stitch close to folded edge of apron to hem.
On apron body piece, turn under 1/4″ at sides, and press. Then turn under again 1/4″ and press. Stitch along the edge to hem sides of apron body, leaving top edge unstitched.
Sewing Apron Ties
Stitch the two apron ties together at end with a 1/4″ seam allowance to make one long tie.
Place long tie (right sides together) along top edge of apron, matching center front of apron body to center seam of tie. Stitch tie to apron body with 1/4″ seam allowance.
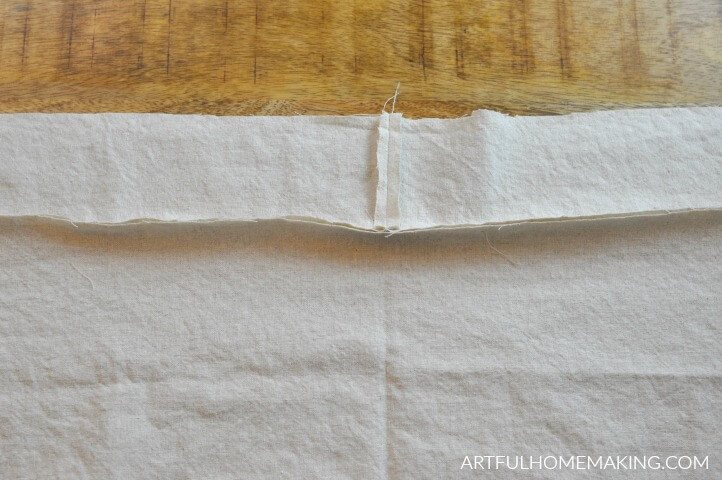
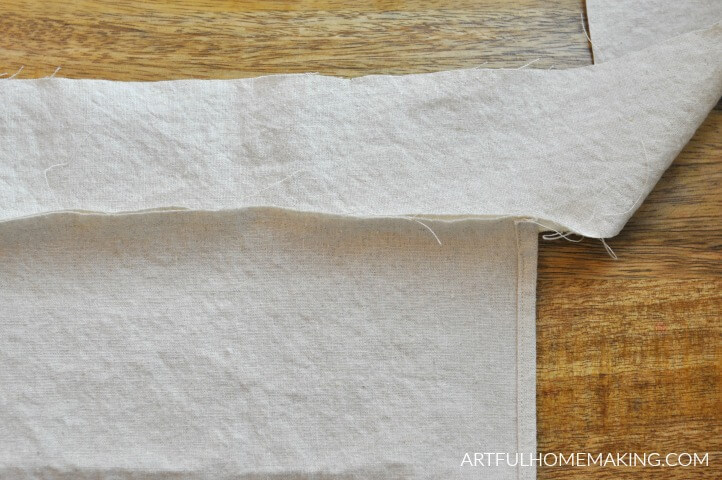
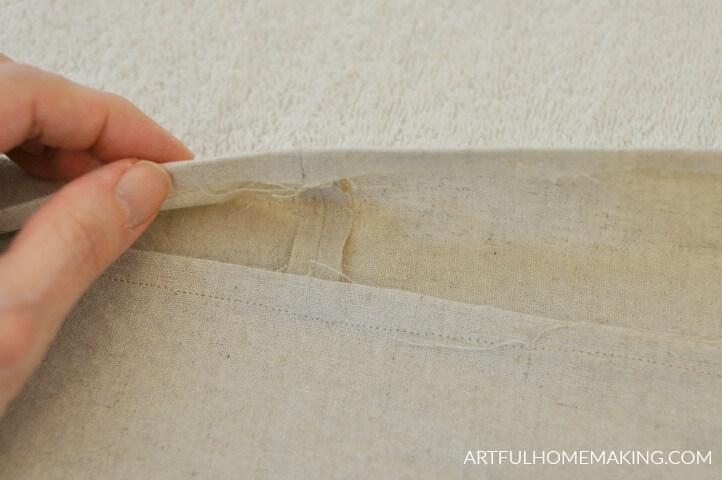
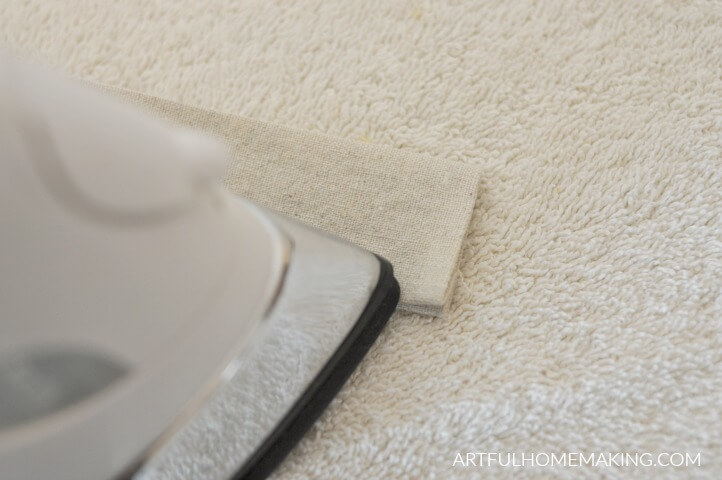
Turn under 1/4″ at each tie end (at the very end) and press.
Then turn under 1/4″ along rest of tie (top and bottom edges) and press.
Below, you can see that the top and bottom edges and the end of the tie have been pressed under 1/4″.
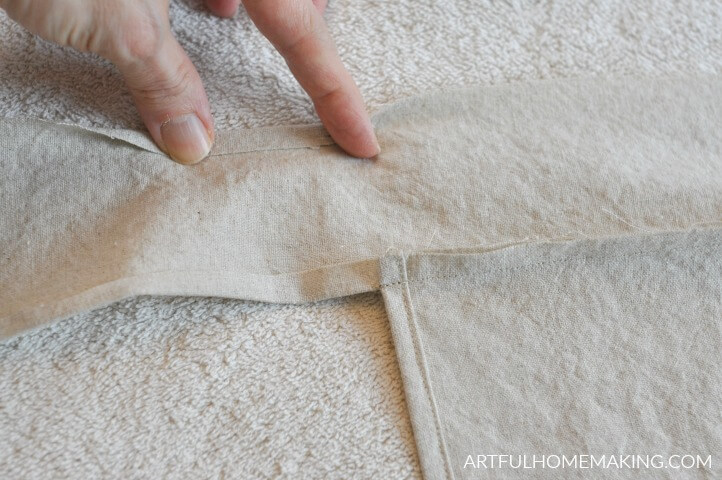
Fold the tie over toward the inside of the apron, and top stitch (sew) the tie all along the length of the tie at the top of the apron. (Your results will be neater if you first fold the apron tie over, then press, and then pin it down before top stitching.)
Also, be sure to top stitch on the front so stitching will be straight. So, you’re going to have the apron front facing you (facing up) when you top stitch the apron tie down.
Sewing the Apron Pocket
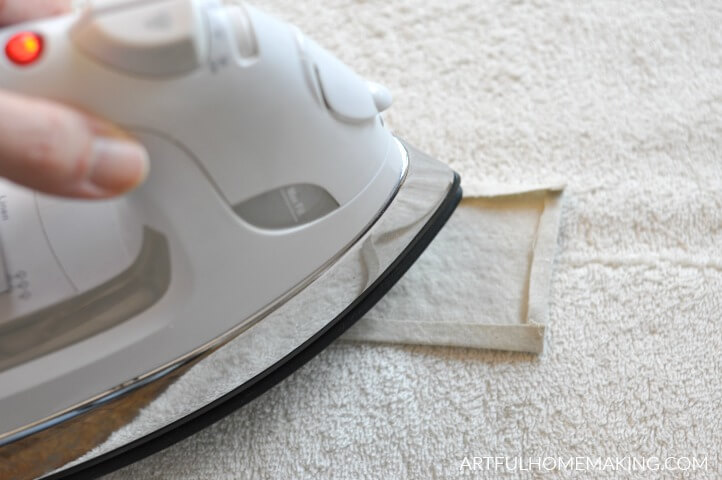
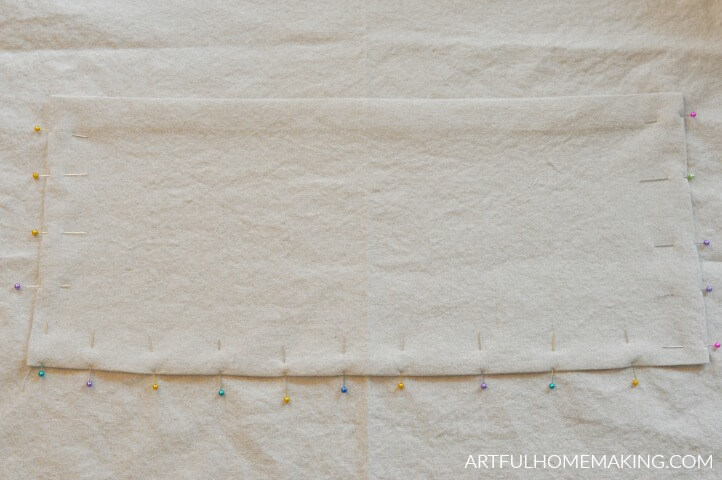
Now it’s time to sew the apron pocket. Take your apron pocket rectangle, and turn under 1/2″ on bottom and sides. Press.
On top of pocket, turn under 1/4″ and press, then turn under 3/4″ and press. Top stitch along top edge of pocket to make the top hem.
Pin pocket to center front of apron along the bottom and sides, leaving the top open. The pocket should be about 6″ from the top, and approximately 9″-10″ from the sides.
This is just an approximation, and doesn’t have to be exact. Just try to center the pocket on the front of the apron.
I like to use lots of pins to hold the pocket in place while I’m sewing it down. After you have it pinned, start at one side of the apron pocket, and stitch all along the pocket side, down to the bottom, sew the bottom, and then go up the other side.
Leave the top edge of the pocket unsewn.
Now stitch down through the center of the pocket to make two sections. This will turn that one long pocket rectangle into two pockets!
To finish the apron, cut off all loose threads and then press the whole apron again.
Now it’s ready to put to use in your kitchen, garden, or anywhere else you need an apron!
Related Posts
Click on the picture to be taken to the post:


Pin This Post for Later

Disclosure: This post includes my affiliate links. Read my full disclosure here. Sharing this post here.


Love this apron!
Thank you! It’s one of my favorites!
As a old fashioned apron wearing gal, I’m thrilled to add this apron tutorial to my collection Joy.
Thank you for sharing this project at Create, Bake, Grow & Gather this week. I’m delighted to be featuring your linen half apron at tomorrow’s party and pinning too.
Hugs,
Kerryanne
Thank you, Kerryanne!
This was the perfect tutorial! I was looking for a quick and easy half apron that I could whip up on a free afternoon and I did just that! Thank you <3
Yay! So glad to hear that, Carly! Enjoy your new apron!
I’ve long been an apron wearer in the craft room and my home and love this sweet half apron Joy. The big front pocket is perfect too.
Thank you for sharing your apron tutorial at Create, Bake, Grow & Gather this week. I’m delighted to be featuring it at tonight’s party and pinning too.
Hugs,
Kerryanne
Thanks so much for the feature, Kerryanne!
Your apron turned out perfect. I wear an apron every day! Kinda old school, but I like to protect my clothes.
Pinned.
Please share on my site at the You’re The Star blog hop.
Happy New Year,
Kippi
Thank you, Kippi!
Thank you for posting this lovely apron with a pattern! I hope to make it soon! Blessings to you today!
Thank you, Katelynne! So glad you stopped by today!
I definitely could use one or two of these pretty aprons! Great tutorial – pinned
Thank you, Marie!
Beautiful fabric! Love the half apron style. Great tutorial share!
Thank you, Amy!