This post may contain affiliate links. Please read our disclosure policy.
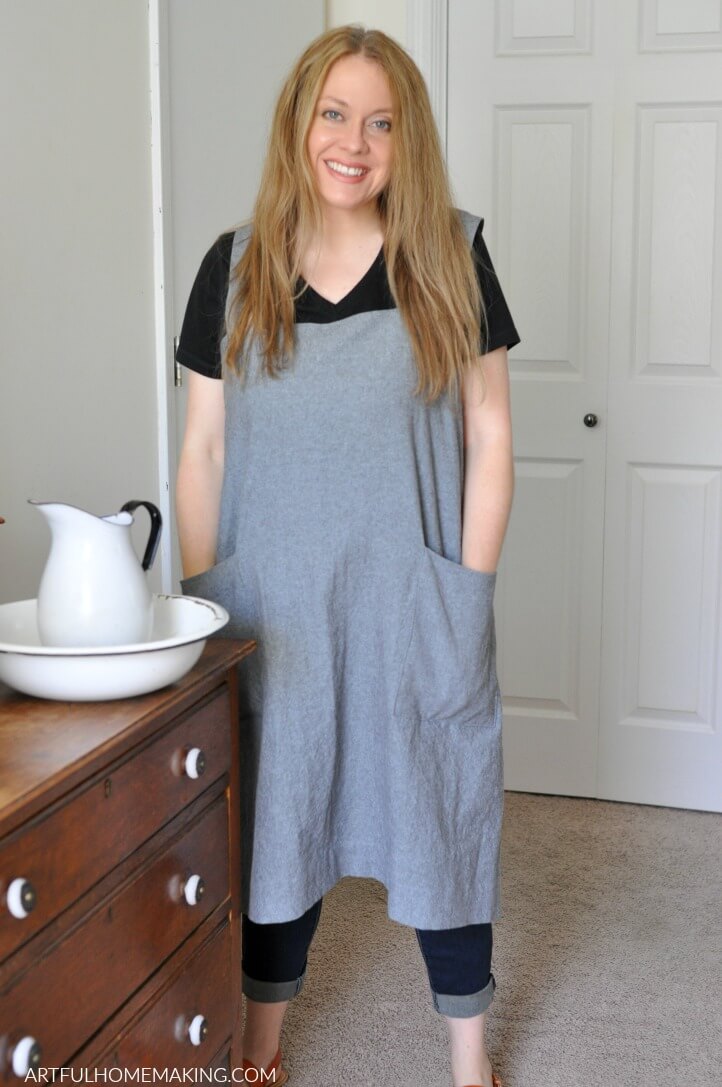
This cross back apron pattern is my favorite apron pattern ever. Ever since I first discovered these Japanese-style aprons, I’ve been in love with them. I knew I had to make one for myself!
This free pattern is the result of my trial and error, and it was worth all the effort to figure out how to make it!
Why I Love This Cross Back Apron Pattern
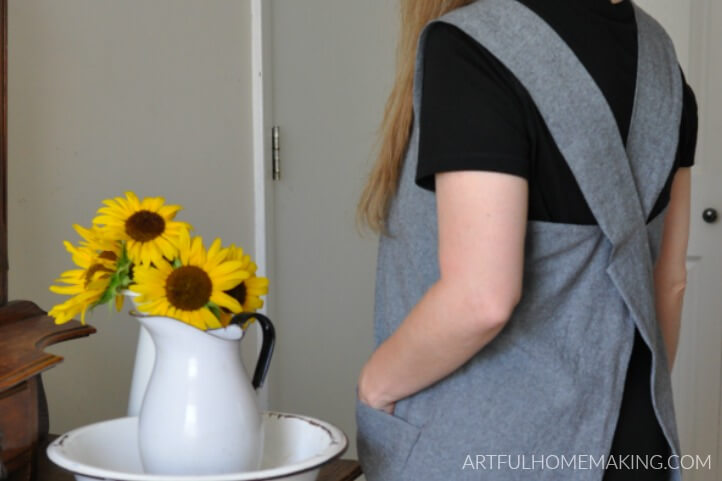
There are so many reasons to love this lovely apron style. But one of the main things I love about cross back apron patterns is the fact that you can quickly and easily slip this apron on. There are no ties to tie around your neck or waist. I love the cross-back straps that don’t require having something tied around the neck.
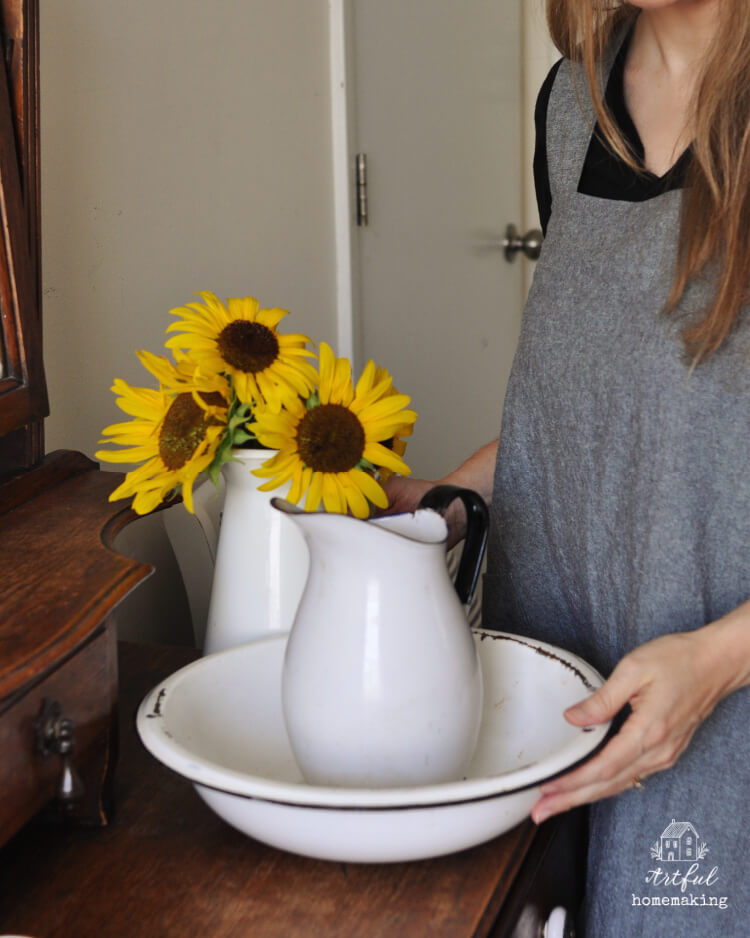
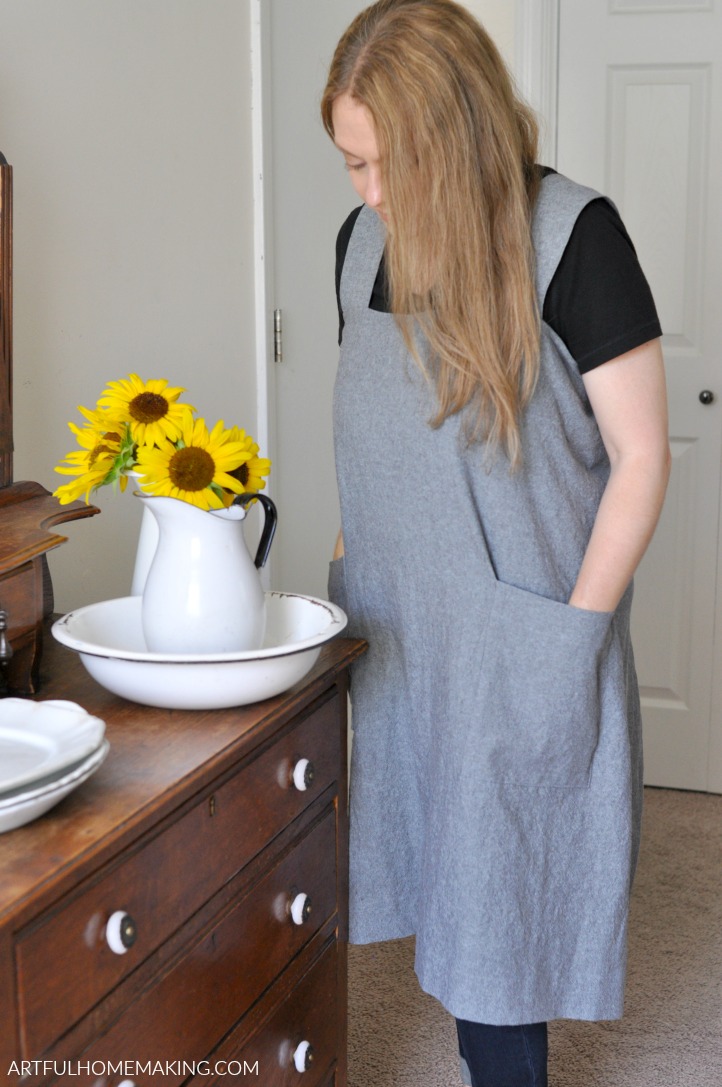
Sometimes called a Japanese apron, this style of pinafore apron lends itself to a variety of situations. It’s perfect for working in the garden, cooking in the kitchen (it’s such a great kitchen apron!), and any homemaking task.
The large front pockets provide plenty of room to carry produce in from the garden, or to carry items from room to room as you’re picking up. It’s such a versatile design.
If you’re in the market for a new apron, I highly recommend this style. Just like these half aprons, they also make great gifts!
What is a Cross Back Apron?
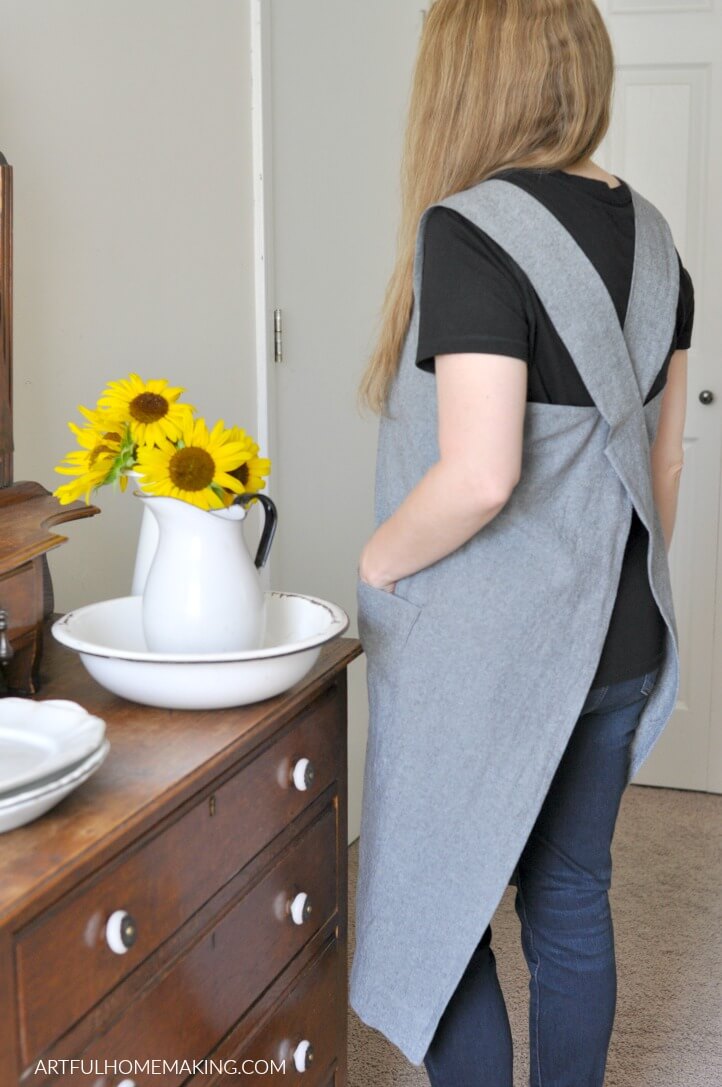
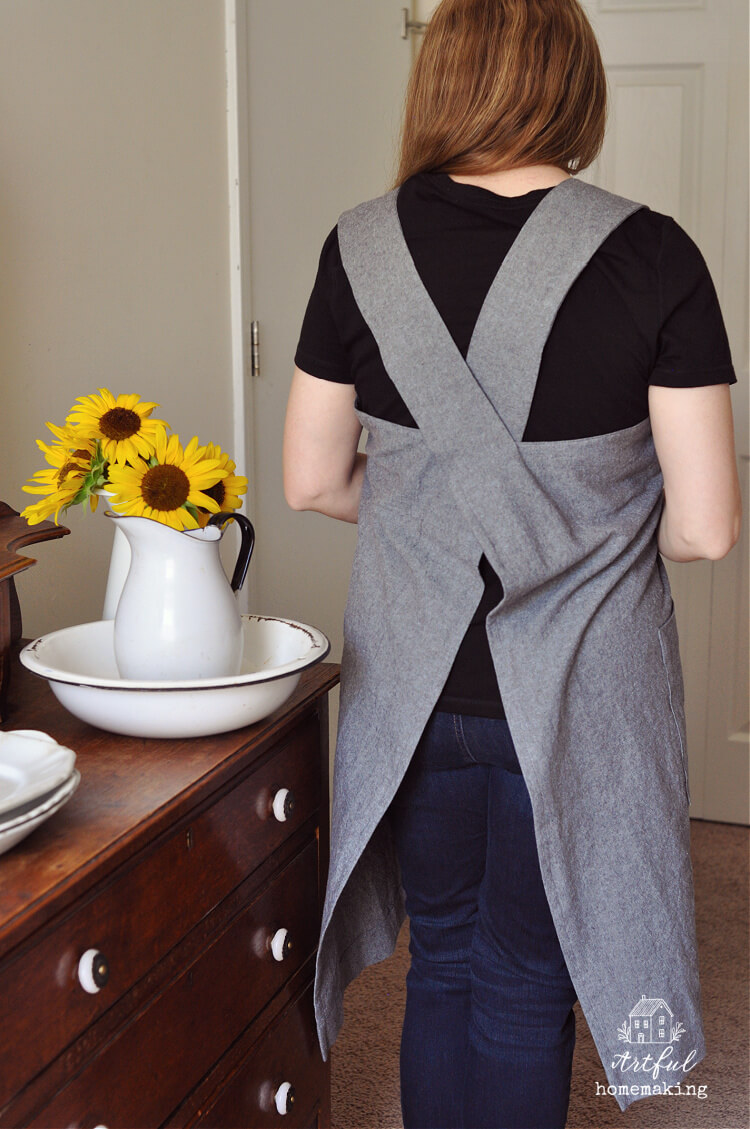
A cross back apron is an apron that has two straps that cross over each other in the back. There are no ties around the neck or any fasteners. You just slip it on over your head and it’s ready to wear! This Japanese style of apron is so easy to wear and very easy to make.
This post contains affiliate links, which means I may make a small commission at no extra cost to you. Read my disclosure here.
What is the Best Fabric for a Cross Back Apron?
This free apron pattern can be made out of any woven fabric. It would be so beautiful made out of 100% linen, but you could also use a cotton fabric. I used a linen/cotton blend, as it’s more affordable but still has the look of linen. Feel free to use your favorite fabric for this apron.
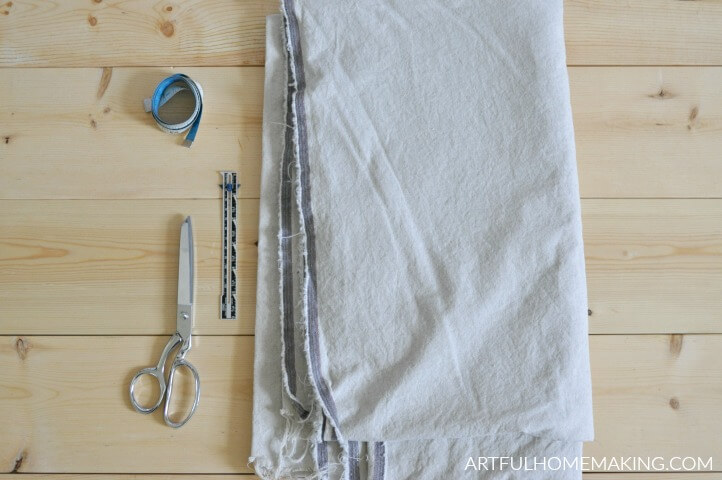
Supplies Needed to Make This Easy Apron Pattern
Here are the supplies you’ll need to make this pinafore apron pattern.
- 2 yards fabric (I used this fabric for my apron)
- measuring tape
- sewing gauge
- scissors
- matching thread
- sewing pins
- magnetic pincushion (optional—I’ve loved mine for 10 years!)
- sewing machine
Watch the Cross Back Apron Pattern Video
How to Make a Cross Back Apron
This DIY apron pattern uses some basic measurements and basic stitches. But I wouldn’t necessarily recommend it for beginners.
Even though it’s a pretty basic concept, if you’re not already familiar with sewing terms and techniques, some of the instructions might seem confusing. That said, if you’re an ambitious beginner willing to try something new, go for it!
Before getting started, go ahead and pre-wash your fabric to avoid shrinkage later. I also iron my fabric if it’s very wrinkled after coming out of the dryer. This makes it easier to work with.
The detailed instructions for making this cross back apron are below.
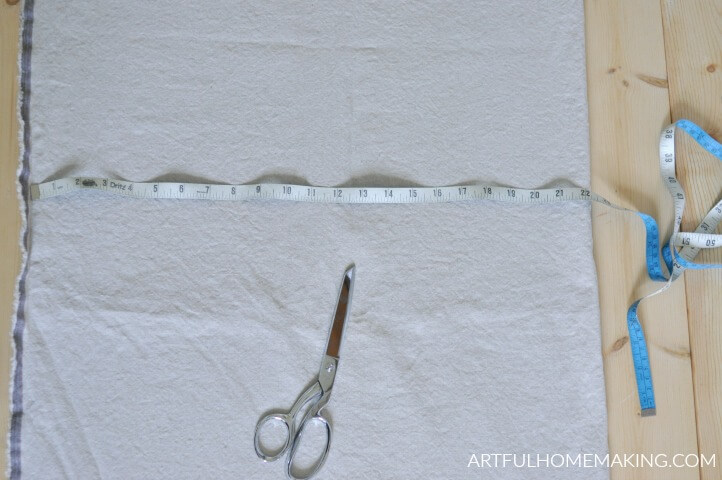
Take Your Measurements
First, you’ll want to take some basic measurements. You’re going to make your own cross back apron pattern, using your measurements.
- Measure right above your bust and add 5-6 inches to this measurement for wearing ease after sewing.
- To find the apron length, put the measuring tape above your bust (where you measured originally) and let it hang down, and decide how long you’d like your apron to be. Add 3″ to this measurement for the hem.
As an example, here are my measurements. My above-bust measurement was 38″, and I added 5″, which brought my width measurement to 43″.
For the length, I decided on 30″ + 3″ which gave me 33″. So I cut my main apron body piece 43″ x 33″.
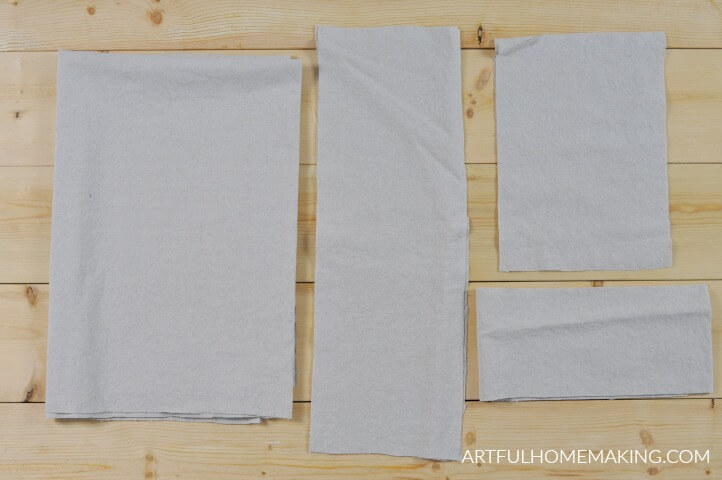
Cut Out Your Apron Pieces
Here’s a list of all the pieces you’ll need to cut out for your apron.
Cut One Apron Body Piece using the measurements you took above. My apron body piece was 43″ wide x 33″ long.
Cut 1 Apron Facing: Cut a strip of fabric for your apron facing. Make it the width of your apron and 5″ long. My apron facing (using the above measurements) was 43″ wide x 5″ long.
Cut Two Straps: 20″ x 7″ (straps are 20″ long by 7″ wide) You can also make the straps a bit narrower if you prefer a narrower strap.
Cut 2 Pockets: 11″ x 8″ (pockets are 11″ long by 8″ wide)
How to Sew a Cross Back Apron
There are a lot of steps to making this apron, as I’ve tried to be as detailed as possible. Don’t be intimidated by all the steps. Just take them one at a time!
I highly recommend checking out the video that I made to go along with this pattern. (Find the video above.) I didn’t get all the steps filmed, but I still think it’s helpful, especially when it comes to attaching the straps.
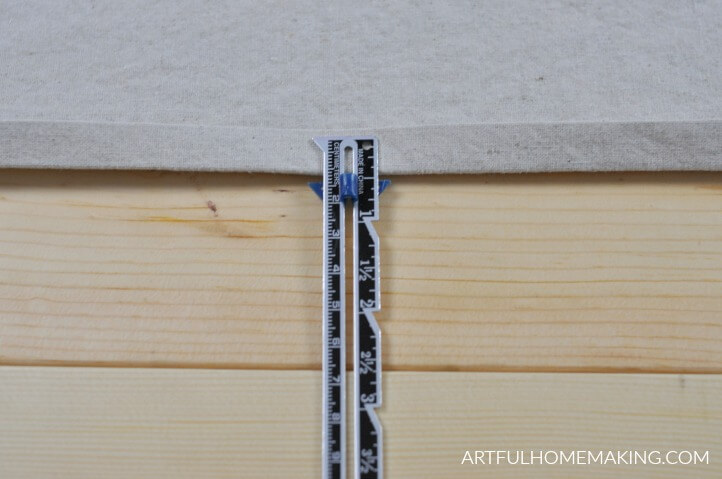
1. On the apron body, turn hem up 1/2″ and press. Turn up another 2″ and press well. Pin hem in place and sew along folded edge. Press hem.
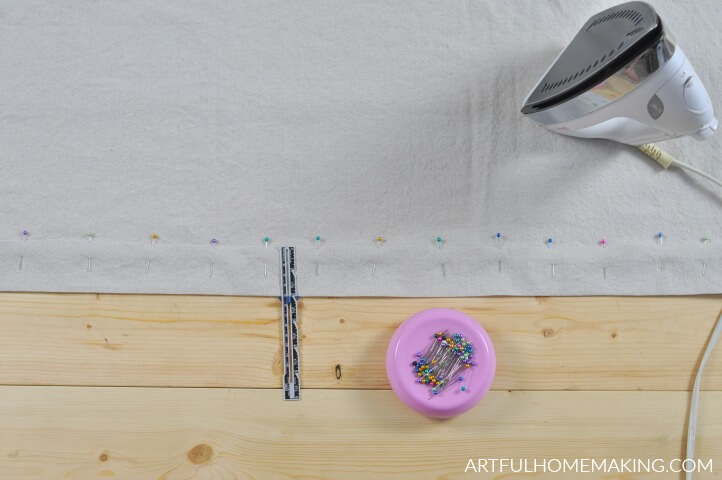
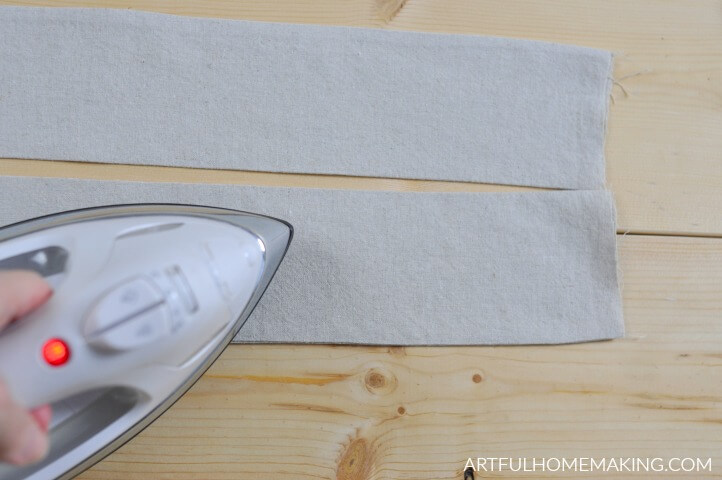
2. Turn under apron sides 1/2″ and press. Then fold over again 1/2″ and press. Don’t sew this hem yet. Set apron body aside.
3. On apron facing piece, turn under 1/2″ on one long edge and press. Set aside.
Sewing and Attaching the Apron Straps
This is the part where watching the video (above) would be helpful. It might help give you a visual of how the cross-back apron pattern goes together.
4. Sew the straps. Fold one strap piece in half lengthwise (right sides together if your fabric has a printed side) and sew with a 1/2″ seam. Trim seam to 1/4″. Turn fabric right side out (using a large safety pin attached to one end) and press seam (I leave the seam on the edge of the strap). Repeat these steps with the other strap.
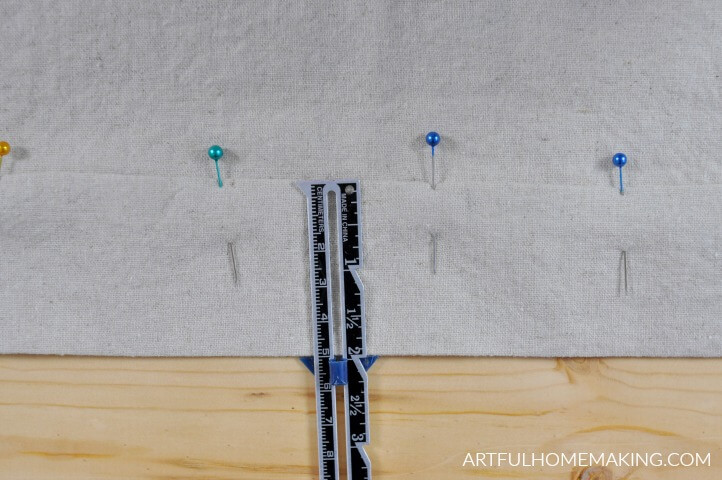
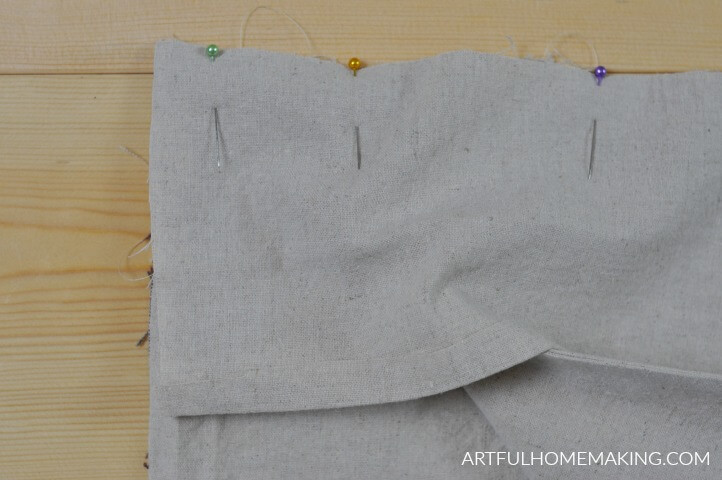
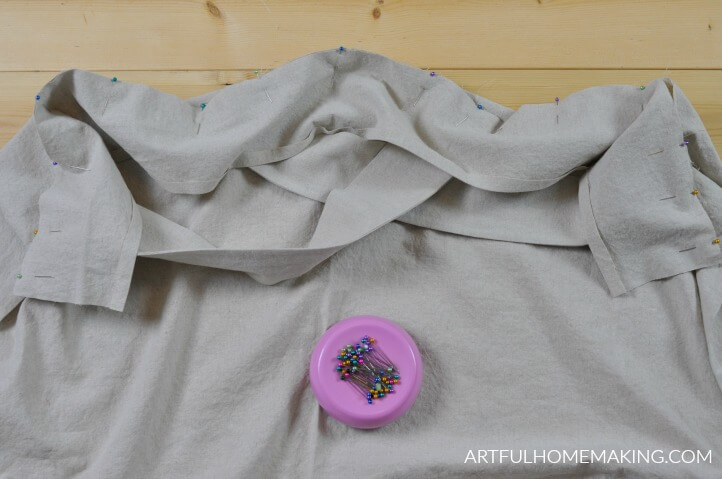
5. Lay apron body piece right side up. Take one strap and pin 1″ away from the raw edge of the apron body at top left side of fabric. Repeat with other strap so both are pinned on.
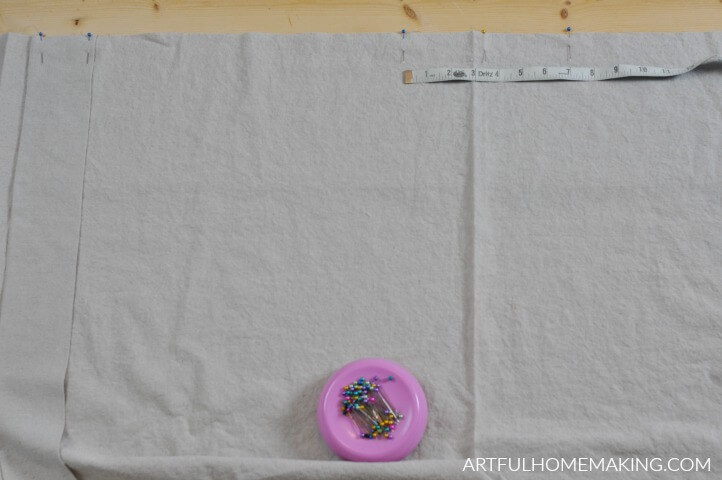
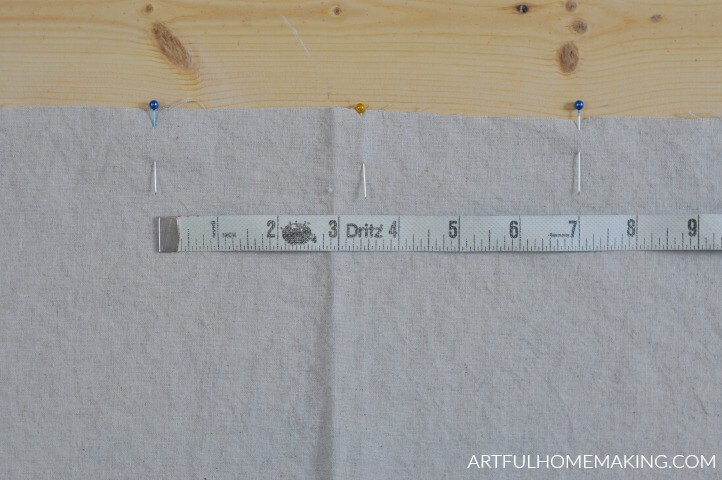
6. Fold apron in half and mark center front with a pin at the top of the apron. Using a measuring tape, mark about 7″ at center front of apron. Put a pin at the beginning and end of the 7″ so your straps will be about 7″ apart.
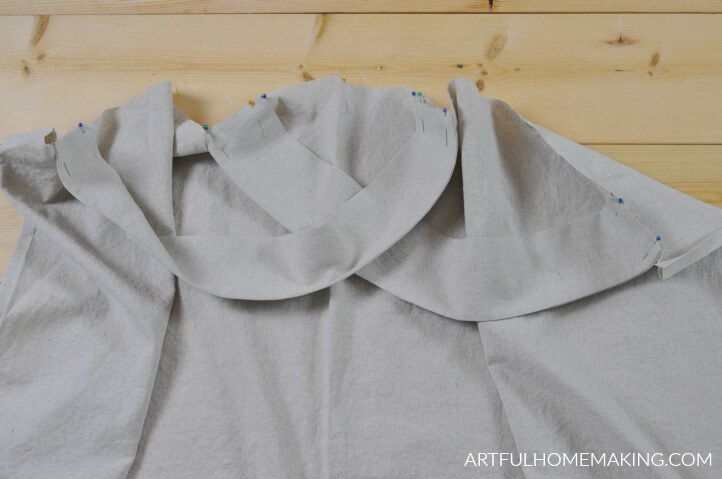
7. Lay apron body face up in front of you. Take the strap on the right and cross it over, bringing it to the front opposite side and pin. Repeat with the other strap, crossing it over and pinning it to the front. The apron straps should be about 7″ apart in the center front. (Please see the example in the video, as it’s easier to show this than to explain it in writing.)
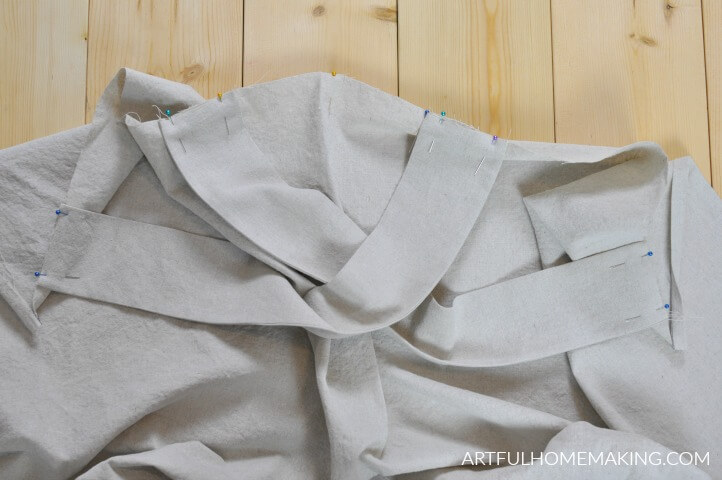
8. Baste straps in place using a 1/4″ seam allowance.
9. Try the apron on and make sure the strap placement is correct and neither strap is twisted.
Sew on the Apron Facing
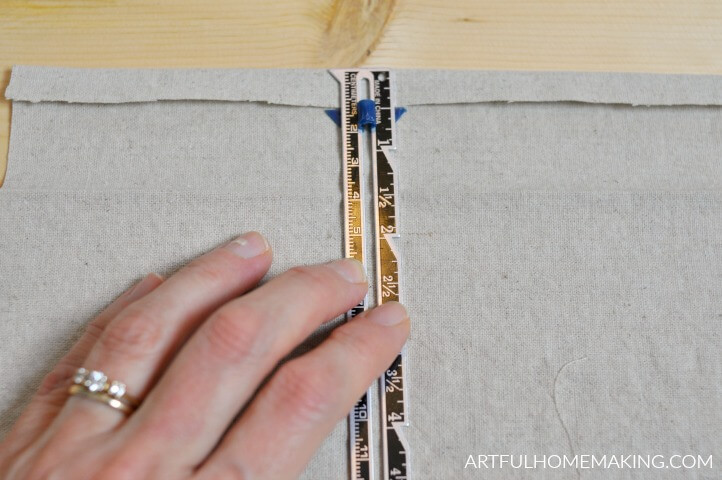
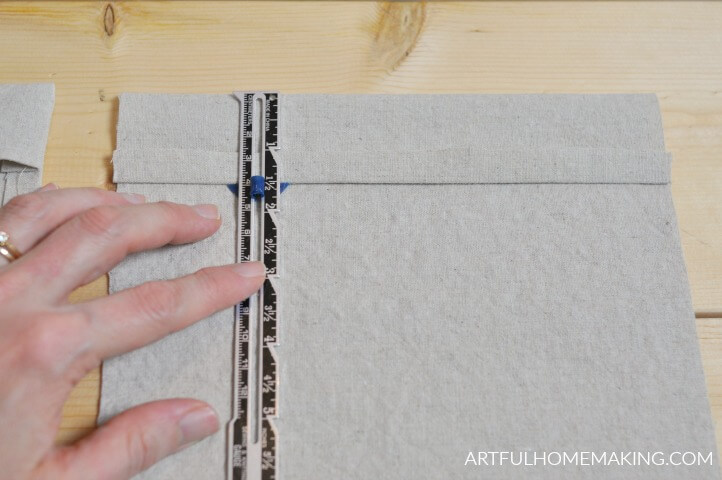
10. Lay apron body right side up. Lay apron facing over the top of the apron body (right sides together) and pin in place. Stitch apron facing to apron body, using a 1/2″ seam allowance. Trim seam to 1/4″. On inside, press seam up toward top of apron.
11. Turn apron facing to inside of apron, and press apron facing down, making sure the edge you turned under earlier is still nicely pressed.
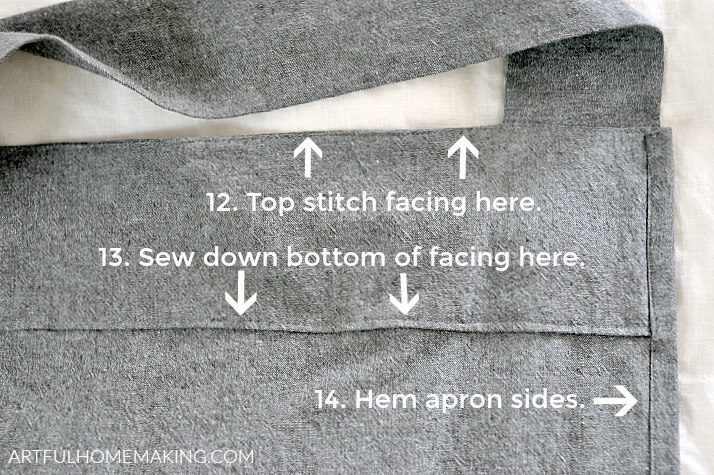
12. Top stitch along the top edge of the apron.
13. Sew down the folded under edge (the bottom edge) of apron facing close to the edge of the fold.
14. Hem apron sides by sewing along previously folded 1″ (that you folded under and pressed in an earlier step).
Make and Sew on Apron Pockets
15. Make pockets. Turn under 1/2″ on pocket top.
Fold again at 1 1/2″ with right sides together.
Stitch top down with a 1/2″ seam allowance.

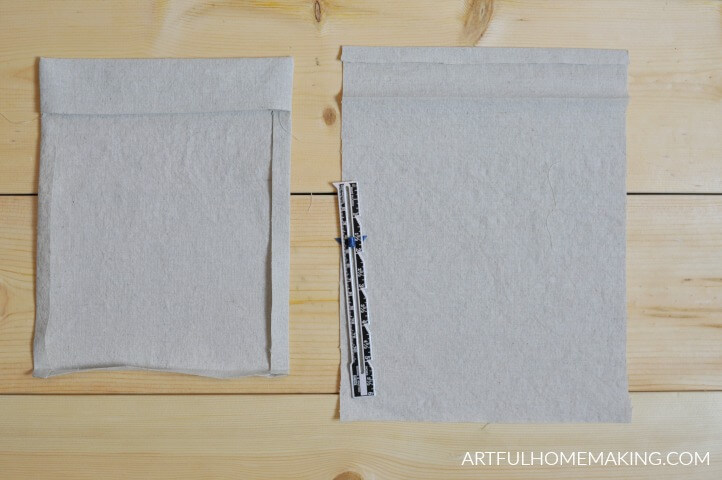
16. Trim corners diagonally and turn pocket right side out. Press sides of pocket under 1/2″ and then fold bottom up 1/2″ and press. Top stitch top of pocket fold. Repeat steps for other pocket.
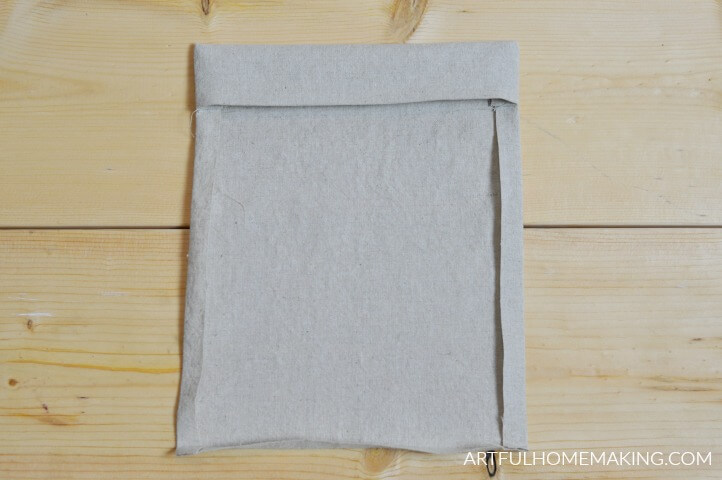
17. Try apron on and decide where to put the pockets. I outline where I want the pockets to be with pins. I put mine about 11″ from the bottom and about 8 1/2″ from the sides of the apron.

18. Pin pockets to apron. Stitch pockets down around each side and bottom, leaving the top edge open.
Finishing Your Cross Back Apron
19. Cut off all loose threads and press apron again. You’re done!
This cross back apron pattern is so great for gifts, if you know the recipient’s measurements. Even if you don’t know their measurements, the sizing is very forgiving, and will fit a broad range of sizes.
More Sewing Tutorials:


Thanks for this great pattern! Your instructions were very helpful and you made something that could have been confusing very easy. I appreciate the time you took to post this and the video! I made 2 aprons and am ready to make more!
Thank you so much for your kind words, Vicki! I’m so glad the tutorial was helpful!
I’m making a gift apron for a friend and trying to ‘guestimate’ her measurements. She’s 5’11” & large bone build & I’m 5’3″, so I’m adding inches of differences according to our heights. May I ask your size? The friend’s daughter says she wears a tall XL.
Hi Kathy! I’m petite in the shoulder area, and at the time I made that apron wore about a size large in tops due to my bust measurement. I’m now an xl in the bust area, but I can still fit into that apron (could use a few extra inches at the top for more ease). For someone with broader shoulders, the strap placement may need to be moved. For reference, I’m 5’2″ so it would definitely need more added to the length for someone taller. Hope that helps!
Does this type of fabric hold up to cooking/stains/drips? How does it come out in the wash? Does it need ironing before every use?
The fabric I used for my aprons is of a thicker weight, so it has held up very well. I machine wash them and then put them in the dryer for just a few minutes to get any wrinkles out, and then I hang them to dry on a clothing rack.
Thank you for the pinafore apron tutorial. You did a great job! Your first? Amazing.
I’ve though many times about making tutorials but I always leave it to those if you making the plunge.
Your pattern and direction are to the point, simple, and easy to understand, at least to those of us with sewing experience.
Your apron seems classic.
Thank you!
Just made this today in about an hour! I love it. It was very easy, thank you.
Yay! I’m so happy to hear that! And thanks so much for the positive feedback!
Facing. You said cur the facing according to width of your size. Example mine is 42inch x5
The two sides of the main body apron have in put under 1/2×2 (2x) so that would leave you two inches shorts for the facing.
My question is do you overlap them?
The facing will be a bit wider after the sides of the apron body have been folded in and pressed. Before pinning and sewing the facing piece down to the body piece, you open up that folded edge so the two pieces (the apron facing and the body piece) are the same width. Then, after you’ve sewed the facing to the body piece, you fold that previously folded and pressed apron side piece back over the facing (steps 10-14). Hope that helps!
Thank you so much for posting this! I am a novice and have never made any clothing before. I do love to sew when I have the chance but found your pattern and wanted to give it a shot. With your directions it was so simple! Thanks so much! The finished product is for my sister and I hope she loves it as much as I do. It was so much fun to make!
Yay! I’m so glad to hear it was a success! I hope your sister loves her new apron!