How to Hang a Gallery Wall the Easy Way
How to hang a gallery wall the easy way without all the hassle. Here are my best tips for creating and hanging a gallery wall.
We live in a raised ranch style house, which has created some interesting decorating challenges. For instance, we have this somewhat awkward entryway.
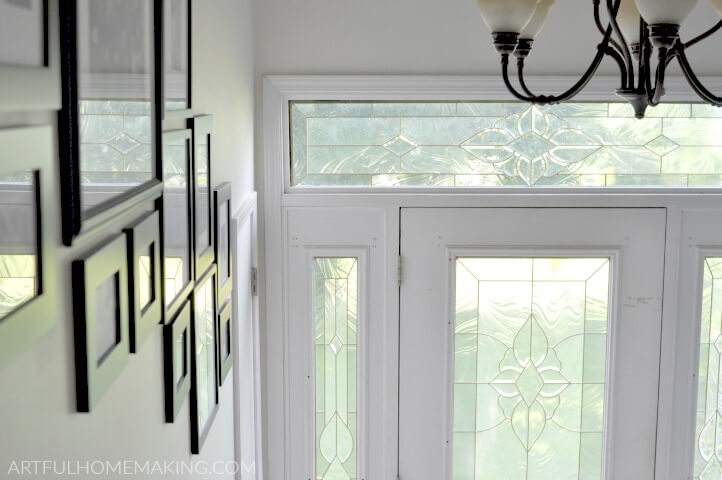
I love the front door, which creates lots of light in a previously dark house (because there aren’t a lot of windows).
But the entryway is kind of difficult to decorate as well as difficult to navigate, especially when we have guests.
So, there was this big, blank white wall in the entryway, which is visible from the living room.
I actually love plain walls with nothing on them, but my family felt like the look I had going on was a bit too stark.
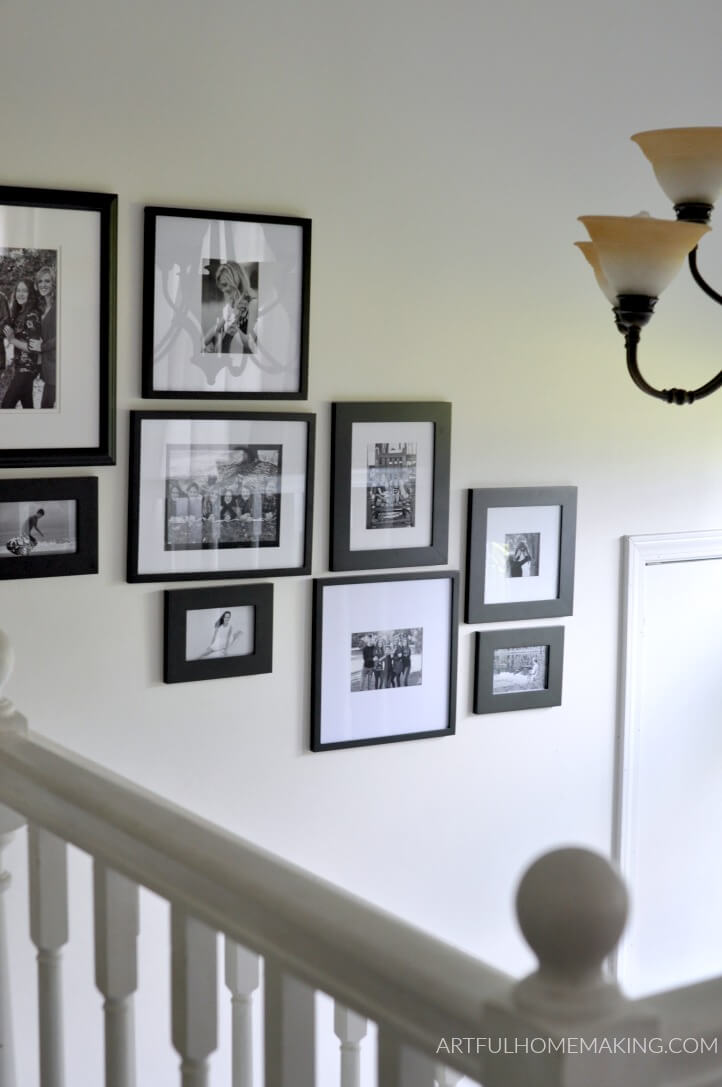
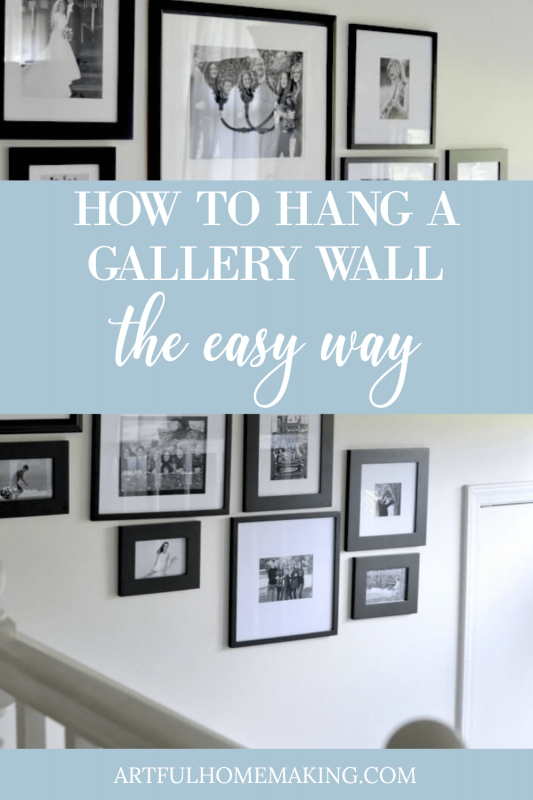
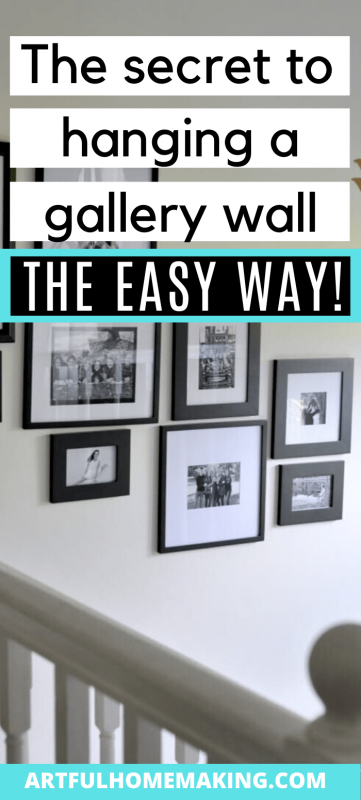
In my efforts to warm things up and make it look a bit more welcoming, I decided to create a gallery wall in the entryway going up the stairs (or down, depending which way you’re going!).
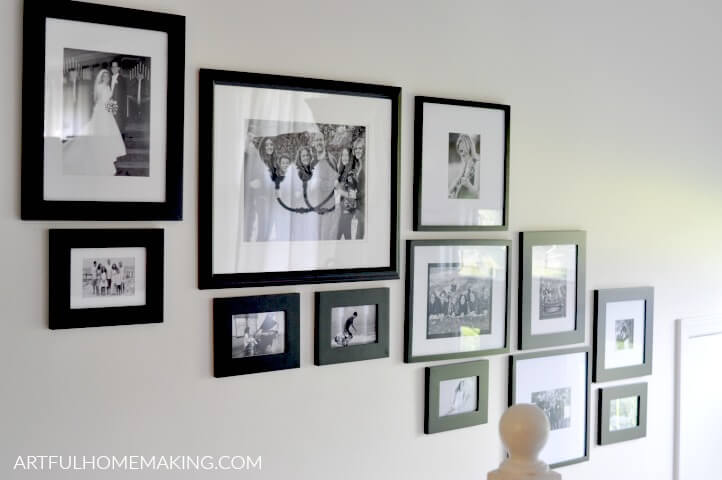
Because I was going for a kind of modern farmhouse look, I decided on black and white photos in black frames.
And I really love the way it turned out!
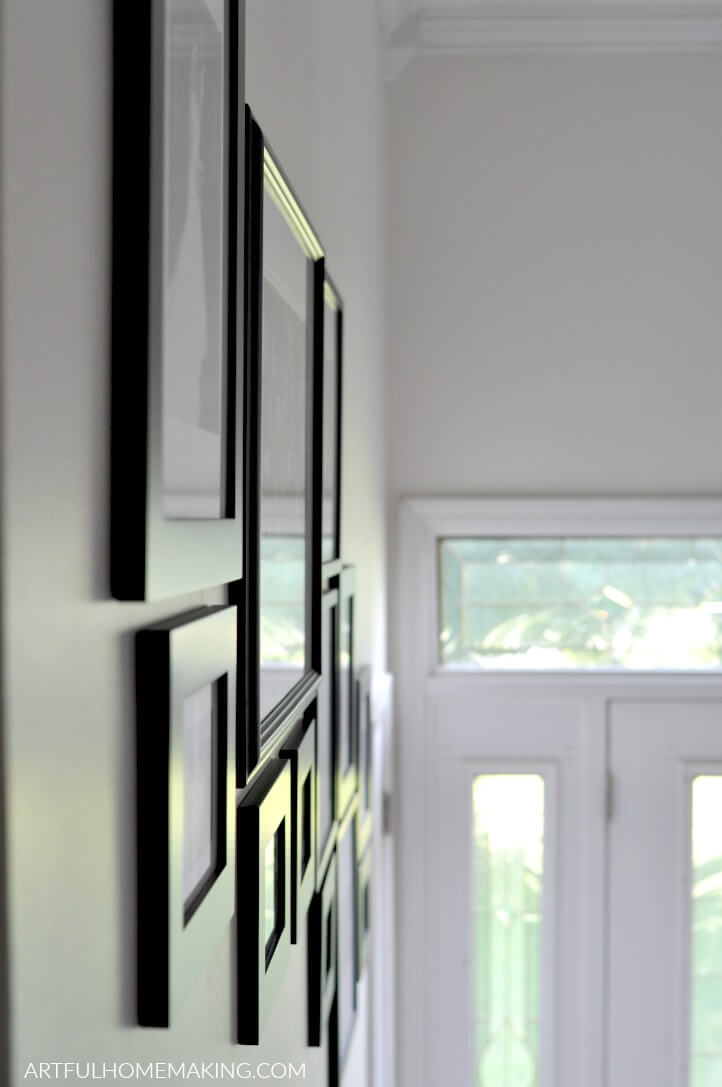
It’s kind of hard to get a good photo of it (with the awkward layout of the entryway), but I did my best.
This post contains affiliate links, which means I may make a small commission at no cost to you. Read my full disclosure here.
How to Hang a Gallery Wall
One of the things I always dread when hanging up pictures is trying to get the nails in the right place when you have a frame with two hangers.
Well, I finally found an easy way to hang photo frames like this! I’ll show you how I did it below. But first, let’s talk about all the steps for how to hang a gallery wall.
Step 1: Decide Where To Hang It
The first step is to decide where you want your gallery wall. This was easy for me since I knew exactly where it was going!
Step 2: Decide What You Want to Hang
The second step is to decide what you want on your gallery wall. Do you want family photos, artwork, 3-dimensional items, or a mix of all three?
I wanted to keep my gallery wall very simple, so I stuck with family photos.
I chose family photos that were special to me and that I knew would look good in black and white.
First, there is our wedding photo, a family photo at the beach, a recent family photo from last fall, and then some other random favorites.
I also chose a photo of each child doing something they love. There’s one of my oldest daughter with her guitar, my next daughter playing piano, etc.
In addition to some professional posed photos, I also used some more casual candid pictures to add a bit of character.
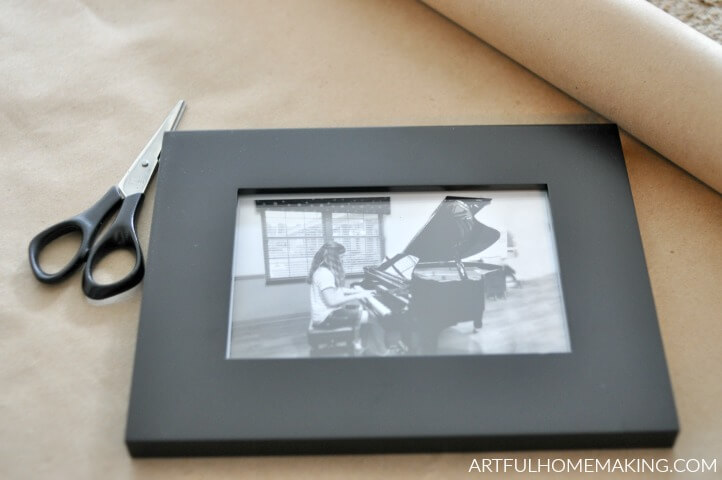
Step 3: Find Your Frames
Next, you’ll want to decide on the frames you want to use to frame your photos and artwork.
I used inexpensive black frames from a variety of places. And I should also mention that I had been planning this gallery wall for several years, so that gave me time to gradually collect the right frames at a decent price.
The largest frame I used came from Hobby Lobby with a 40% off coupon a couple of years ago. If you’re needing larger frames, I highly suggest waiting until they’re on sale at Hobby Lobby, or waiting for a coupon!
Here’s a set similar to mine that’s all ready to hang as a gallery wall.
After I had the largest frame, I chose a variety of smaller frames that would go together well.
Even though I chose to stick with all black frames, I also love the look of a gallery wall with a mixture of frame types. Wood, gold, and brown, for example, look great together!
Step 4: Pick a Layout
After you’ve framed your photos or artwork, it’s super helpful to lay them all out on the floor and decide how you want them to look.
Snap a picture of the arrangement with your phone so you can remember where you want everything to go.
Alternatively, you could be low-tech and draw a diagram, which is what I did!
Step 5: Test Out Your Design With Paper
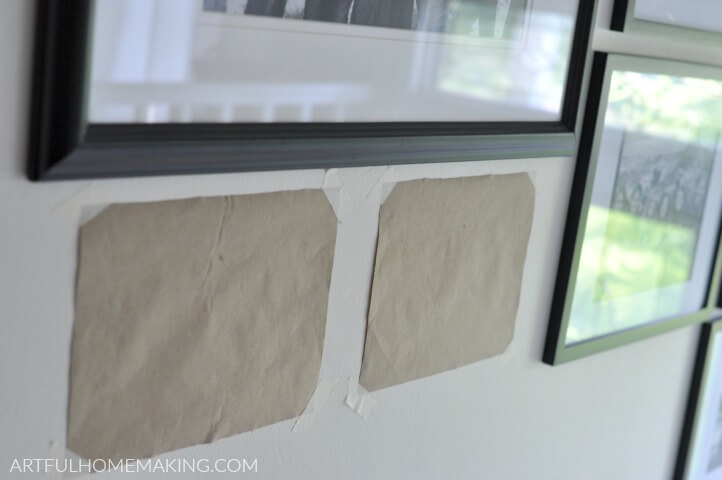
Next, trace around each frame on brown Kraft paper or something similar. (Tip: You can get this paper at the dollar store.)
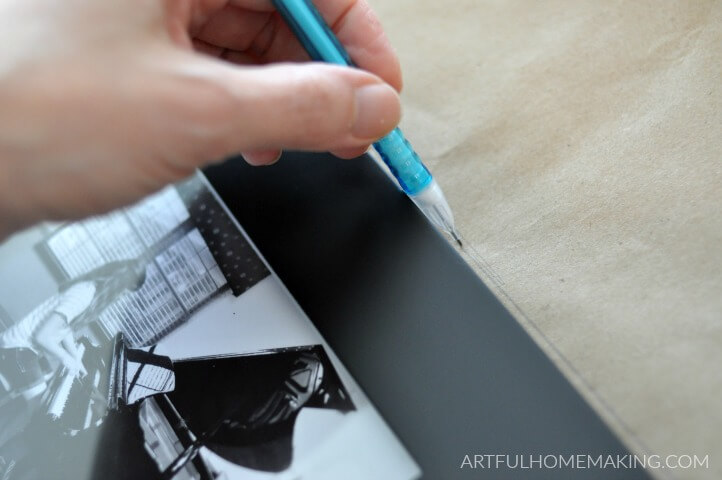
After tracing around the frame, I also traced where the hanger(s) were.
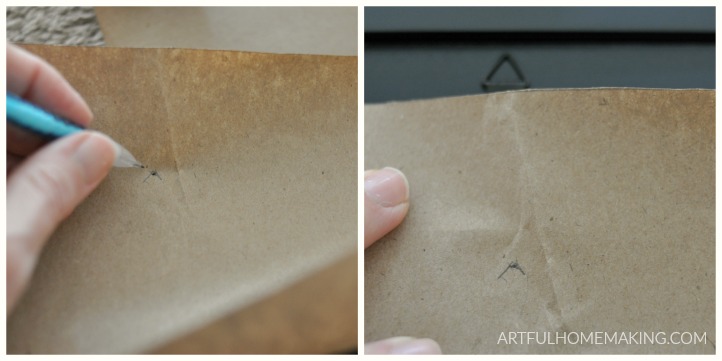
This is helpful so that you don’t have to try to figure out where to put your nail holes. Especially when you have one of those frames with two hangers.
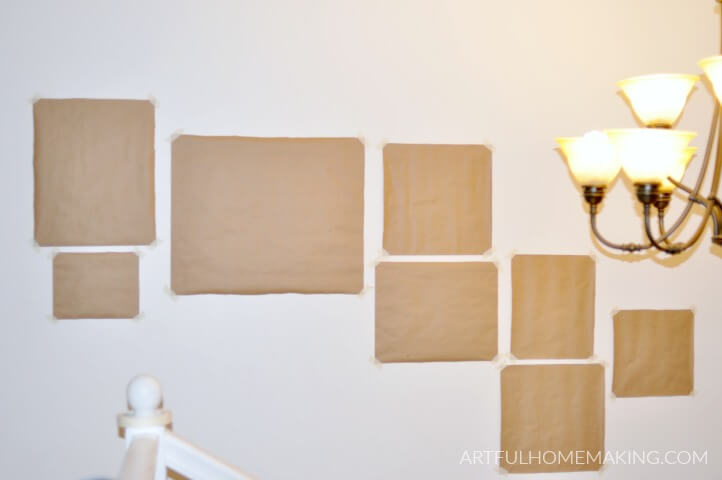
Stick the Kraft paper frame models on the wall with masking tape. Use the diagram or photo you took in step 4 to help you see where to put everything.
Step 6: Hang Your Gallery Wall
Once you’ve got your paper gallery taped to the wall, it’s time to hang your gallery wall!
Put your nail holes right through the Kraft paper. Then tear the paper off around the nail.
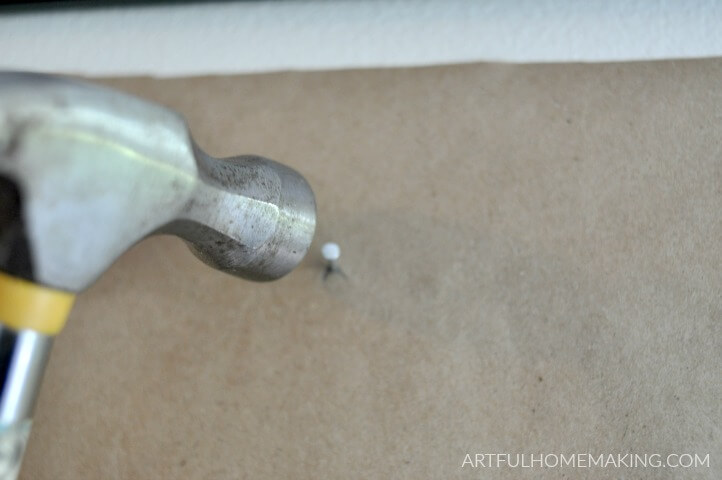
Then hang your picture. Wasn’t that simple?
Enjoy Your Gallery Wall
I hope you enjoyed learning how to hang a gallery wall. I’m so happy to have this project completed!
And I love seeing my family stopping on their way up or down the stairs to look at the framed family photos.
Shop Supplies to Hang a Gallery Wall
- Kraft paper
- pencil
- scissors
- masking tape
- frames or other artwork (these frames are similar to the ones I used)
- hammer
- nails
Related Posts:
- How to Create a Flower Planter for Your Front Porch
- Lavender Linen Spray DIY Recipe
- How to Install a Beadboard Kitchen Backsplash
Pin This Post for Later
This post contains affiliate links. Read my disclosure here. Sharing here.
Hi Thanks for sharing at Inspire Me Monday. The tips are so helpful. I wanted to let you know that you are one of my featured links this week. Come check it out at https://www.farmhouse40.com/inspire-me-monday-238
Thanks so much for the feature!
Very Clever. Pinned
Thank you, Anita!
Dear Joy, this is great! My husband is a former draftsman and loves to measure. I lay out and photo our pictures before hanging, and then he measures for location and hangers, a lot! I love your tip to trace the frames and mark for hangers. Thanks and blessings for sharing your great ideas!
Thank you, Alice!
I like you low tech idea by cutting out where the pictures will be placed on the wall, I can see it makes it easier to place your pictures. Love the blakc and white for your wall, good choice.
Thank you, Karren! So glad it was helpful!
Great tips! I am pinning this for later use!
So glad it was helpful!
Great tips! I love that you can bang the nail in without moving the paper first; that is one thing I have a read hard time with when hanging anything on the wall.
I’ve always had a hard time with that part too!