How to Sew Cloth Napkins Easy Tutorial
Learn how to sew cloth napkins with this easy tutorial! Sewing your own cloth napkins is an easy beginner sewing project.
Cloth napkins are simple to make, and they’re also a great way to save money and resources. Just think of all the disposable napkins you won’t have to buy if you make the switch to cloth.
This is also a great sewing project to use up extra fabric. If you’re needing to use up some of your fabric stash, consider making some cloth napkins!
How to Sew Cloth Napkins
Learning how to sew cloth napkins is easy. In fact, I would consider this a beginner sewing project.
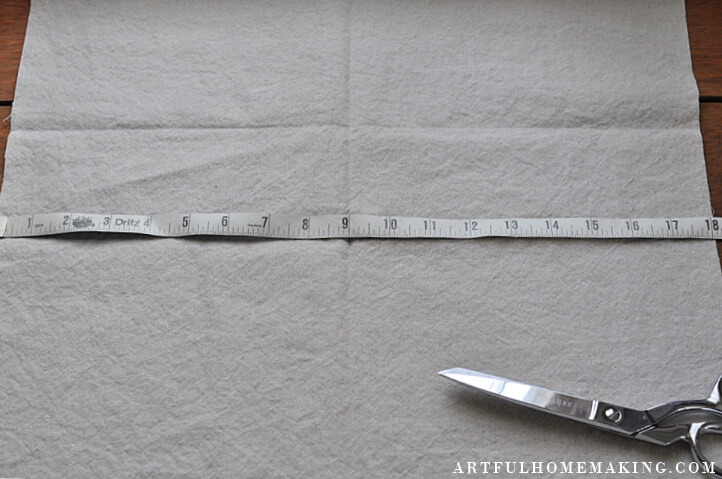
All you do is cut out some fabric squares (I cut mine 18″ x 18″), hem the four sides, and press. That’s it!
You can simply turn under and press each side of the fabric, and then sew.
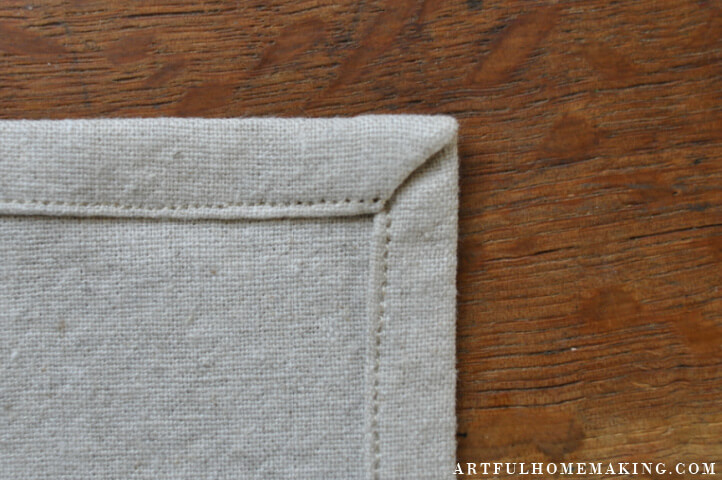
For this tutorial, I’m going to show you how to make the corners lay a bit nicer. Instead of just turning under the four sides and hemming, I made more of a mitered corner. However, this is a simpler way to do it, and it won’t take extra time!
Supplies Needed
Affiliate links included below. Read my disclosure here.
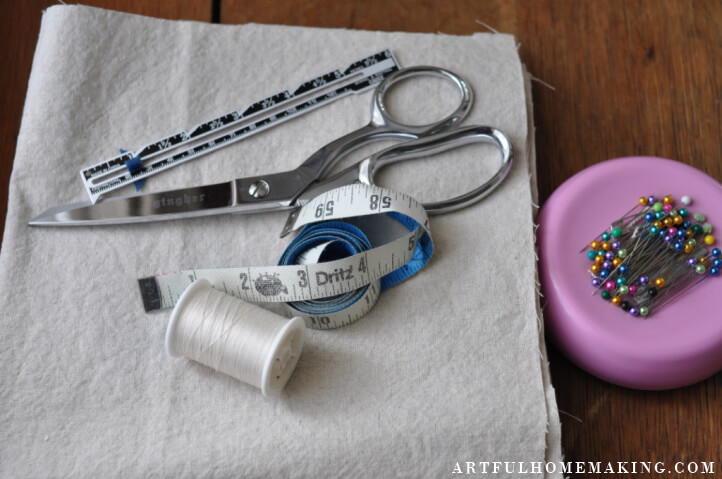
You only need a few basic sewing supplies to make your own homemade cloth napkins.
- Fabric (how much depends on the size and how many napkins you want to make)
- Scissors
- Tape measure
- Sewing gauge
- Sewing pins
- Matching thread
- Sewing machine (this one is similar to mine)
- Iron (for pressing the folds)
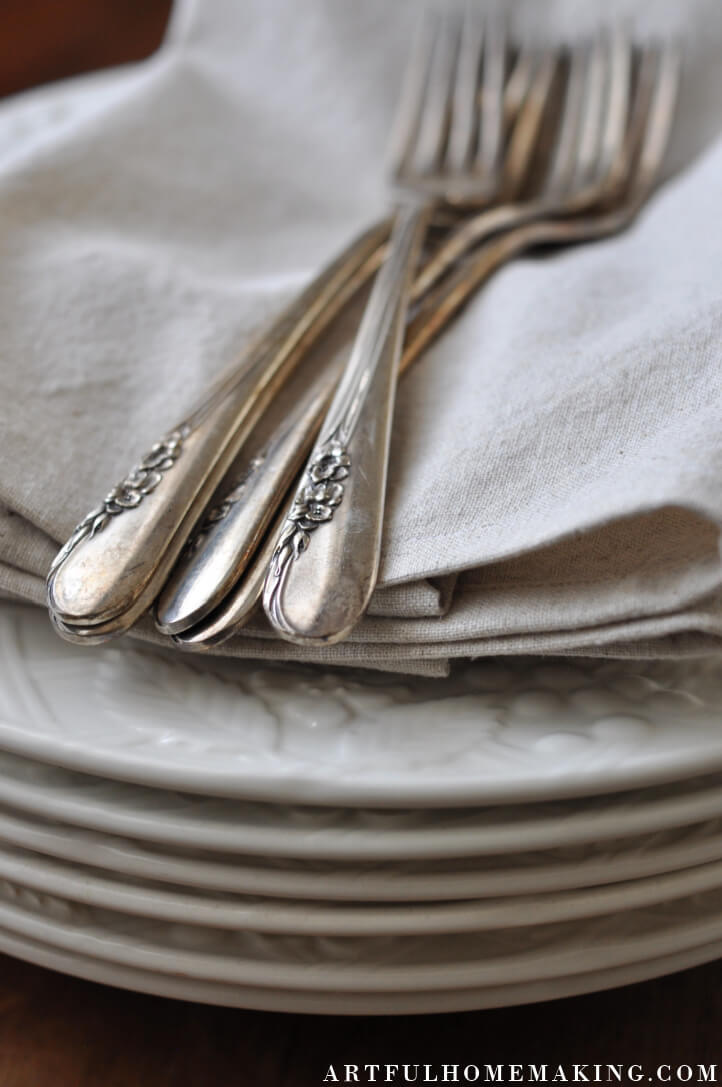
I used some linen-cotton blend fabric I had leftover from making this linen half apron. There are so many fabric options you can choose when making cloth napkins.
Choose from cotton, linen, or cotton/polyester blends for durable, washable napkins.
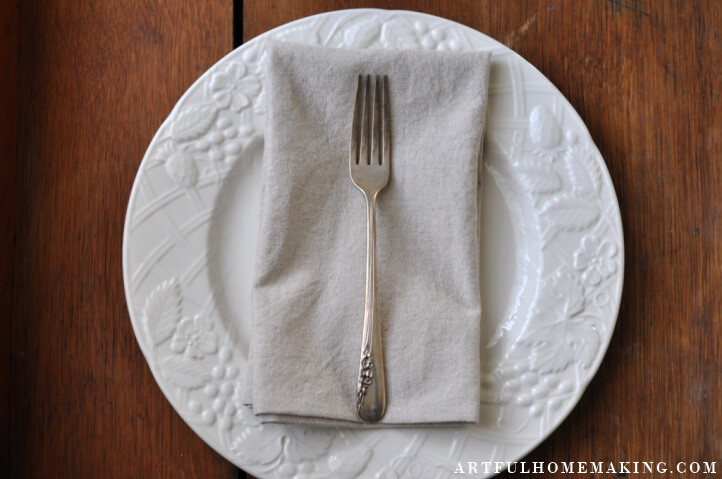
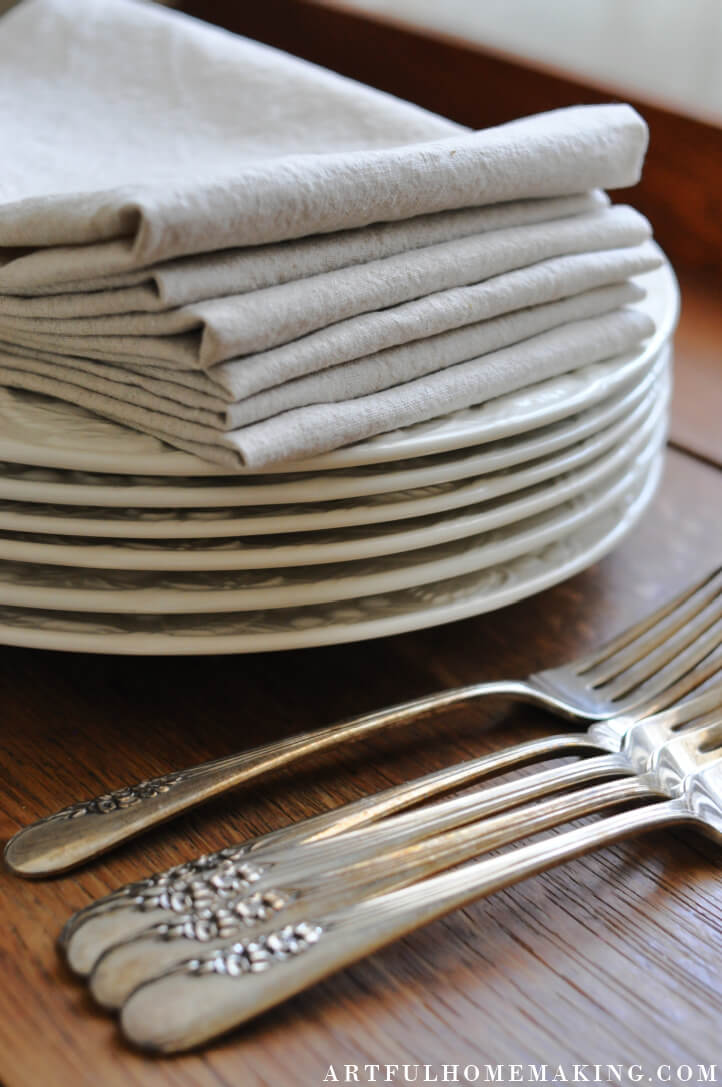
The linen fabric I used gives more of a formal look. I just love them for a more special place setting.
For everyday cloth napkins, a printed fabric will probably work best, as it will hide stains better. Inexpensive 100% cotton fabric or quilting cotton is a great choice.
Also, be sure your fabric of choice will wash and dry well, since cloth napkins can receive a lot of heavy use.
What is the Best Size for Cloth Napkins?
The size you choose to make your cloth napkins depends on how big you want them. I make mine a square, but you can also do a more rectangular shape if you prefer.
Here are some of the standard cloth napkin sizes:
- Cocktail: 6″ x 6″ or 9″ x 9″
- Hors d’oeuvre: 13″ x 13″
- Lunch: 18″ x 18″ — 20″ x 20″
- Tea: 12″ x 12″
- Dinner: 22″ x 22″ — 24″ x 24″
- Buffet: 27″ x 27″ or 12″ x 22″
I cut my fabric squares 18″ x 18″.
You can really make these cloth napkins any size you want. As I mentioned above, you could also use a rectangle shape.
Steps for Sewing Cloth Napkins
Follow these simple steps to make your own napkins!
Step One
For the first step, you’re simply going to prewash and dry your fabric. This is important, because you’ll want to be able to throw these cloth napkins in the wash after using them, and you don’t want them to shrink!
Pre-washing will prevent excess shrinkage later.
If the fabric wrinkles (like a linen-cotton blend will), you may want to press the wrinkles out before cutting your squares.
Step Two
Cut fabric squares 18″ x 18″ (or any size you wish).
Step Three
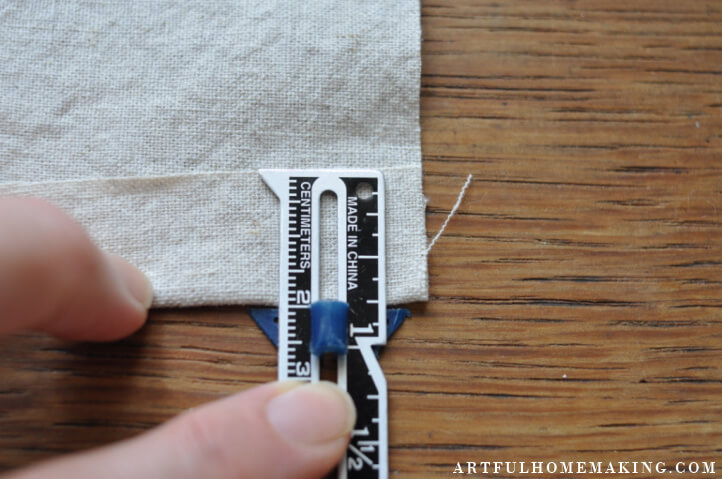
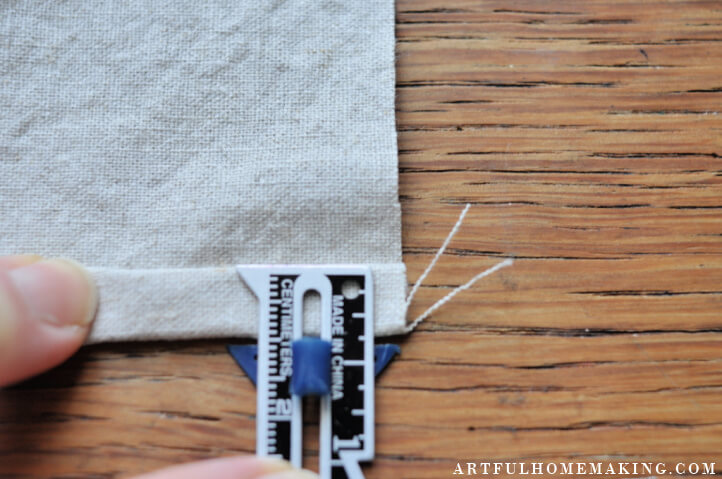
With the wrong side of the fabric facing up, fold one edge over 3/4″ and press.
Step Four
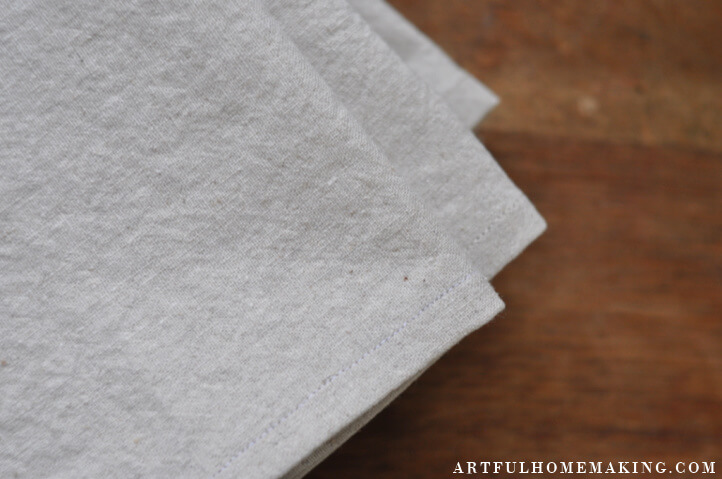
Then fold the same edge to meet the fold you made, and press.
This makes about a 3/8″ wide hem.
Step Five
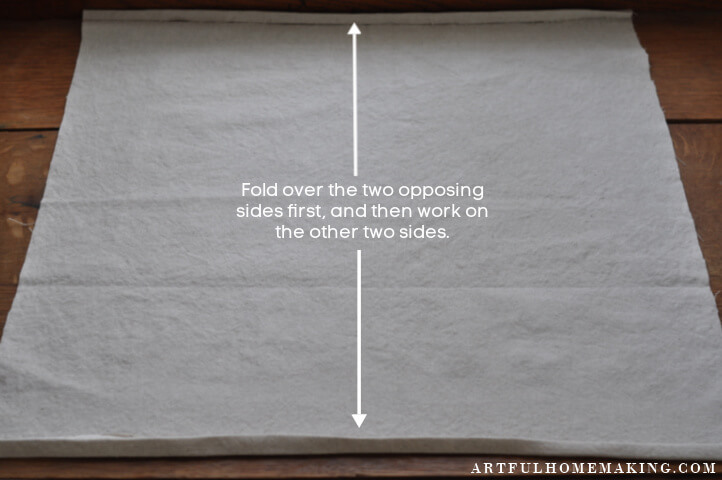
Repeat steps three and four (folding edges over and pressing) on opposite side of the napkin.
Step Six
Next, we’ll make a hem on the other two sides. Fold over the first side 3/4″ and press, working right on top of the other hem you made in steps three and four.
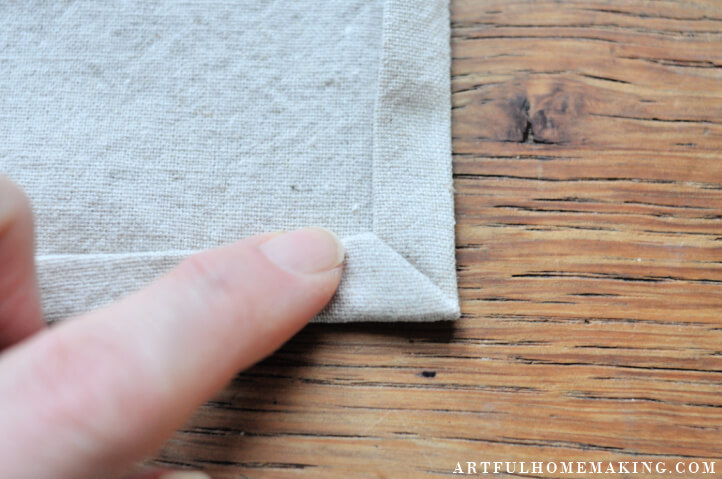
You will do this part a bit differently though, to get the mitered corner look.
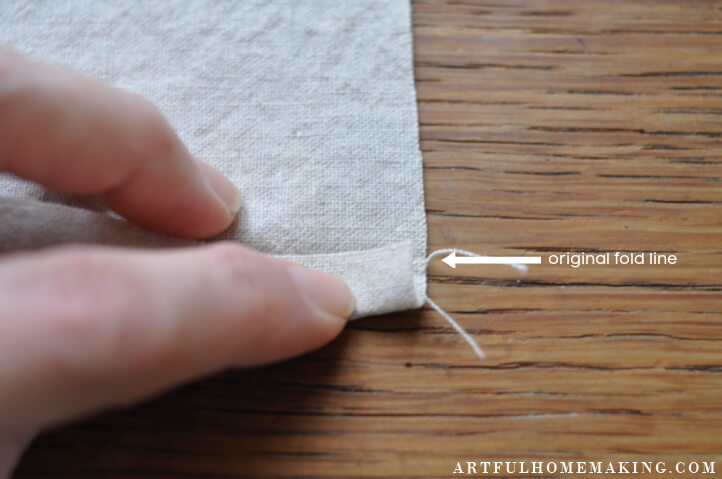
After making the first fold at 3/4″ and pressing, open the folded hem back up and fold the corner over diagonally and press.
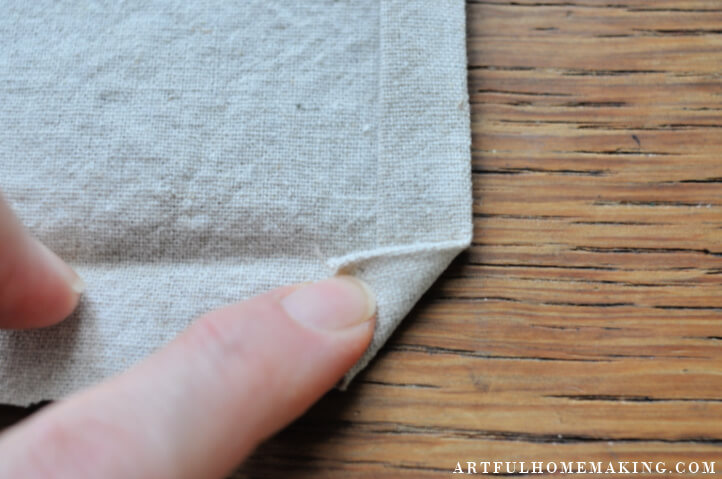
Then fold under the hem and press as you did in step three.
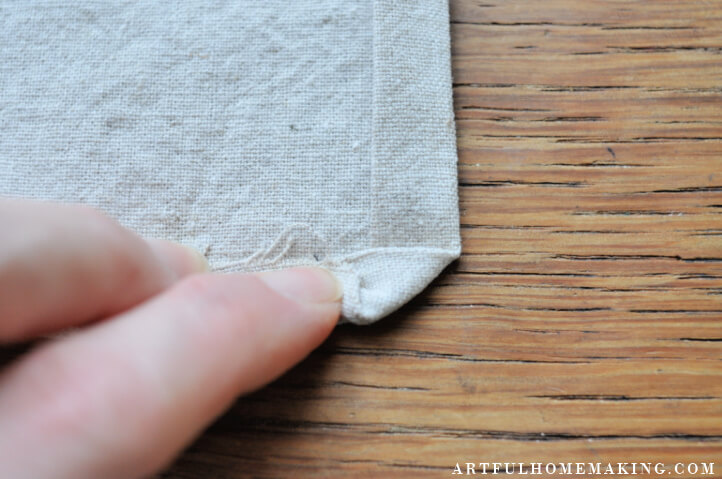
This makes a nice, neat-looking corner.
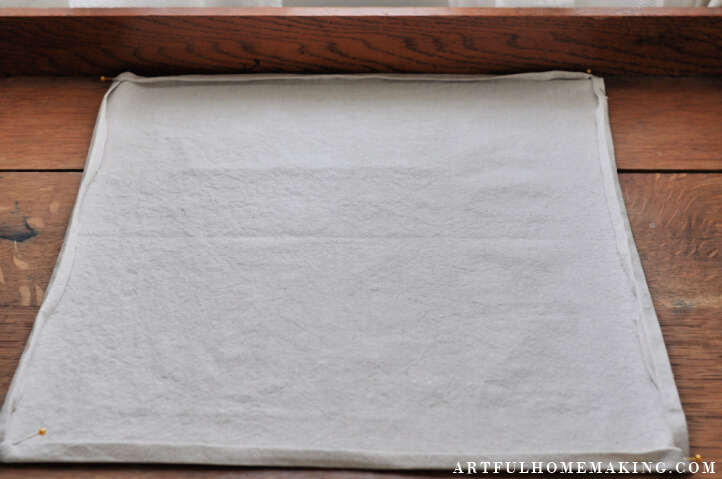
Put a pin at the corners to hold the hem down.
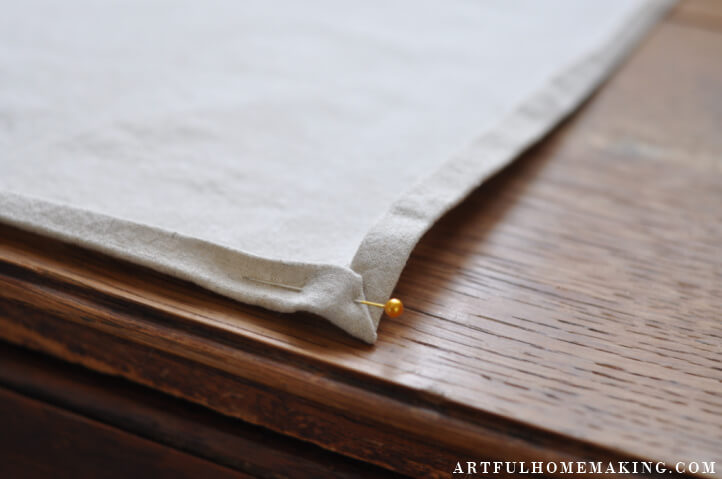
Repeat on the opposite side.
Step Seven
Sew along the edges of the napkin to hem, making sure to backstitch as you begin. This will secure the stitches so they are more secure.
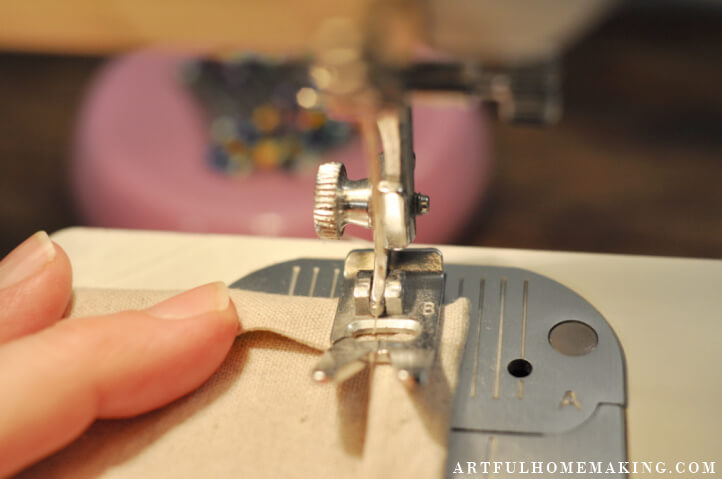
Pivot at the corners. To pivot, just leave your needle in a down position (so that it’s down in the fabric), raise the presser foot, turn the whole piece, and lower the presser foot again. Continue sewing down the other edge.
When you reach the end, be sure to backstitch again.
Finishing Your Cloth Napkins
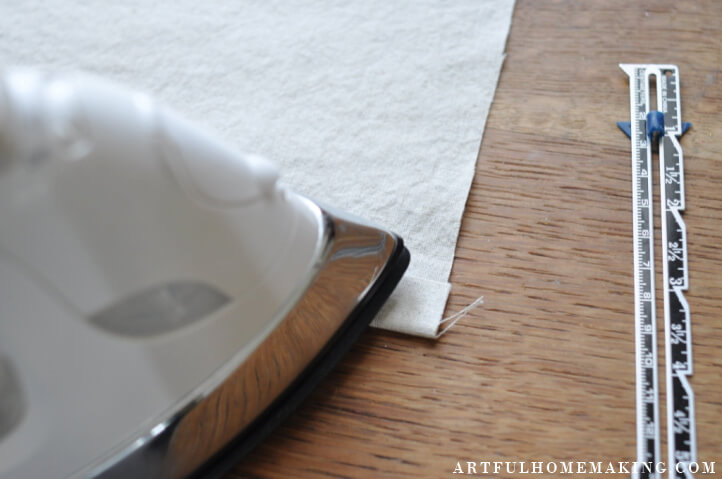
After stitching down the hems, I like to take my napkins back over to the iron and press them one final time so they’re nice and crisp.
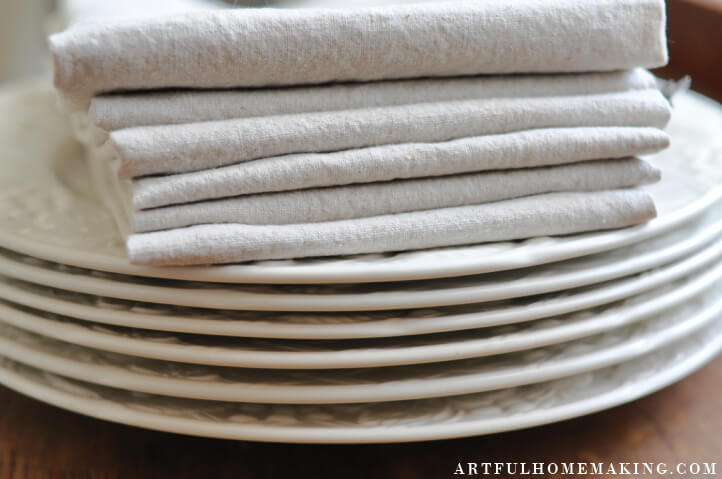
That’s it! Enjoy your new homemade cloth napkins!
More Hints on How to Sew Cloth Napkins
Even though I like to make neat mitered-style hems on my cloth napkins, you don’t have to do it this way. (And mine isn’t a true mitered hem, it’s more of a shortcut way that I learned.)
You can also just fold over the first two opposing edges (as mentioned in steps three and four), and then do the same thing on the other two sides.
Or, you could also just use a serger to serge the edges, which makes these napkins even faster! This would make a great easy-to-make everyday napkin. You could have a large pile of homemade napkins in an afternoon!
How to Sew Cloth Napkins
Instructions
- For the first step, you're simply going to prewash and dry your fabric. This is important, because you'll want to be able to throw these cloth napkins in the wash, and you don't want them to shrink! If the fabric wrinkles, you may want to press the wrinkles out before cutting your squares.
- Cut fabric squares 18" x 18" (or any size you wish).
- With wrong side of the fabric facing up, fold one edge over 3/4" and press.
- Then fold the same edge to meet the fold you made, and press. This makes about a 3/8" wide hem.
- Repeat steps three and four (folding edges over and pressing) on opposite side of the napkin.
- Then make a hem on the other two sides. Fold over the first side 3/4" and press, working right on top of the other hem you made in steps three and four. You will do this part a bit differently though, to get the mitered corner look.
- After making the first fold at 3/4" and pressing, open the folded hem back up and fold the corner over diagonally and press.
- Then fold under the hem and press as you did in step three. Put a pin at the corners to hold the hem down.
- Repeat on the opposite side of the napkin.
- Sew along the edges of the napkin to hem, making sure to backstitch as you begin. Pivot at the corners. When you reach the end, be sure to backstitch again.
- After stitching down the hems, I like to take my napkins back over to the iron and press them one final time so they're nice and crisp. That's it! Enjoy your new homemade cloth napkins!
Notes
More Sewing Projects
I love your detailed tutorial on how to sew simple cloth napkins… this would also work for simple flannel burp cloths! Pinned, and am delighted to be featuring you at Tuesday Turn About tommorow!
This are lovely napkins great tutorial #fortheloveofblog
Thank you!
I am not a great at sewing but you make it look so easy! It must be so satisfying to make a collection of home-sewn napkins for your home. Thanks for linking up to #ForTheLoveofBlog!
Thank you, Talya!
Such a great tutorial Joy and a beautiful project.
Thank you for sharing how to make cloth napkins at Create, Bake, Grow & Gather this week. I’m delighted to be featuring your tutorial at tomorrow’s party and pinning too.
Hugs,
Kerryanne
Thank you so much, Kerryanne!
Your handmade napkins are perfect. I think I will have to make some too. Oh, how I love to sew!
Thank you, Kippi! They’re so easy to make!
Joy, these are beautiful! We use cloth napkins every day, but I’ve never made my own. Thank you for the tutorial!
And thanks so much for joining the Grace at Home party at Imparting Grace. I’m featuring you this week!
Thank you so much, Richella!
After visiting my DIY sister who uses cloth napkin, I have been planning to make some myself. Thanks so much for this step-by-step. My niece had the idea of using vintage printed fabric, stitching two squares together right sides out and then fussy-cut the edges. Sounds like a fun project.
They’re a great way to use up fabric! The vintage fabric idea sounds cute!
Thank you for sharing this! I just dug my sewing machine out a few weeks ago to fix my husband’s uniform and I’ve been feeling the need to get crafty again after not really doing any sewing for years. This post couldn’t of come at a better time. Can’t wait to try it out.
So glad it was helpful!