How to Make a Table Runner (Grain Sack Fabric)
Learn how to make a table runner with this easy DIY tutorial! This is a perfect beginner sewing project. You’ll learn how to sew a straight stitch as you create a beautiful, useful item for your home!
In addition to being easy to make, it’s so fun to be able to decorate your home with handmade items. Table runners are also an easy way to change out your décor from season to season.
Use lighter colors for a spring table runner, and darker fabric for fall and winter. With just a little bit of time, you can have a new look for your table for each season!
This table runner tutorial is so easy, because you don’t need to line the fabric. Because we’re using heavier fabric like grain sack, you won’t need to line it or create a backing.
How Many Yards of Fabric Do You Need to Make a Table Runner?
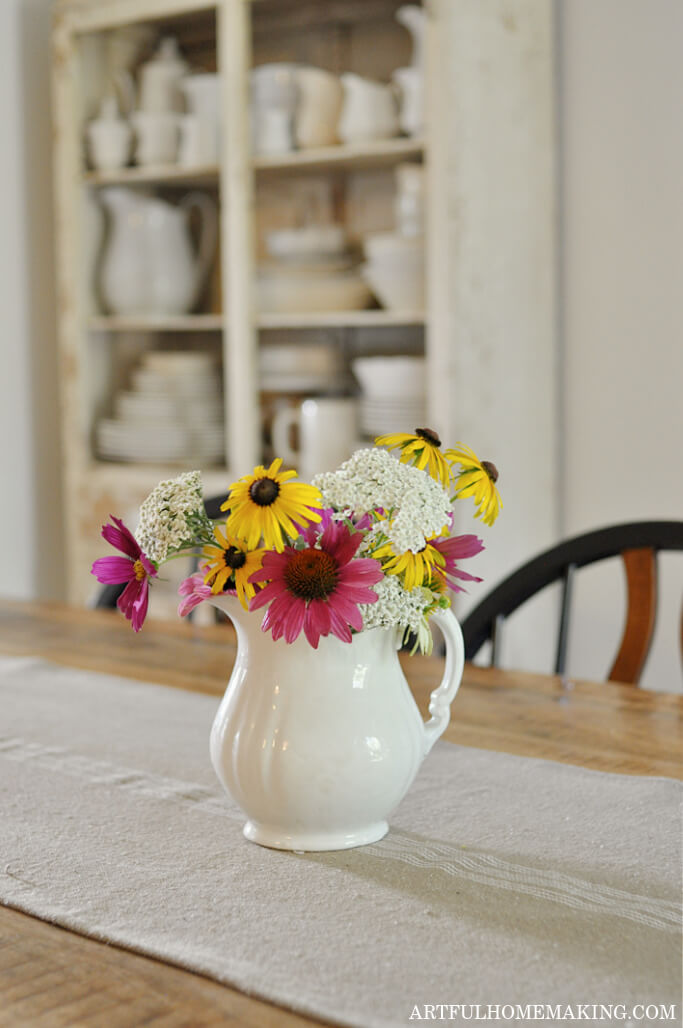
How much fabric you need for your table runner will depend on the size of the table. For smaller tables, 2 yards will be enough. For larger tables, like a dining table, you will need more. I used around 2.5 to 2.75 yards of fabric for the pictured table runner, as it’s for a dining table.
To determine how much fabric you’ll need, be sure to measure your table first, adding in an extra 6-12 inches inch at each end for the overhang. And then add another inch to each end for the hem.
I would also get a little more than this measurement, as your fabric will shrink when you prewash it.
And I highly suggest prewashing the fabric, because you’ll definitely need to wash your table runner at some point!
This post contains affiliate links, which means I may make a small commission at no cost to you. Read my full disclosure here.
What Fabric is Best for Table Runners?
There are many good fabric options for table runners. Cotton and linen are my two favorite choices.
But for this easy table runner, my absolute favorite fabric is this reproduction grain sack fabric. It’s a heavier weight, but washes well (just be sure to allow plenty for shrinkage, as this fabric really shrinks in the wash).
I had some of this fabric left over from some other projects. If you buy some for a table runner, you’ll also have some left over to make other things, like pillow covers or pot holders!
You could also use canvas, denim, or an upholstery-weight fabric for this tutorial.
Note: If you prefer to use a lighter-weight fabric (like quilting cotton), you’ll want to line it, and the process will be a bit different than the instructions given in this tutorial.
Supplies Needed to Make This Table Runner
You’ll need the following supplies to sew your own table runner:
- Fabric (2 yards or more, depending on your table length)—I used this fabric
- Measuring tape
- Sewing gauge
- Scissors
- Matching thread
- Sewing machine (I use an old Singer most of the time, but I also use this newer Singer)
- Iron

How to Make a Table Runner
A handmade table runner is a great first sewing project!
All you need is some fabric (heavier weight fabric like grain sack for this particular tutorial), matching thread, a sewing machine, and some basic sewing notions like a measuring tape, sewing gauge, and scissors.
And because you’re basically just cutting and hemming a long rectangle, stitching this up will be easy!
Step One:
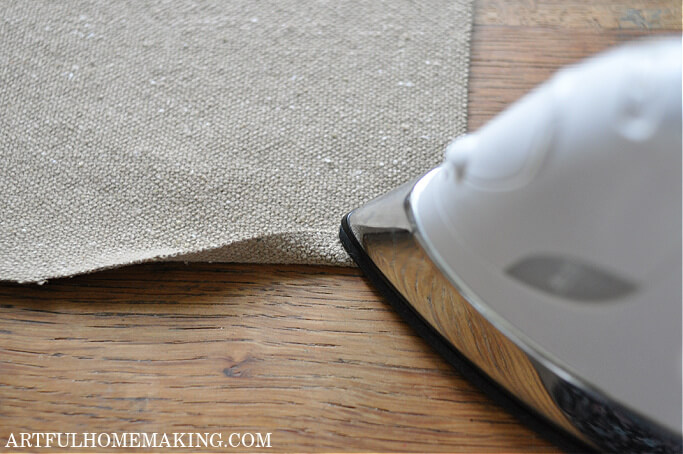
First, decide where you want to use your table runner. Dining tables, coffee tables, side tables, or any flat surface! Prewash your fabric, and iron, if needed.
I like to prewash my grain sack fabric on warm, then dry on medium heat in the dryer. After removing from the dryer, I press it if it’s wrinkled (but this often isn’t necessary).
Note: After sewing this project, when it needs to be washed in the future, I wash on cold and hang to dry.
Step Two:
Use your measuring tape to measure the table where you will use the finished table runner.
You’ll want to also determine how much overhang you’d like it to have. Generally, each end should hang over the table at least 6 inches or more (or about 3-4 inches for a smaller table like a coffee table). Add an extra 3/4″ to each end measurement to accommodate a hem.

(You can also create a smaller table runner that doesn’t hang over the ends of the table, if you prefer.)
So, take the length of the table plus 4-6 inches on each end for overhang, plus an extra 3/4″ for seam allowances on each end to get the length of your table runner.
Step Three:
Next, decide how wide you want your table runner to be. This measurement is totally up to you, and what you think will look best on your table.
Many table runners are 14″, 16″, 18″, or 20″ wide. Add an extra 3/4″ to to each side for the hem.
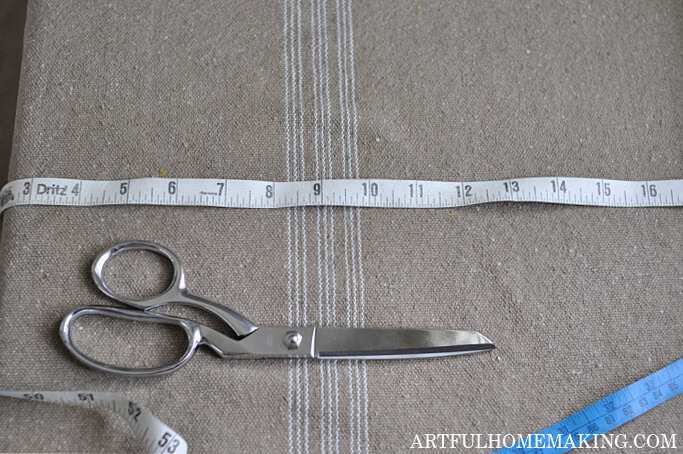
Step Four:
Cut out your table runner, using the measurements you came up with in steps two and three.
Step Five:
Now it’s time to sew!
First, we’ll start by pressing the long edges of the table runner.
Turn under one long side of the table runner (toward the wrong side of the fabric) 3/8″, and press.
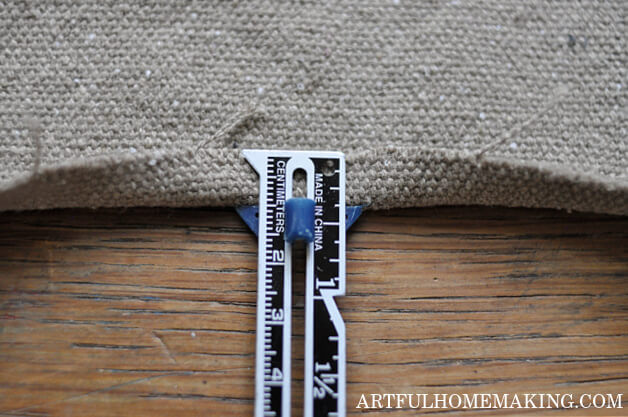
Then turn under 3/8″ again and press.
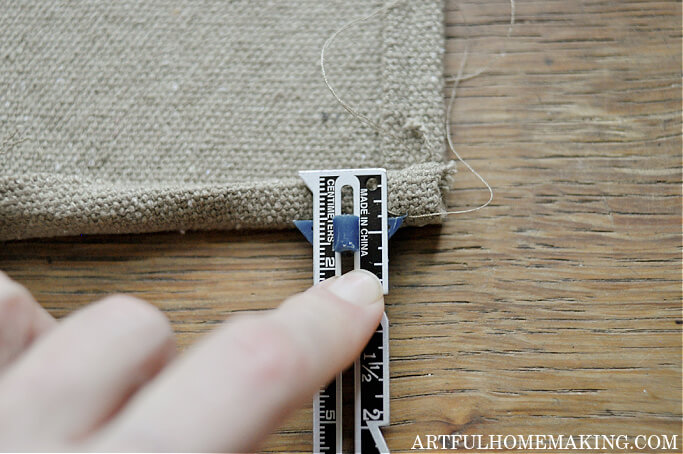
Stitch down the long side that you just folded under and pressed. Stitch along the edge, making a 1/4″ hem.

Repeat for the other long side of the table runner to hem the other side.
Step Six:
Now it’s time to hem the ends (short sides) of the runner.
This is actually the most complicated step, because it can be a bit of a challenge to sew through all the layers of fabric.
Turn under one end 3/8″ toward the wrong side of the fabric. Press. Turn under again 3/8″ and press. Stitch down close to the edge.
There will be a lot of fabric bulk under the presser foot, so I start sewing with the presser foot in the up position to stitch the first few stitches (sewing slowly).
Sometimes it also helps to manually raise the needle and put it in the fabric where you need it to be. Then, once I’ve made it over that fabric bulk, I lower the presser foot and stitch normally.
When you reach the end of this line of stitching, you may need to work with your presser foot again to fit all the fabric bulk under it.
Repeat for the other short side.
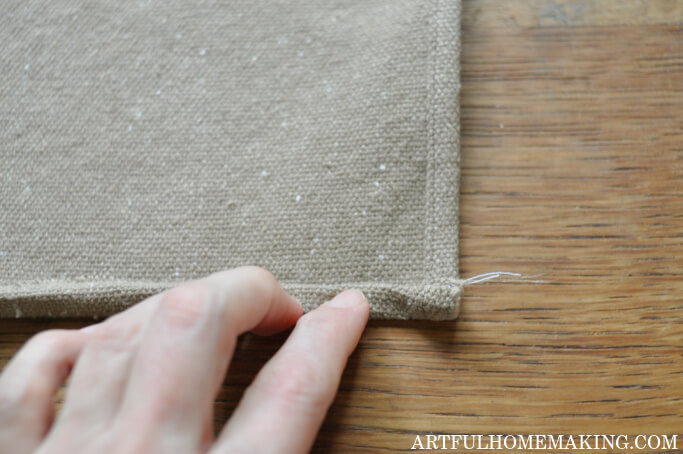
Step Seven:
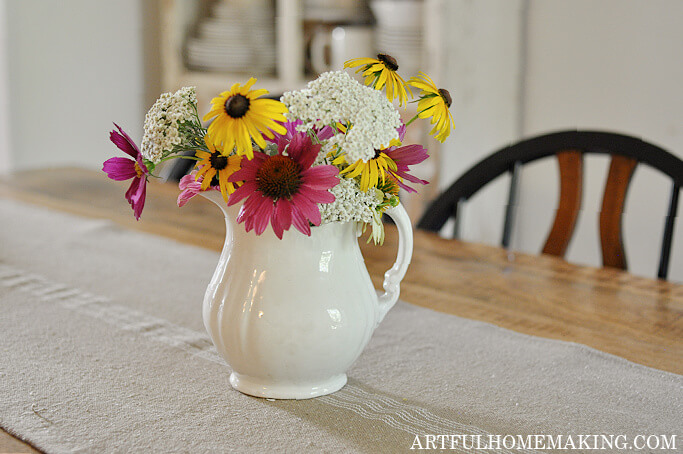
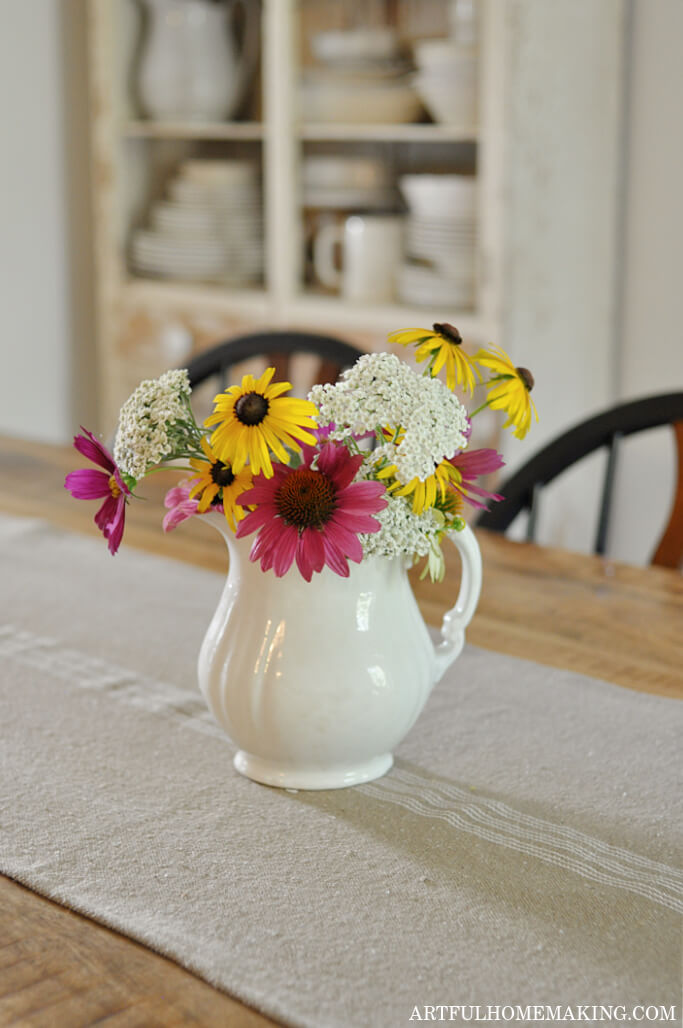
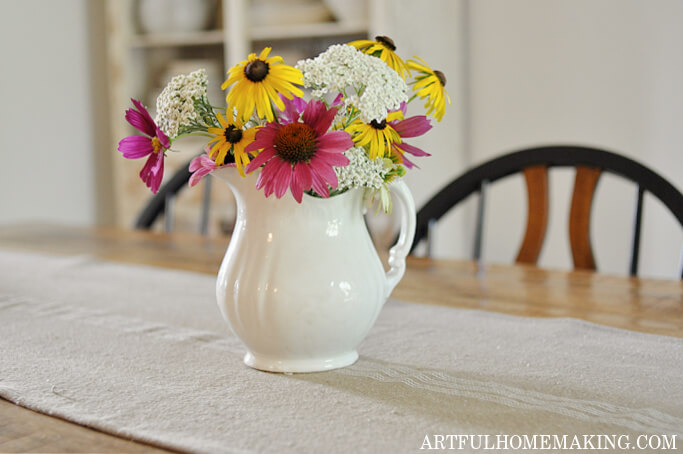
Cut off any loose threads and press one last time. Then decorate your table with your new table runner!
More Sewing Tutorials
- How to Sew Cloth Napkins
- Linen Half Apron Pattern Tutorial
- Cross Back Pinafore Apron Pattern
- How to Make Velvet Pumpkins
Table Runner Tutorial

How to Make a Table Runner (Grain Sack Fabric)
Ingredients
Instructions
- First, decide where you want to use your table runner. Dining tables, coffee tables, side tables, or any flat surface! Prewash your fabric, and iron, if needed. I like to prewash my grain sack fabric on warm, then dry on medium heat in the dryer. After removing from the dryer, I press it if it's wrinkled (but this often isn't necessary).
- Use your measuring tape to measure the table where you will use the finished table runner. You'll want to also determine how much overhang you'd like it to have. Generally, each end should hang over the table at least 6 inches or more (or about 3-4 inches for a smaller table like a coffee table). Add an extra 3/4" to each end measurement to accommodate a hem. (You can also create a smaller table runner that doesn't hang over the ends of the table, if you prefer.) So, take the length of the table plus 4-6 inches on each end for overhang, plus an extra 3/4" on each end to get the length of your table runner.
- Next, decide how wide you want your table runner to be. This measurement is totally up to you, and what you think will look best on your table. Many table runners are 14", 16", 18", or 20" wide. Add an extra 3/4" to to each side for the hem.
- Cut out your table runner, using the measurements you came up with in steps two and three.
- Now it's time to sew! First, we'll start by pressing the long edges of the table runner. Turn under one long side of the table runner (toward the wrong side of the fabric) 3/8", and press. Then turn under 3/8" again and press. Stitch down the long side that you just folded under and pressed. Stitch along the edge, making a 1/4" hem. Repeat for the other long side of the table runner to hem the other side.
- Now it's time to hem the ends (short sides) of the runner. This is actually the most complicated step, because it can be a bit of a challenge to sew through all the layers of fabric. Turn under one end 3/8" toward the wrong side of the fabric. Press. Turn under again 3/8" and press. Stitch down close to the edge. There will be a lot of fabric bulk under the presser foot, so I start sewing with the presser foot in the up position to stitch the first few stitches (sewing slowly). Sometimes it also helps to manually raise the needle and put it in the fabric where you need it to be. Then, once I've made it over that fabric bulk, I lower the presser foot and stitch normally. When you reach the end of this line of stitching, you may need to work with your presser foot again to fit all the fabric bulk under it. Repeat for the other short side.
- Cut off any loose threads and press one last time. Then decorate your table with your new table runner!
Such a simple and classy looking finished product. I love this idea! I’m so glad you mentioned washing the fabric before you make it – I wouldn’t have thought of that but I will definitely do it now!
Thank you, Stacey!
Joy, your grain sack table runner looks wonderful! I love the way you give such good instructions for your sewing projects. You’re a great mentor to other homemakers.
Thanks so much for joining the Grace at Home party at Imparting Grace. I’m featuring you this week!
Thank you so much, Richella!