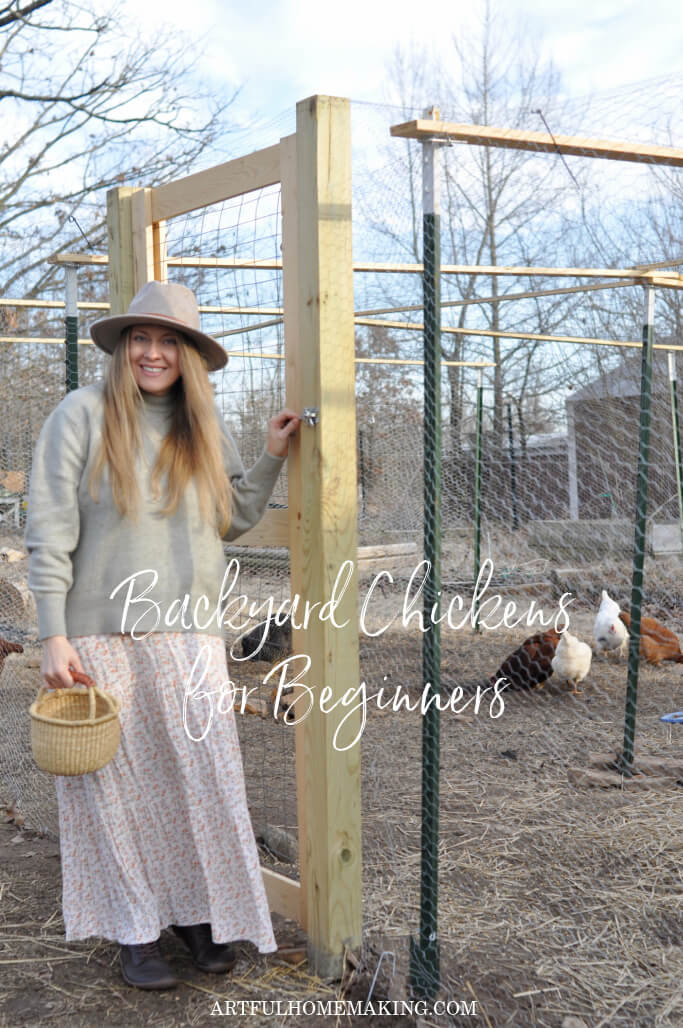
How to Get Started With Backyard Chickens
Learn how to get started with backyard chickens, including how to get chicks, what chickens can eat, and what type of coop to get!
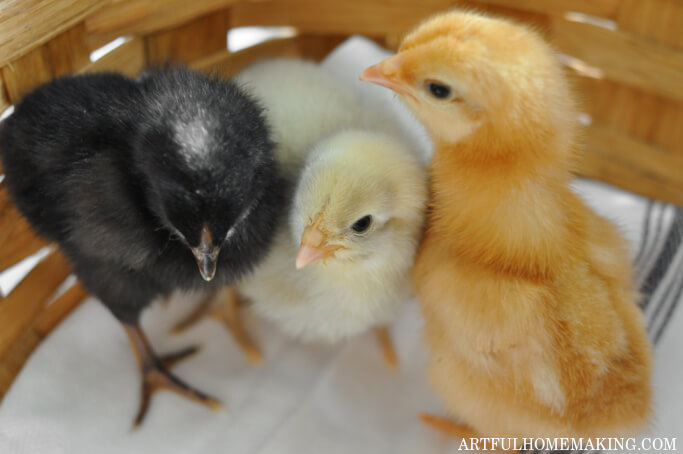
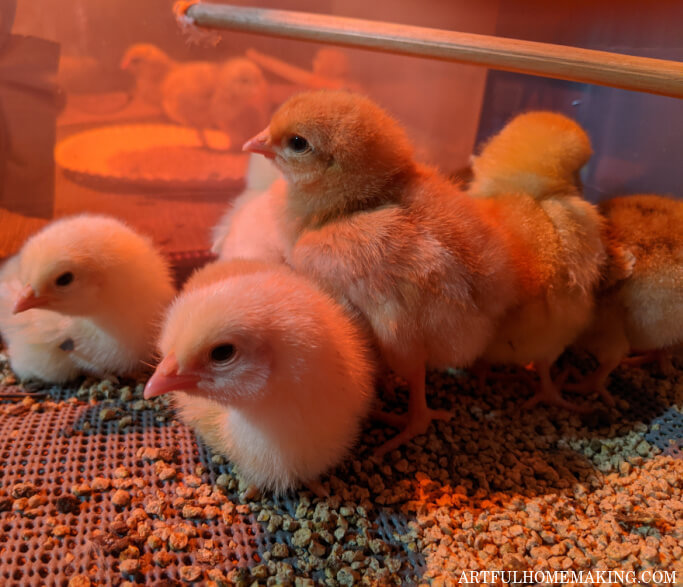
I remember the first time we got baby chicks. It was so much fun seeing those fluffy little day-old chicks happily peeping and wobbling around.
For quite some time, we had wanted our own chickens for backyard egg production, and finally we took the plunge. While it can definitely be a lot of work, the benefits can be well worth it!
Affiliate links included below, which means I may make a small commission at no extra cost to you. As an Amazon affiliate I earn from qualifying purchases. Read my disclosure here.
How to Get Started With Backyard Chickens
Over the past few years, I’ve noticed that more and more people have started their own backyard chicken flock.
Many people just want to be more self-sufficient with their food source, while others have the goal of saving money on expensive grocery store eggs.
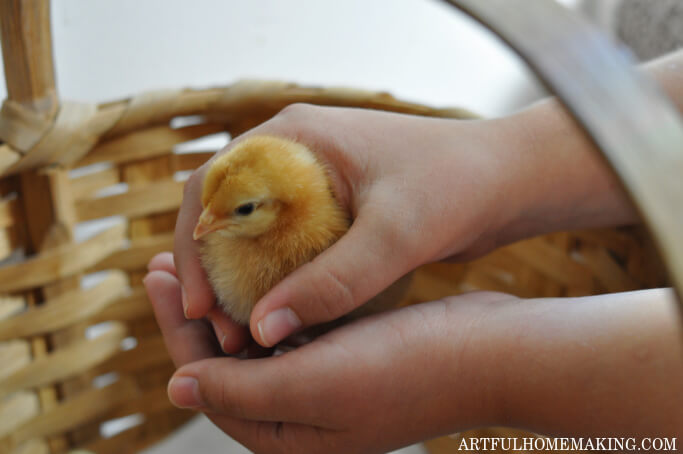
Some parents also want to give their older children chores and responsibilities. Learning firsthand about homegrown food production and how to care for animals is such an enriching experience for children!
For homeschooling families, taking care of chickens can be a wonderful part of an outdoor classroom experience. You’ll not only get the benefit of delicious eggs but your kids will be able to observe and assist with the animal care.
Maybe you’re thinking about getting started with backyard chickens as part of a homesteading journey. You may just want to save money and have your own farm-fresh eggs. Or you’d love to provide your kids with the hands-on experience of food-producing animals.
For any and all of these reasons, having chickens can be a great choice!
If you’re considering raising chickens in your own backyard, there are several things you’ll need to think about before getting started. These include things like local ordinances, how much space you have, whether you want chickens for meat or eggs, and your budget.
1. Check Into Local Ordinances
Although we live on a rural street with neighbors, we’re blessed to live outside of town on about one acre. Because of our location, we didn’t have to check into city ordinances before starting our adventure with chicken keeping.
When we first decided to get started with backyard chickens several years ago, we were the only ones on our street with backyard birds. Since that time, several of our neighbors have also gotten their own chickens.
But in many parts of the U.S. (and likely other countries as well), you’ll need to find out whether it’s permissible to keep chickens in urban backyards.
While it may seem unfair for a city to prohibit the keeping of chickens, there are some reasons for these types of regulations.
For one, chickens (particularly roosters) can make A LOT of noise! While you may not mind early-morning crowing and other chicken sounds, your neighbors might not be quite as happy.
Roosters can literally crow all throughout the day. And hens can make some some pretty impressive noise as well in the process of laying their eggs.
So even if chickens are allowed where you live, be respectful of your neighbors and the potential noise level.
You might even talk to your neighbors to let them know you’re thinking about getting chickens. Ask their input on whether the noise might bother them.
2. Decide How Many Chickens to Get
You’ll also need to find out the number of chickens that can be kept in a household flock in your city. Some people want to get as many chickens as possible, but this isn’t always the best plan.
Even if your city allows up to 25 chickens (a fairly common number), ask yourself if you really want that many birds. Assuming most of these chickens are hens, can you really use 20+ eggs per day?
Unless you’re planning to sell eggs (something else you’d need to check for legal regulations), you’ll soon be overrun with a surplus of eggs.
To find out what local ordinances apply in your area, start out by doing a search online. You could also call your local government city hall and ask what the laws are where you live.
3. Consider The Noise
As I mentioned, chickens can be quite the noise-makers. In our first two orders of baby chicks, we requested only females. Thankfully, hens are all we received. (You can usually request females or males, but sexing chicks can be an inexact science with only about a 90% success rate.)
If you’ve spent any time at all on a farm or backyard with a rooster, you’ll know that male chickens can be very loud.
If you want to raise to raise your own chicks, then obviously a rooster is needed. Roosters can also be helpful to protect the hens and keep order in the flock.
But if you’re looking for the least amount of noise, then consider going without a rooster.
4. Think About Space and Decide on a Coop
Another important thing to factor into your decisions about chickens is the amount of space you have for a backyard flock.
When first getting chicks (see down below for details on chick-keeping), you’ll need to have a place to keep them warm and comfortable before they are ready to be outside full-time.
And then, once your birds are living outside in their chicken coop, you’ll need to have adequate room for them to roam around.
The usual guideline is about 4 to 5 square feet of coop space for each regular-sized bird (a little more for the bigger breeds). For 10 chickens, this works out to at least a 5 x 8 square foot coop size. It’s always better to go bigger if possible, particularly if you might expand your flock down the road.
For the chicken run size, you’ll want to at least double the square feet of space of your hen house.
Personally, I wanted our chickens to have the biggest run possible. This helps prevent boredom, sanitation problems, and crowding issues.
5. Meat Versus Egg Chickens
When starting off with a backyard chicken flock, you’ll need to decide if you want to raise chickens for meat, for eggs, or both.
We decided that we only wanted chickens for their eggs, so I can’t provide a lot of guidance about raising meat chickens.
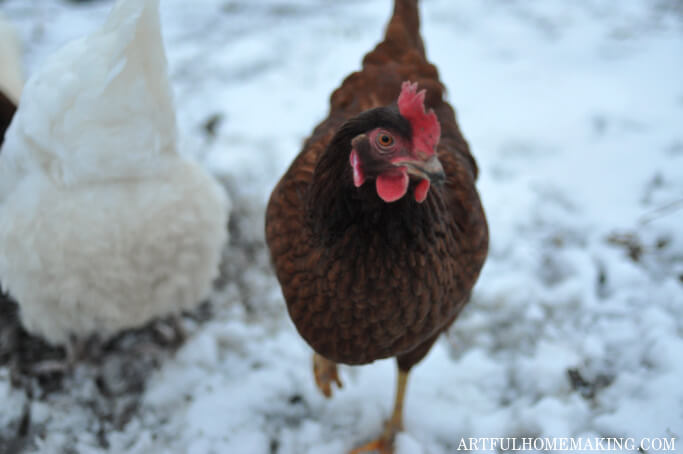
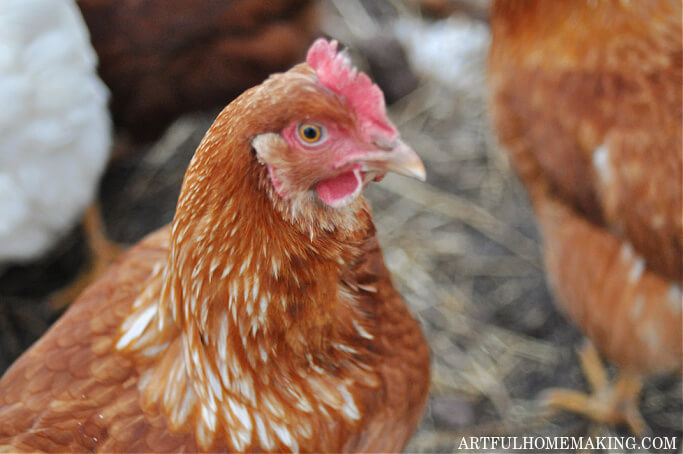
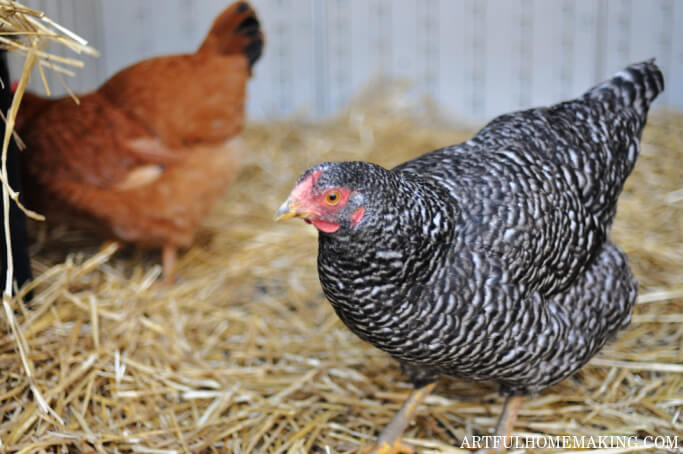
However, some of the chickens (like Buff Orpington and Rhode Island Reds) we got for our backyard flock also work well for meat or eggs. These are known as “dual-purpose” breeds. These breeds are a good choice if you aren’t sure whether you want birds primarily for eggs or for meat.
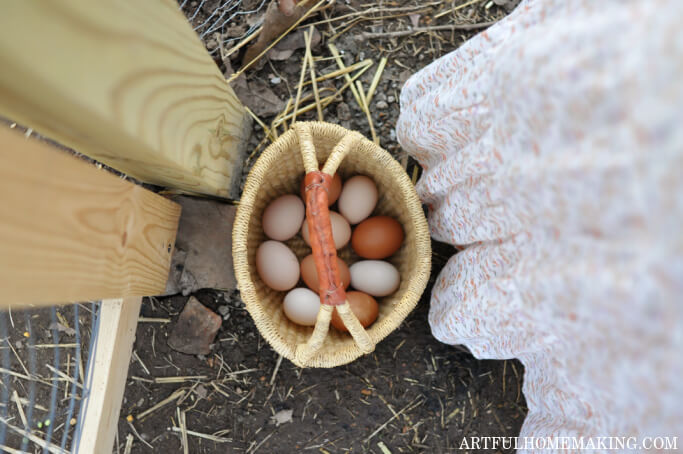
Chickens can lay an egg nearly every day, so decide how many eggs you think you could realistically use. You’ll want to have enough hens to meet your family’s egg needs, but not so many that you have too many eggs.
You can also find out what are the best chickens to lay eggs, including our experience with good layers and different chicken breeds.
6. Make a Budget
The amount you can spend on starting a backyard flock plays a big part in how many chickens you get, what type of coop you use, and the type of feed you provide.
Getting chickens can be fairly expensive, but there are some steps you can take to minimize the cost.
In general, buying chicks from a local farm supply store is going to cost less than ordering them online. When looking online, you’ll find that there are a lot of different breeds to choose from! As a rule, heritage breeds will tend to cost more than standard breeds.
I haven’t priced chicks from a local store, but they often range from $3.00 to $5.00 each. Ordering online, expect to pay around $5.00 to $6.00 for females (less for males). Some rare breeds cost $10.00 or more.
In the area in which we live, some egg farmers get new chickens every year. They sell their one-year-old hens at a reasonable cost (often only a dollar or two). The advantage to this is not only the low cost but that the hens often have at least another couple of years of laying. The downside is that one year of their egg laying ability is spent by the time you get the chickens.
7. Research Ways to Save on Chicken Feed and Housing
Chickens can eat a lot of feed, so controlling chicken feed costs can also help. We prefer to use organic feed whenever possible, but we’ve also used non-organic commercial feeds, which is less expensive.
You can also save quite a bit by allowing your chickens to free-range, if possible. And don’t forget that you can feed your chickens kitchen scraps!
The initial cost of buying baby chicks isn’t the only expense you’ll have. You’ll need to have some supplies (see below) such as a container, lamp, feed, and more.
Having an existing coop or shed that could be converted into a chicken coop will greatly cut expenses. But if you have to buy or build a new coop, this can easily run into the hundreds of dollars.
You’ll also need some type of run attached to or surrounding the coop. This will require some fencing to keep the birds in and predators out.
While you’re doing research, this is the main book I recommend for those just getting started with chickens.
It talks all about how to raise chicks, what to feed chickens, and even how to use herbs with chickens. Learn how to grow your own herbs here.
Watch the Video
How to Take Care of Baby Chicks
When you’re ready to get started with backyard chickens, you can buy your chicks locally or purchase them online. We had two shipments of chicks from Murray McMurray Hatchery and were very pleased with the chicks (all of them lived, thankfully!).
Our most recent order came from Cackle Hatchery. So far our experience with this hatchery has been great as well.
While finding and bringing home your new chicks is fun and exciting, your little chicks will need some TLC to stay safe and healthy in their new home.
How to Set Up a Home Chick Brooder
The first thing your new little baby chicks will need is some type of container (known as a “brooder”).
We’ve used 105 to 106 quart large clear plastic storage totes (bins) with good success. You could probably use a large cardboard box, but it wouldn’t be as sturdy as a plastic one.
To prepare the brooder box, my husband cut an opening in the tote lid. He then used aviation snips to cut 1/2 inch chicken wire mesh fencing (also known as hardware cloth) to fit over the lid opening (the mesh needs to be a little wider than the opening). Finally, he then drilled holes in the lid and used zip ties to attach the chicken wire to the lid using the drilled holes.
You’ll also need a brooder heat lamp and red light bulb to keep your chicks warm enough for the first few weeks. It’s okay to touch the heat lamp to the metal chicken wire, but not to the plastic tote as it could get hot and melt.
We plugged the heat lamp into a thermostat controller to maintain a steady temperature in the brooder.
It’s very important to always have plenty of fresh water and feed for your chicks. We put some marbles in the clean water trough to prevent the young chicks from falling in and potentially drowning.
We also lined the bottom of the plastic tote with non-slip shelf liner as the tote is too slick for little chick feet to adequately grasp.
For the first week, we put paper towels on top of the shelf liner to absorb the chick poop. After the first week, we put wood shavings (pine shavings) on top of the shelf liner as it does a good job of absorbing odor and moisture.
More Brooder Tips
One thing to particularly watch for with chicks is something called “pasty butt.” This happens when excrement sticks to the chick’s rear and basically clogs up the vent area, keeping the chick from pooping.
This can be a serious condition if left untreated. We used warm water and olive oil to clean and lubricate the chicks’ rear area to treat and prevent pasty butt.
One brooder box is enough when the chicks are little (or if you only have a few chicks). We also used a second box attached to the first one to give the chicks more room to run around.
Once the chicks are bigger but not yet ready to go outside, we put them in a pet playpen. Again, we lined the bottom with pine shavings. The playpen we used has a removable bottom. Because of this, we could take it outside and let the chicks forage in grass while still protected.
This is the best book for learning about how to set up a brooder and get chicks off to a good start.
How to Set up a Chicken Coop Henhouse
Once your chickens are about six to eight weeks old, they can be moved outside to a coop as long as the weather is not too cold (over 50 degrees F). During the winter months, they’ll need to be kept inside for a longer time.
If you have more than one option about where to place your coop, making it easily accessible to your house is usually best. Particularly during cold winters, it will be more convenient to have easy access to your feathered friends.
But you may only have one suitable spot (or you may want the chickens away from your house due to noise), which is fine as well.
Many of us live in an area with hot or cold weather extremes. Try to situate the coop in a place where there is shade during the summer and protection from cold wind in the winter.
Mobile Versus Stationary Chicken Coops
Our first hen house was a mobile chicken coop tractor built by my husband. One of the best things about a chicken tractor is that you can move it from place to place to give your chickens a steady supply of fresh grass.
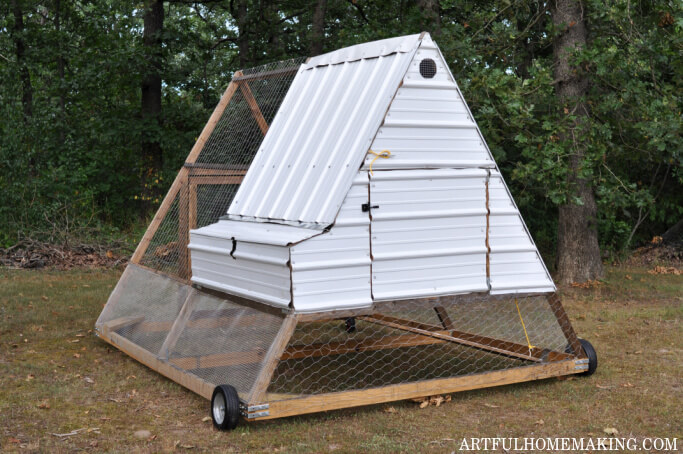
One downside of a mobile coop is that it’s less protected from the elements. We’ve also had predators sneak into our tractor, although this can happen with a regular coop as well.
If you have a small yard, a mobile tractor won’t be the best option and a stationary coop is the way to go. In addition to the mobile chicken tractor, we also put together a stationary chicken house for our original flock. We then moved our second flock into the tractor.
After a lot of research, we decided to use a resin storage shed for our coop. We knew we wanted a shed with adequate ventilation. Our resin shed coop has vents on the front, back and top.
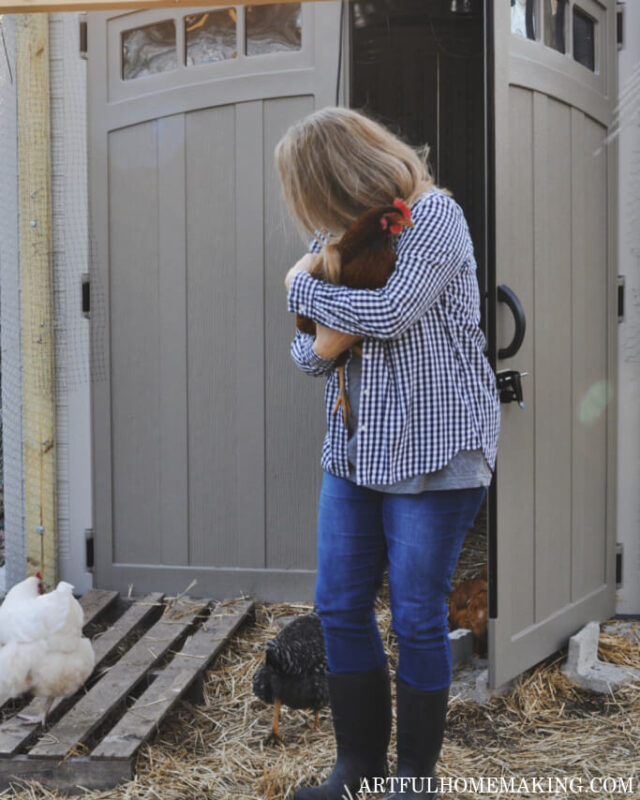
Some people prefer to build their own shed (and you can even find free shed plans online). We felt like using a shed kit would be simpler and within our budget. (I noticed that the cost of these sheds has gone up quite a bit since purchasing ours a few years ago!)
We obtain straw bales from a local feed store and spread the straw out several inches deep on the floor of the coop.
The straw in the coop eventually will be too dirty to continue using. We then either gather and spread it out over our large run area (it helps control mud during rainy weather, and also gives the chickens something to scratch in), or add the used straw to our compost pile.
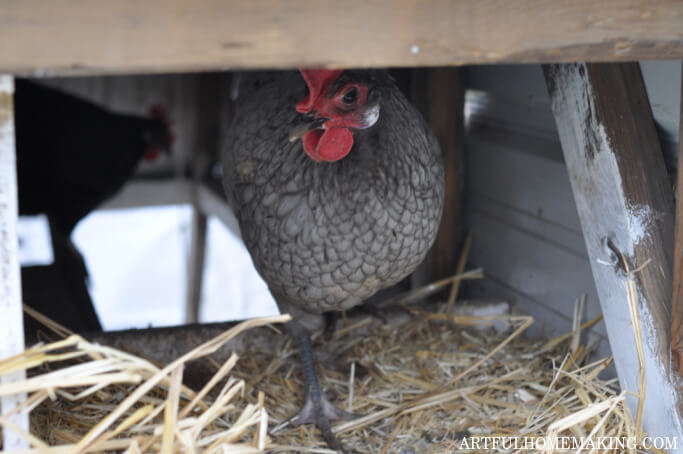
Nesting Boxes
You’ll need one nesting box for every four to five chickens. However, our chickens almost always lay their eggs in just one of the boxes.
We tried using milk crates for nesting boxes but for some reason the hens didn’t seem to think this was a safe place to lay their eggs.
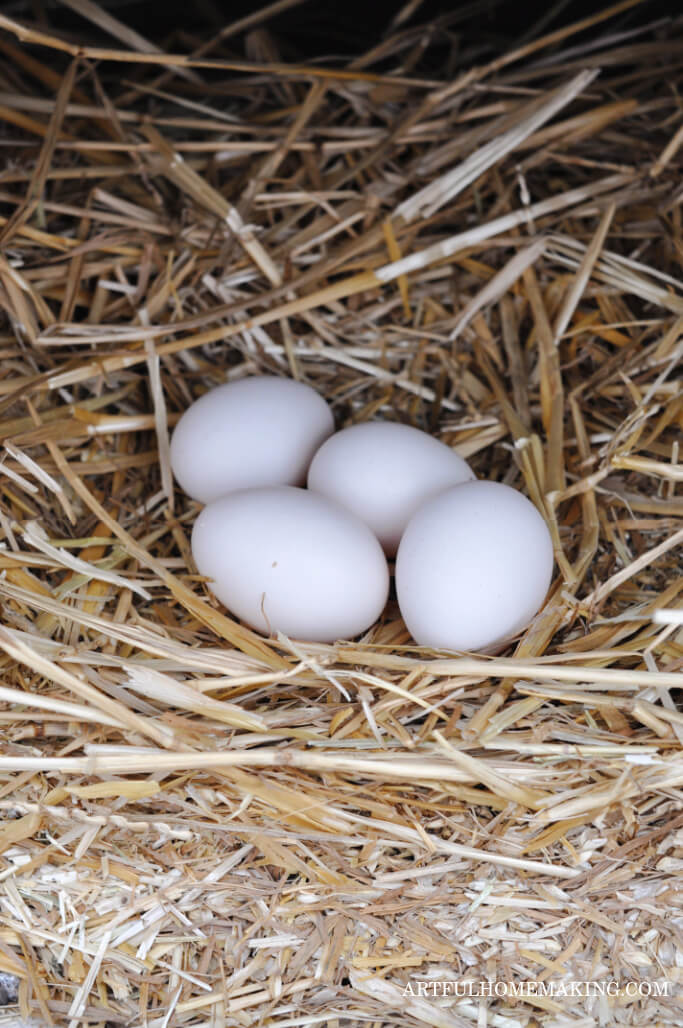
We ended up using this nesting box in our stationary coop. One thing we like about this box is having the solid top. Some of our birds actually like to sleep there at night!
We also lined the nesting boxes in our tractor with washable nesting pad liners.

How to Make a Backyard Chicken Run
Once your coop is set up, you’ll need an enclosed run to keep the birds contained and safe from potential predators.
Any fencing you use needs to be tall enough to keep the birds from flying over. We found that some of our chickens have no problem vaulting over a 3-foot high fence. My husband ended up clipping the wings of these high-flying birds.
Regular chicken wire works fine for fencing a run, although we used a plastic mesh fence (similar to this one), which works well. You can use tall garden stakes to hold up the fence, although we found metal posts to be more sturdy.
We also used landscape staples to attach the fence to the ground. This helps keep your chickens in and predators out.
The size of the chicken run should be at least twice as big as your coop. Ours is a lot bigger than the coop. We find that having a large outdoor area with room to roam and scratch helps to keep the birds happy and healthy.
What to Feed Backyard Chickens
I prefer using organic chicken feed whenever possible. However, this can be a lot more expensive than non-organic feed.
For the first four to six weeks, you’ll want to give your little birds a high-protein, quality starter feed to nourish their growing bodies. We used organic starter crumbles from Azure Standard, and the chicks seemed to really thrive.
Azure Standard is a great source of animal feed as well as quality organic food and other products for your household. (Read more about how to get started with Azure Standard here.)
Once your chickens are ready to start laying, you’ll want to give them layer feed (we get ours from Azure) that has enough calcium to make the egg shells strong. We prefer to use soy-free feed if at all possible.
It’s also a good idea to provide an extra source of calcium such as crushed up oyster shells (we also get this from Azure).
You should also have a source of grit (crushed rock). You can also use calcium carbonate grit from Azure that takes the place of regular grit and oyster shells.
What Can Chickens Eat?
If you have room, it’s a good idea to allow your chickens to free range. They love digging through grass and leaves, finding tasty things to consume.
You’ll soon find that they are very skilled at foraging for bugs, worms, and other kinds of things that chickens seem to love. We’ve even seem them gobble up frogs and snakes!
Be careful about letting your chickens near your garden (including raised beds). They can quickly tear up the soil and damage plants while scratching around for insects.
Chickens can actually eat a lot of different foods, including table scraps, meats, and old fruit and vegetables that are past their prime.
Here’s a helpful list of foods considered safe for chickens.
How to Make Homemade Chicken Feed
The simplest way to feed chickens is to buy a ready-to-use feed.
However, some people prefer to make their own homemade chicken feed. Some do this to save money on feed, while others think it provides superior nutrition or can be customized for their birds’ needs.
My husband did some research and came up with a soy-free, corn-free recipe for homemade chicken feed:
- wheat 33%
- peas 25% (can use all green peas or 17% green, 8% yellow peas)
- oats or barley 15% (interchangeable)
- black oil sunflower seeds 10%
- millet 6%
- grubs (black soldier fly larvae) 5%
- flaxseeds 4%
- Nutri-balancer 1.5 to 2%
If measured in pounds, this comes out to about 90 lbs. of wheat, peas, sunflower seeds, millet and 10 lbs.of grubs, flax, and Nutri-balancer.
Mix all of the ingredients together in a large bucket and feed to your chickens as you would normally use feed.
The grains and sunflowers seeds are soakable/sproutable, if desired.
If you want to soak the grains, you’ll need to separate the last three ingredients (grubs, flaxseeds, and nutri-balancer) from the grains.
We premixed the grains in one barrel (large trash can with lid) and the other 3 ingredients in another barrel. Then we used 9 scoops of grains for every 1 scoop of the other ingredients.
(If soaking or sprouting, be sure to only soak the mixed grains.)
We got the wheat, peas, oats, barley, flaxseeds and Nutri-balancer from Azure Standard. The sunflower seeds and millet came from a feed store (or Walmart), and the best price on fly larvae is on Amazon.

Dealing With Illness in Backyard Chickens
While having backyard chickens is a great way to have a steady supply of eggs, chickens do get sick from time to time.
Through the years, we’ve lost a few chickens to illness, although we’ve thankfully been able to nurse others back to health.
Our go-to reference when facing sick chickens is The Chicken Health Handbook. This helpful step-by-step guide explains common illnesses encountered when keeping chickens,
Some of the conditions we’ve deal with and successfully healed at home include bumblefoot, impacted crop, and a prolapsed vent.
It’s great to learn from a chicken expert who can show you different options to try at home to keep your flock healthy.
Closing Thoughts on How to Get Started With Backyard Chickens
There are so many good things about having backyard chickens. Having your own fresh, delicious and nutritious eggs will make you never want to go back to store-bought eggs again!
Whether you choose to get good egg layers or dual purpose chickens, having your own little flock can be a fun and satisfying experience.
I hope that sharing my family’s experience and these tips for how to get started with backyard chickens has been helpful! Hopefully it will help you decide if chickens would be right for you, and if so, help guide you in getting started.
Becoming chicken keepers has been a fun adventure for us.
More Homesteading Help:
- The Best Chickens for Laying Eggs
- Our Mobile Chicken Tractor Coop Build
- Favorite Homesteading Books and Preparedness Guides
- Azure Standard for Beginners
- How to Build Raised Beds for Garden
- Favorite Gardening Books to Learn How to Garden
- Where to Buy Heirloom Seeds
- How to Grow Herbs for Beginners
Pin This Post for Later
