This post may contain affiliate links. Please read our disclosure policy.
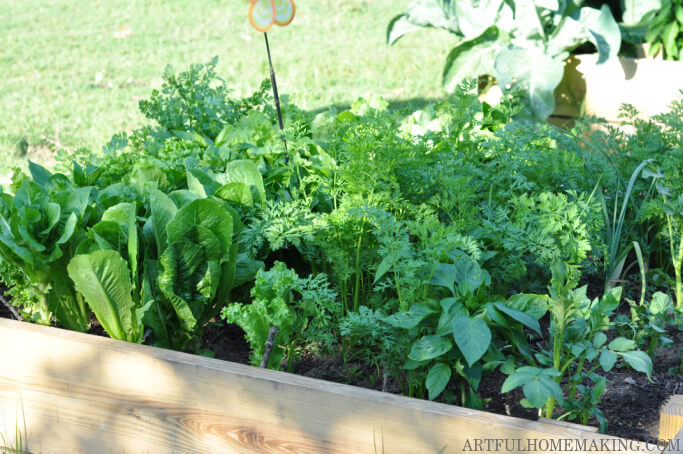
Learn how to build a raised garden bed with this easy DIY tutorial! We’ve been gardening for over twenty years, and we’ve been using raised garden beds for over ten of those years.
We recently decided to add two more raised beds to our garden, so I was able to take a few photos of the process to share with you.
If you’re interested in learning how to make raised beds for your garden, here’s a simple tutorial.
Why We Use Raised Garden Beds
There are many benefits to using raised garden beds. Here are a few reasons why we choose to use raised beds:
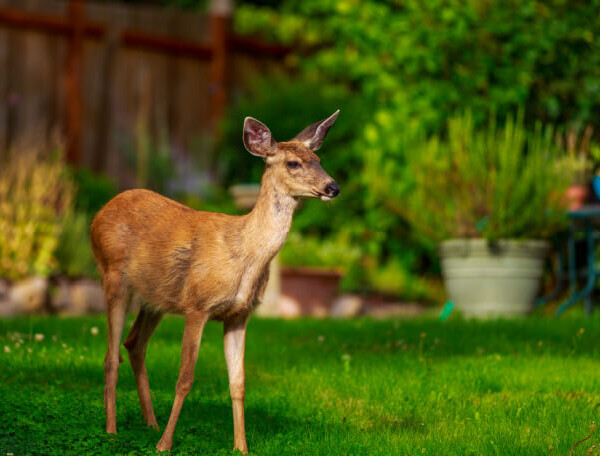
1. Keep Pests Out of Your Garden
One of the main reasons we love using raised beds for gardening is because they help deter pests.
Our neighbors have dogs who like to run through our yard, and they only rarely have tried to jump up into the raised beds.
Our other garden space is a traditional garden planted directly into the ground, and that area is more likely to get trampled on or bothered by dogs, cats, and other animals.
2. Easier to Work In
Raised garden beds can be easier to weed and work in if they are built the correct width and height.
3. They Look Neater
This isn’t always the case, but often a raised bed is just neater-looking than a traditional garden.
4. They Allow The Use of Cattle Panels to Make an Arched Trellis
For the two raised garden beds we just created, we’re planning to add cattle panels to create an arbor trellis of sorts.
I’m so excited about this! You could possibly do this on the ground, but the raised bed raises up the cattle panels a bit, making it possible to walk through them like an arbor.
Supplies Needed for This Project
This post contains affiliate links, which means I may make a small commission at no extra cost to you. As an Amazon Associate I earn from qualifying purchases. Read my disclosure here.
Here are the supplies you’ll need to make your raised garden bed:
- Untreated lumber (Cedar is recommended most often, but other wood can be used. We used fir this time because it was cheapest and readily available to us.)
- Tape measure
- Pencil or pen
- Cordless drill (we used two drills on this project—the one in the photos and then we switched to my mom’s drill, which is the one I’ve linked to here, as it worked better)
- Countersink drill bit (#10 7/64) we have this drill bit set
- Galvanized deck screws 10 x 3-1/2
How to Build a Raised Garden Bed
1. First, determine where you want to put your raised garden bed.
You’ll probably want to pick a sunny spot, as most vegetables require full sun.
If you’re planning to plant something other than vegetables, take the light requirements for your plants into consideration.
2. Next, decide how big you want your raised beds to be.
This can vary a lot, and we actually have raised beds of varying sizes in our yard.
It’s usually not recommended to make raised garden beds wider than four feet. This is just so you can easily reach into the center of the bed.
If it’s any wider than four feet, that tends to make it harder to reach in and work in it.
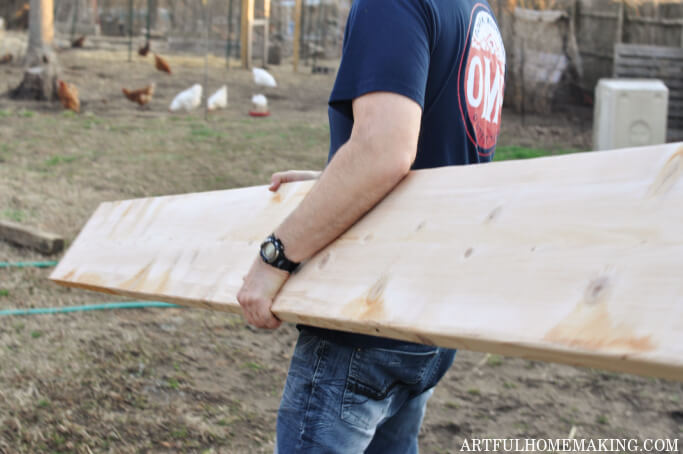
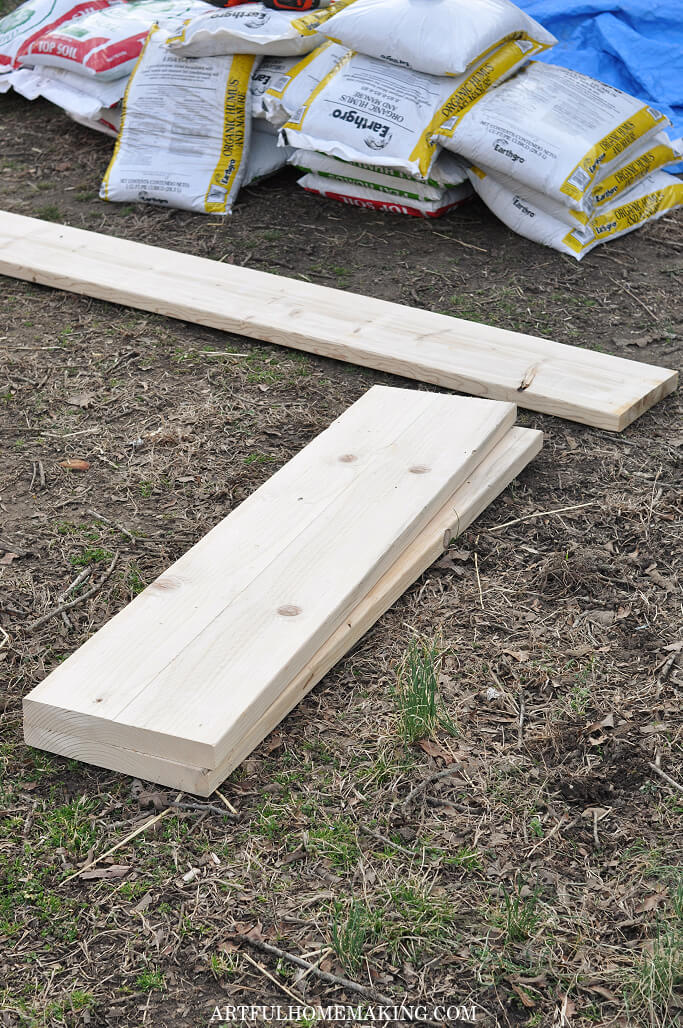
3. Gather up your supplies and buy the wood you’ll need.
We had a certain size were were aiming for this time, so we used 2″ x 12″ boards that were 10 feet long.
We used two of these 2″ x 12″ boards for the sides, and for the ends, we used 2″ x 12″ boards that were 4 feet long.
Since we were making two raised garden beds, my husband bought a 2″ x 12″ board that was 16 feet long, and he had it cut in four pieces at the lumber store for the ends.
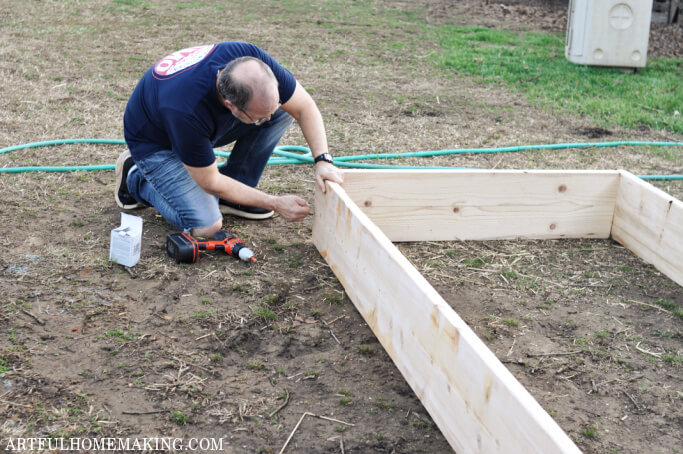
4. Measure and mark drill holes.
For this you’ll take your board and mark where you want to drill the holes. My husband did three holes per end, and he just evenly spaced them.
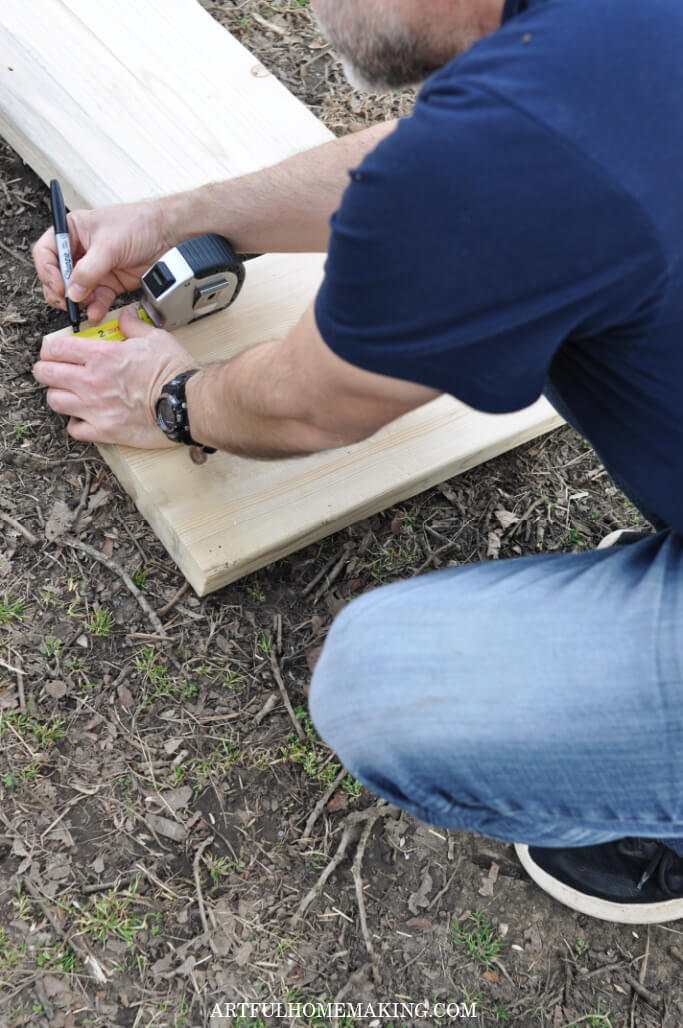
He went about three inches down from the top, and three inches up from the bottom, and then evenly spaced the one in the middle.
Look at the boards you purchased and decide on the best place for your screws, as it may vary depending on your board widths.
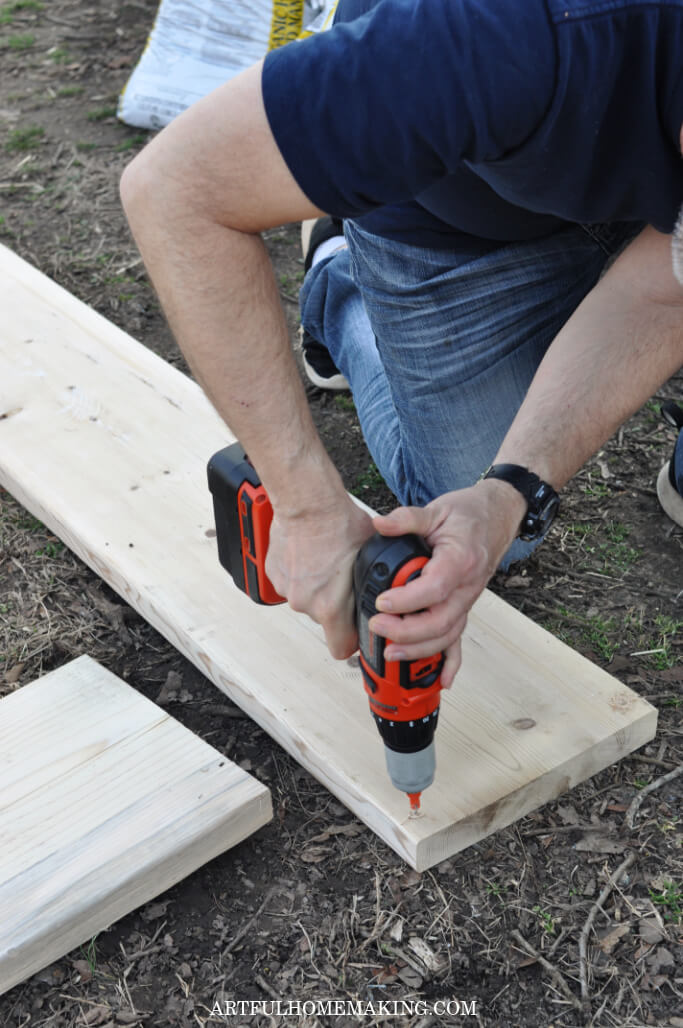
5. Make pilot holes using the drill bit.
Using the countersink drill bit, drill a pilot hole for each screw.
6. Screw the boards together.
Next, switch to a drill bit that fits the screw size you’re using, and screw the boards together where you made your pilot holes.
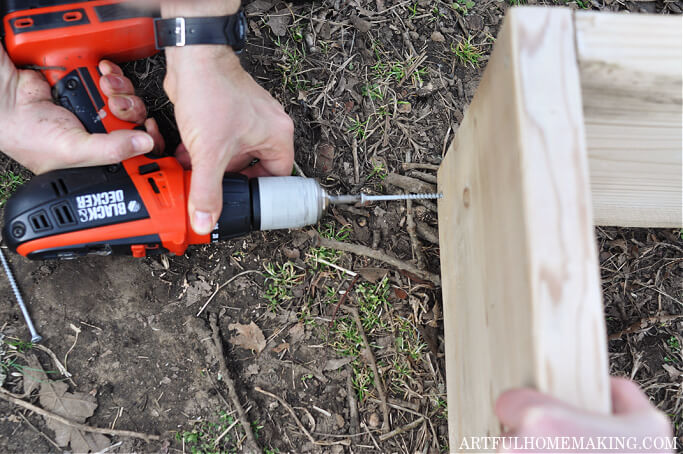
It helps to have someone else hold the boards while you’re screwing them together.
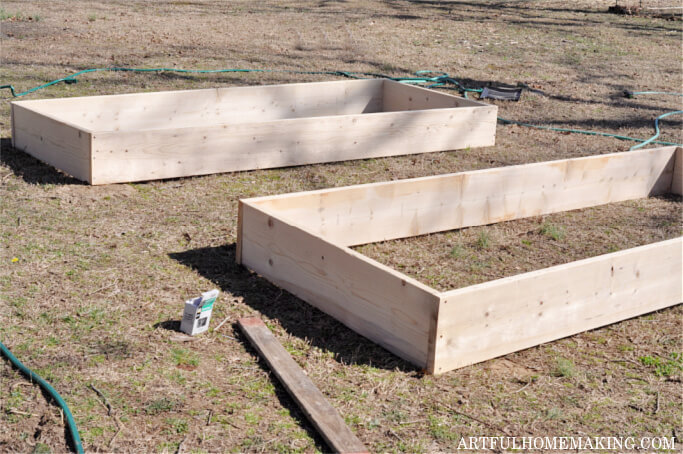
7. Repeat for all four corners.
Repeat the steps above for all four corners, marking, measuring, making pilot holes, and screwing boards together.
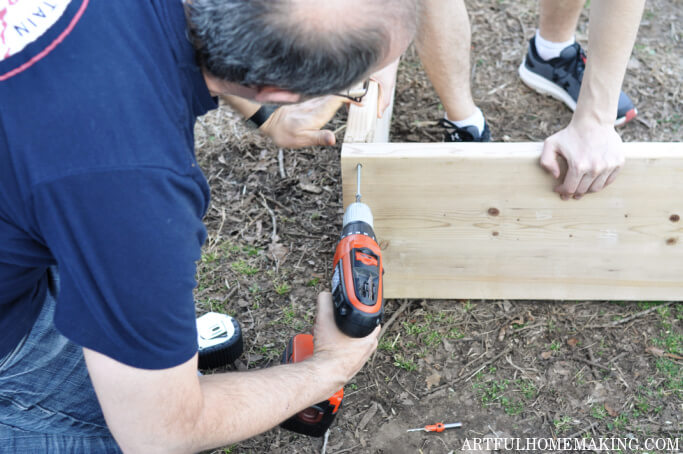
When you get done attaching all the boards together, you’ll have something that looks like this:
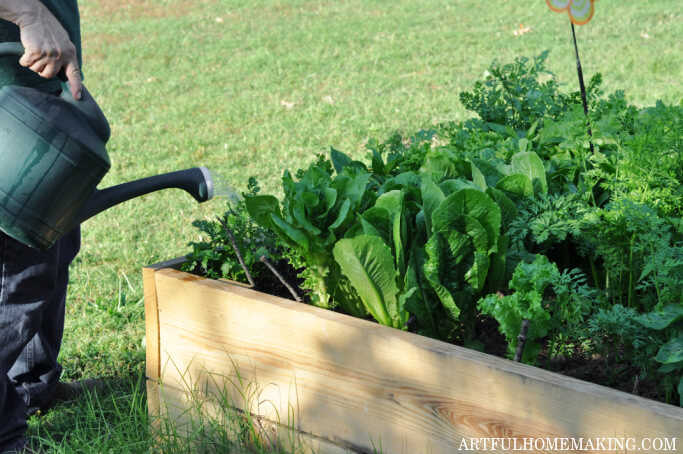
8. Fill your raised garden beds.
Once you have all your raised beds put together, it’s time to fill them with soil!
Note: Before you start filling the raised garden bed with soil, make sure you have it in the spot you want it. It will be difficult to move after you’ve added the soil.
What to Put in a Raised Garden Bed
There are a variety of ways to fill your raised garden beds.
One option is to simply fill the beds with soil. Sometimes you can purchase this in bulk or have some good quality soil delivered to your house.
You can buy bags of soil, but it takes quite a few bags to fill them up. We usually try to find someone locally to buy soil from.
This year, my husband decided to do a layering technique.
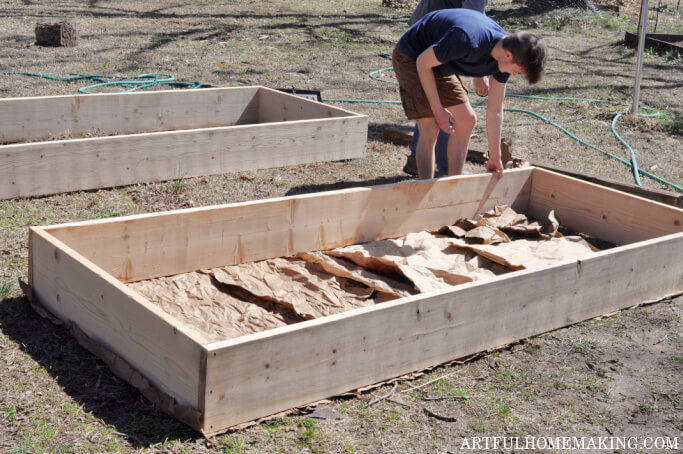
First, he put down a layer of brown packing paper and newspaper. This is useful to choke out the grass and weeds. You could also use landscape fabric for this purpose.
Next, he added a layer of dried twigs and sticks (you don’t want to use green wood, but make sure it’s dried out).
He followed this with a layer of dried and partially-composted leaves.
Then he added a layer of soil. He used a combination of soil that he got from our city yard waste area, bagged topsoil, bagged cow manure and compost, and bagged peat moss and humus.
Then he added a layer of straw, and then he went back to leaves and soil.
Tip: Be careful not to use hay or fresh grass clippings because those can have seeds in them (which will create weeds in the garden later).
You can also mix in some bone meal and/or organic fertilizer. This is a good idea if you’re just using regular dirt that’s not composted.
More Gardening Inspiration
- Where to Buy Heirloom Seeds
- How to Make Your Own Comfrey Salve
- Gardening for Beginners: The Ultimate Resource List
- How to Make Mint Tea with Fresh Mint Leaves
- 12 Tips for Growing Tomatoes
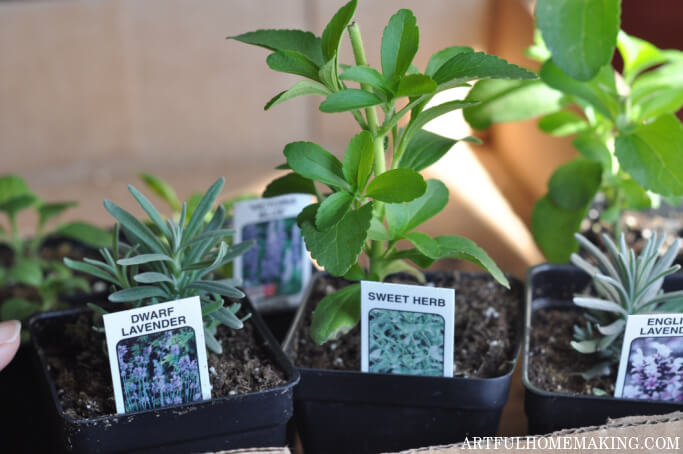
- How to Grow Herbs: A Beginner’s Guide
- How to Make a Flower Planter for Your Front Porch
Plant Your Seeds and Plants
After you’ve added and prepared the soil in your raised garden bed, it’s time to plant!
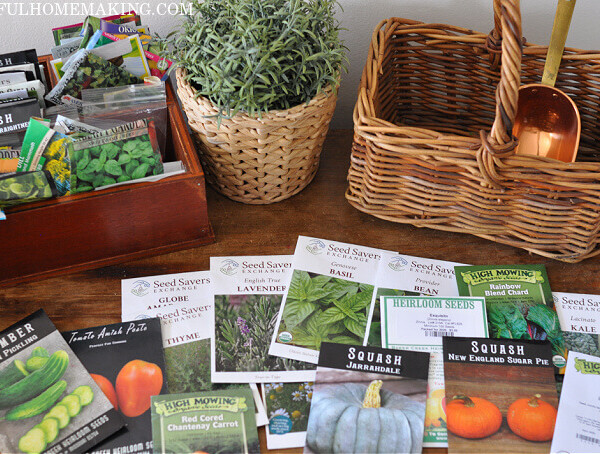
You can direct sow seeds (here are the best places to buy heirloom seeds for your garden).
Or, you can also buy plant starts that are ready to plant. One great place to get plant starts is your local greenhouse or Azure Standard.
Yes! Azure Standard has plant starts, and it’s so convenient to have them delivered to you. The ones we’ve ordered in the past have arrived in good condition and the plants were healthy.
RELATED POST: Azure Standard for Beginners
I hope this post has been helpful in learning how to build a raised garden bed! We’ve been using these in our garden for years, and I love them.


My Husband built me two raised beds about 36 inches of the ground. I like to garden but have had two back surgeries. Tomatoes doing good but other stuff not so much. It got too hot and lots of things went to seed. Will try a fall garden.
How nice of him! The heat does make it difficult. A fall garden sounds like a great idea!
Very informative. I love the idea of adding the arbor to the beds as well. I planned to build beds myself this year, but got busy doing other projects. I think we’ll just do some planting in pots this year and try again for next year. I appreciate the information on the layering techniques as well. That’s something I would definitely want to include in our process. Thanks again!
Cassie | letsgrowmom.com
Pots are a great idea for a quick and easy garden space!
Wow! You’ve been busy! The new beds look great. Thank you for sharing this wonderful tutorial at Tuesdays with a Twist -Marci @ Stone Cottage Adventures
Thank you, Marci!
Thank you for the simple tips for making raised planter beds! I hope to make some come fall for our North Texas garden. Stopping over from TFT and Amber’s blog, Follow the Yellow Brick Home.
Happy Easter to you and your family,
Barb 🙂
Thank you so much for stopping by, Barbara!
What a wonderful post! This is so thorough and helpful! I am excited to feature this post at Tuesday Turn About this week. Thank you so much for sharing and Happy Spring!
Thank you, Lynne!
My raised beds are made of cedar. After about ten years the moisture rotted the wood in lots of places. Rather than disturb the beds I set new boards on the outside. That way I didn’t lose any of my garden space. https://powellriverbooks.blogspot.com/2019/08/renewed-raised-bed-floating-garden.html – Margy
Great idea! Thanks for sharing, Margy!