This post may contain affiliate links. Please read our disclosure policy.
Learn how to make flour at home with a grain mill and whole grains. Milling your own flour is a simple homemaking skill to learn. All you need is a grain mill and some hard wheat berries or other grains!
With freshly milled flour, you can make sourdough bread, quick breads, homemade flour tortillas, rolls, cinnamon rolls, and so much more!
Another great thing about grinding your own grain is that whole grains can be stored for a very long time. So, learning how to make flour has the added benefit of giving you a longer-term food storage option.
You’ll no longer need to store bags of flour (which don’t stay fresh as long), but you can store the whole grain instead.
Can I Make My Own Flour?
Yes, you can make your own flour at home!
I’ve been milling my own grains with a grain mill for over twenty-three years now. My husband found a gently used electric mill, and we purchased some wheat berries from our food co-op.
Shortly after learning how to make flour with whole grains, I also learned how to make whole grain bread. Making homemade bread is my favorite homemaking task!
And that was the start of a wonderful journey, grinding whole grains for flour, and making homemade bread from scratch. There is a little bit of a learning curve to baking with whole grains, but making homemade flour with your own mill is easy.
This post will show you how!
Affiliate links included below, which means I may make a small commission at no extra cost to you. As an Amazon affiliate I earn from qualifying purchases. Read my disclosure here.
Benefits of Milling Your Own Grains
Freshly ground flours have greater nutritional value than store-bought flour. According to the Oldways Whole Grains Council, the health benefits of whole wheat flour over refined wheat and enriched wheat are numerous:
Did you know that refining grains takes away half to two-thirds of a wide range of nutrients? It’s true that some refined grains are then “enriched” — some of the missing nutrients are added back in — but enrichment of wheat, for example, generally adds back only five of the missing nutrients, and does so in amounts different from their original proportions.
When you learn how to make flour at home with whole grains, you are able to not only enjoy the superior flavor of the grain, but you also get all the b vitamins and fiber originally included in the wheat berry.
What You Need to Make Flour at Home
To grind your own grain and make flour at home, there are only two things you’ll need:
- A grain mill (you can also use a high-powered blender, a coffee grinder, or stand mixer with milling attachment)
- Wheat berries (or other grains we’ll discuss below)
That’s it! First, let’s talk about the different types of grain you can mill, and then we’ll talk about grain mills.
Types of Grain for Milling
There are several types of grain that can be milled into whole grain flours.
- Hard white wheat
- Hard red wheat
- Soft white wheat
- Einkorn
- Kamut
- Spelt
The most common grains for home milling are hard white wheat, hard red wheat, soft white wheat, and ancient grains like Einkorn, spelt, and Kamut. But there are so many different grains you can try, each making a different kind of flour.
Different types of flour are used for different types of bread.
I use hard white wheat grains the most, as flour made from these wheat berries creates a lighter bread. This is my first choice for bread flour when I’m making whole wheat bread, but I also regularly use hard red wheat.
I also sometimes like to mix in a bit of spelt with my hard wheat. It has a lower protein content than hard wheat, and it has a nutty flavor that I love in my bread.
Soft white wheat is perfect for things like quick breads, pie crust, cookies, and even cakes.
There are also so many other grain possibilities to consider for milling:
- Barley
- Oats
- Rice
- Emmer
- Sorghum
- Millet
- Quinoa
- Amaranth
- Buckwheat
- Corn
- Legumes
Where to Buy Wheat Berries
You may be able to find wheat berries at health food stores, grocery stores, and online. Through the years, we’ve mostly purchased our wheat from our food co-op and local farmers.
Here are a couple of my favorite sources:
Azure Standard: We’ve been buying our grains from Azure Standard for over ten years, and this is where we look first these days, adding to our monthly order.
Amazon: You can find several different whole grains on Amazon as well.
If possible, find a local farmer to purchase your grains from. We’ve been able to find the best deals this way!
Grain Mills
Even though you can use a blender, coffee mill, or stand mixer to grind your grain, a grain mill is useful, especially if you intend to mill large amounts of whole-grain flour.
I have three grain mills, currently.
My first mill was a Blendtec Kitchen Mill (formerly called K-tec). This electric mill is able to grind up to 24 cups of flour in under 8 minutes. Whenever I’m making a huge batch of bread, I still use this grain mill.

![]()
It’s great for milling a large quantity of fresh flour all at once. Mine is still going strong after over 23 years!
![]()
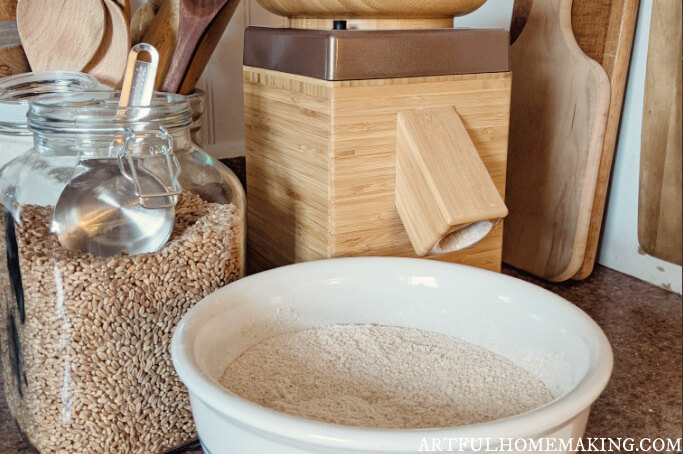
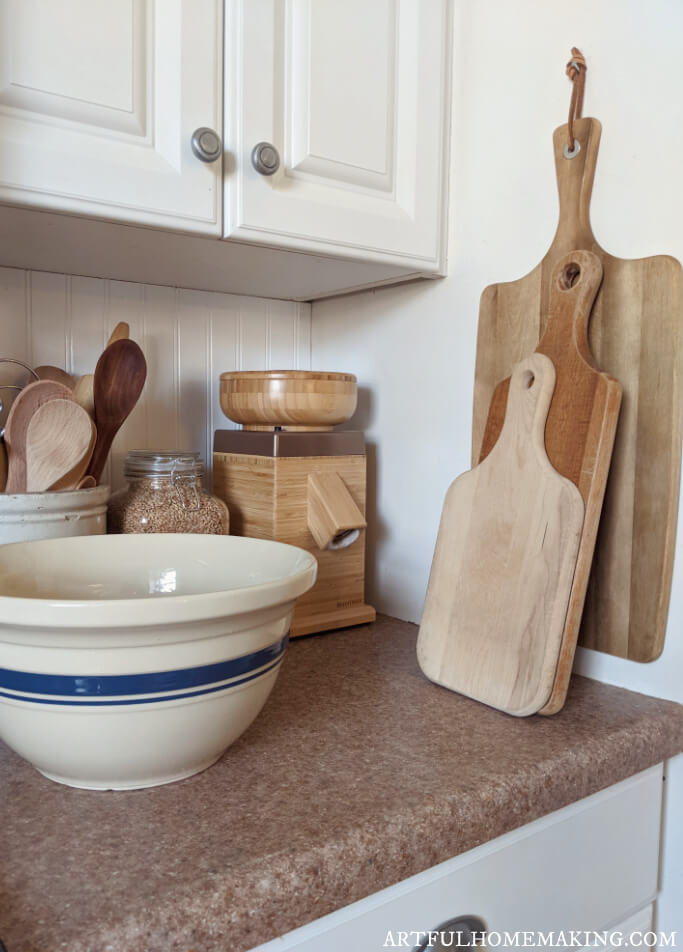
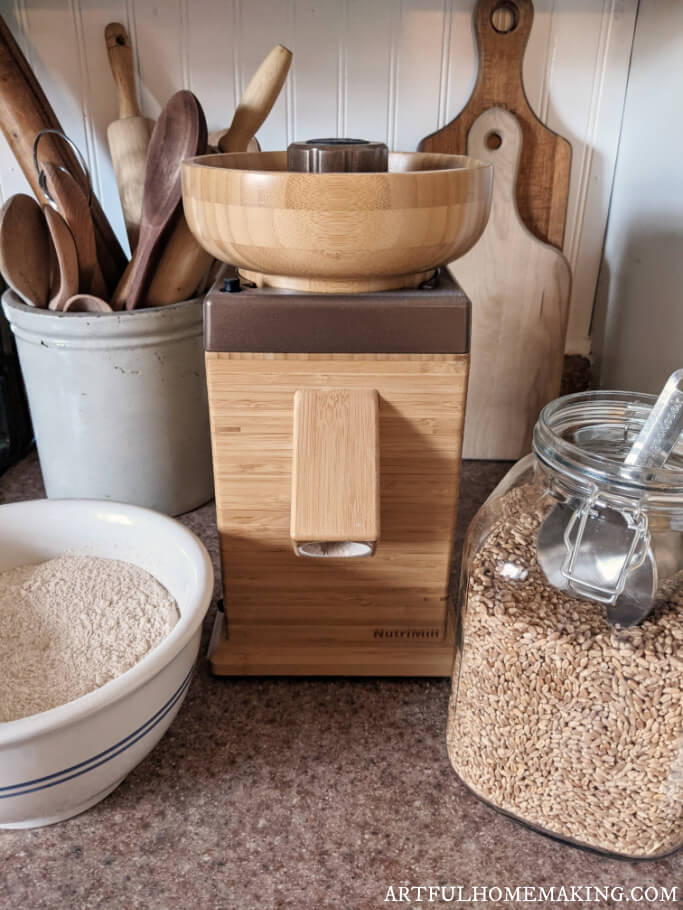
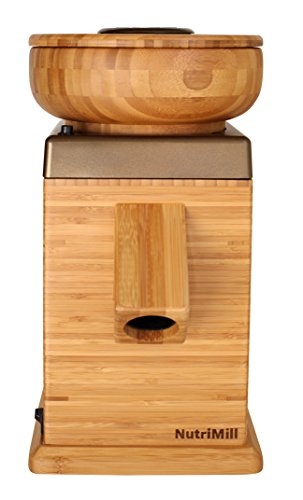
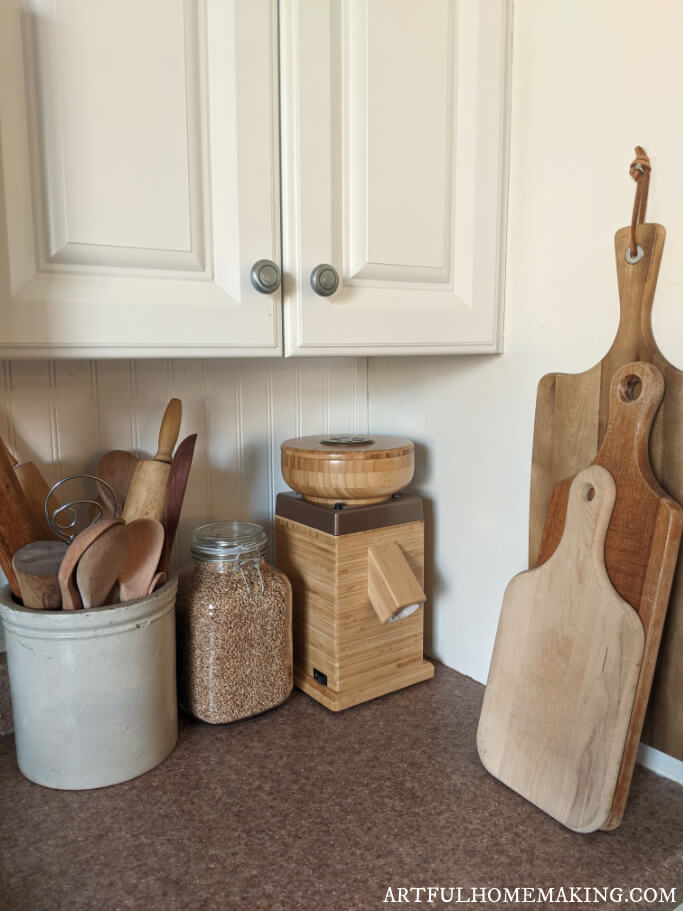
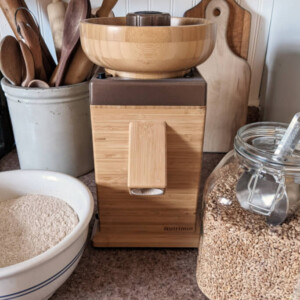
My second mill (the one in the photos in this post) is a NutriMill Harvest grain mill. I love this mill because it looks beautiful sitting on the counter, and it’s so much quieter than the Blendtec.
It’s perfect for grinding a smaller batch of flour. It can do larger batches, but it takes longer.
Also, the Kitchen Mill seems to make finer flour than the NutriMill. But I still love and use them both. (You can also find the NutriMill Harvest here.)
And lastly, I also have a little manual hand-crank grain mill. This type of grain mill is helpful when you don’t have electricity. Hand mills are great to have on hand for emergencies!

![]()
The only downside (for the one as small as mine) is that you won’t be able to grind much flour in a short amount of time. But it’s still a good idea to have one just in case.
There are many other grain mills on the market, so be sure to research and find the best option for your needs and budget.
If you’re not ready to buy a grain mill yet, here are a few options for grinding grain without a mill.
How to Make Flour Without a Grain Mill
If you don’t have a grain mill and don’t want to buy one, there are a few other options that I briefly mentioned above.
You can use a high speed blender like a Vitamix. Even though this machine does work for this, it’s not great for milling large quantities. And even a regular blender can handle milling softer grains and making things like oat flour and buckwheat flour.
You can also buy an attachment for your stand mixer. I’ve heard of several people who prefer this option, since it requires owning fewer kitchen appliances.
I’ve heard you can also use a food processor, but I haven’t tried this myself, so I’m not sure how well it works.
And lastly, you can also use a coffee grinder, although this will take quite a bit longer to get a decent amount of flour, and it may not create a fine flour.
Recipes Using Freshly Ground Flour
- Sourdough Starter
- Easy Whole Wheat Bread Recipe (this recipe works best with a large mixer)
- Whole Wheat Pizza Crust
- Whole Wheat Chocolate Chip Cookies
- Jam Thumbprint Cookies
- Pumpkin Oat Muffins
- Whole Wheat Fruit Cobbler

How to Make Flour at Home
Here’s how to make flour at home with a grain mill.
1. Step One: Purchase your choice of whole grain and a grain mill.
Decide on which grain mill option you’re going to use (this one is my favorite), and then locate some grain. There are so many options, including whole wheat (which is my favorite grain to mill).
2. Step Two: Next, decide how much grain you’re going to mill.
I typically just mill enough to fill a large bowl, depending on how much I need for my recipe. If I happen to mill a little too much, I store the leftover flour in the freezer in an airtight container.
3. Step Three: Turn on the mill and add the wheat berries.
Then, just wait for the mill to grind them into flour.
4. Step Four: Store the freshly ground flour in an airtight container.
I store mine at room temperature if I’m going to use it shortly. If I made it in advance, I put it in a sealed freezer bag or container and store in the freezer.
See below for a printable version of these instructions.
How Long Does Homemade Flour Last?
Once the grain has been milled and turned into fresh ground flour, the protective outer layer surrounding the wheat berry has been removed, and the shelf life begins to decrease.
Some researchers believe that ground flour starts to lose nutritional value within a few days. For that reason (and for the best results), it’s best to grind flour shortly before using it. Store it at room temperature in a cool, dry place.
If this isn’t possible, you can also store it in the freezer for up to 6 months in an airtight container.
How to Store Grains
One of the great things about whole grains is that they can be stored for a long time, if stored properly.
We store our grains in food-grade five-gallon buckets in the basement. I also keep a smaller container in the kitchen pantry with my baking supplies.
You can also further protect your grains by storing them in a mylar bag with an oxygen absorber. We don’t always do this, but it might be a good idea for long-term food storage.
Tips for Baking with Whole Grain Flour
Baking with freshly ground whole grain flour is quite a bit different from using all purpose flour or other types of white flour.
The first time you learn how to make flour and try to bake with it, you may find yourself a bit frustrated unless you’re prepared for the differences.
Here are a few of my favorite tips for using whole grain flour.
Choose the Correct Flour
Be sure to use the right type of flour for the bread you’re making.
If you’re making a quick bread (or muffins, biscuits, cakes, or cookies), a soft wheat or spelt will work well. Yeast breads require the higher protein of hard wheat.
It also helps to use a recipe that’s suited for freshly ground flour. That way you won’t need to adjust the amounts of anything.
Some of my favorite recipes include this whole wheat bread, this healthy banana bread, and these chocolate chip cookies.
Use Fresh Yeast
I buy my yeast in bulk and store it in a jar in the freezer.
Use a Mixer Like a Bosch
Either use a Bosch or use a stand mixer to knead your dough, especially if you’re making a large batch of dough.
My Bosch mixer was a game changer for my bread. I purchased it shortly after buying my first grain mill, and it is still working well after over 20 years.
But you can also use a stand mixer.
Knead Well
If you decide to knead your dough by hand, it can take anywhere from 5 to 25 minutes, depending on how much dough you’re kneading. When the dough is properly kneaded, it should be elastic and springy.
Don’t Add Too Much Flour
Be careful not to add too much flour when kneading your dough. That’s one reason the Bosch or stand mixer mentioned above is helpful.
When you allow the machine to knead the bread for you, you don’t have to add as much flour. Using less flour while you’re kneading creates a softer bread.
Printable Instructions
How to Make Flour with a Grain Mill
Equipment
- Grain mill
Ingredients
- Whole wheat berries
Instructions
- Step One: Purchase your choice of whole grain and a grain mill.
- Step Two: Next, decide how much grain you're going to mill. I typically just mill enough to fill a large bowl, depending on how much I need for my recipe. If I happen to mill a little too much, I store the leftover flour in the freezer in an airtight container.
- Step Three: Turn on the mill and add the wheat berries. Then, just wait for the mill to grind them into flour.
- Step Four: Store the freshly ground flour in an airtight container. I store mine at room temperature if I'm going to use it within that day. If I made it in advance, I put the flour in a sealed freezer bag or container and store in the freezer.
I hope this post has been helpful to you in learning how to grind your own whole grain flour!
Pin This Post


I’ve been making freshly milled flour for almost 25 years, and I highly recommend it!
i learned a bunch from this article and have just one question.
Do you use a flour sifter after you have milled your flour? I am curious about the hard pieces of wheat, the chaff actually that is in the flour after it was milled in a NutriMill.
Hi Sharon! I’m so glad it was helpful. I don’t sift my flour to remove the bran and germ after milling it, but you definitely could, if you prefer. What I do is use hard wheat for yeast bread, and I use soft wheat for quick breads, cookies, cakes, etc. The soft wheat yields a lighter texture.
Great post! I never realized how easy it could be to make my own flour at home. I love the step-by-step instructions you provided. Can’t wait to try it out with my grain mill!
Thank you for this detailed guide! I’ve been wanting to make my own flour for a while now, and your tips on choosing the right grain mill and the grinding process are super helpful. Can’t wait to try it out and bake some fresh bread!
This is something I have never tried to explore or do. Thanks for sharing.
I visited you via Creative Muster Link-Up Party 537
If not already part of SSPS, and are interested, find my entries: Ripe Tomato Overnight Lasagna and Cheesy Creamy Cornmeal Grits
You will find the linkup information (1) In the Top bar under Blogging: Weekly Senior Salon Pit Stop (2) In the sidebar: Click on 2nd image; (3) under the “Recent Posts
We hope to meet you there virtually.
Thank you!