This post may contain affiliate links. Please read our disclosure policy.
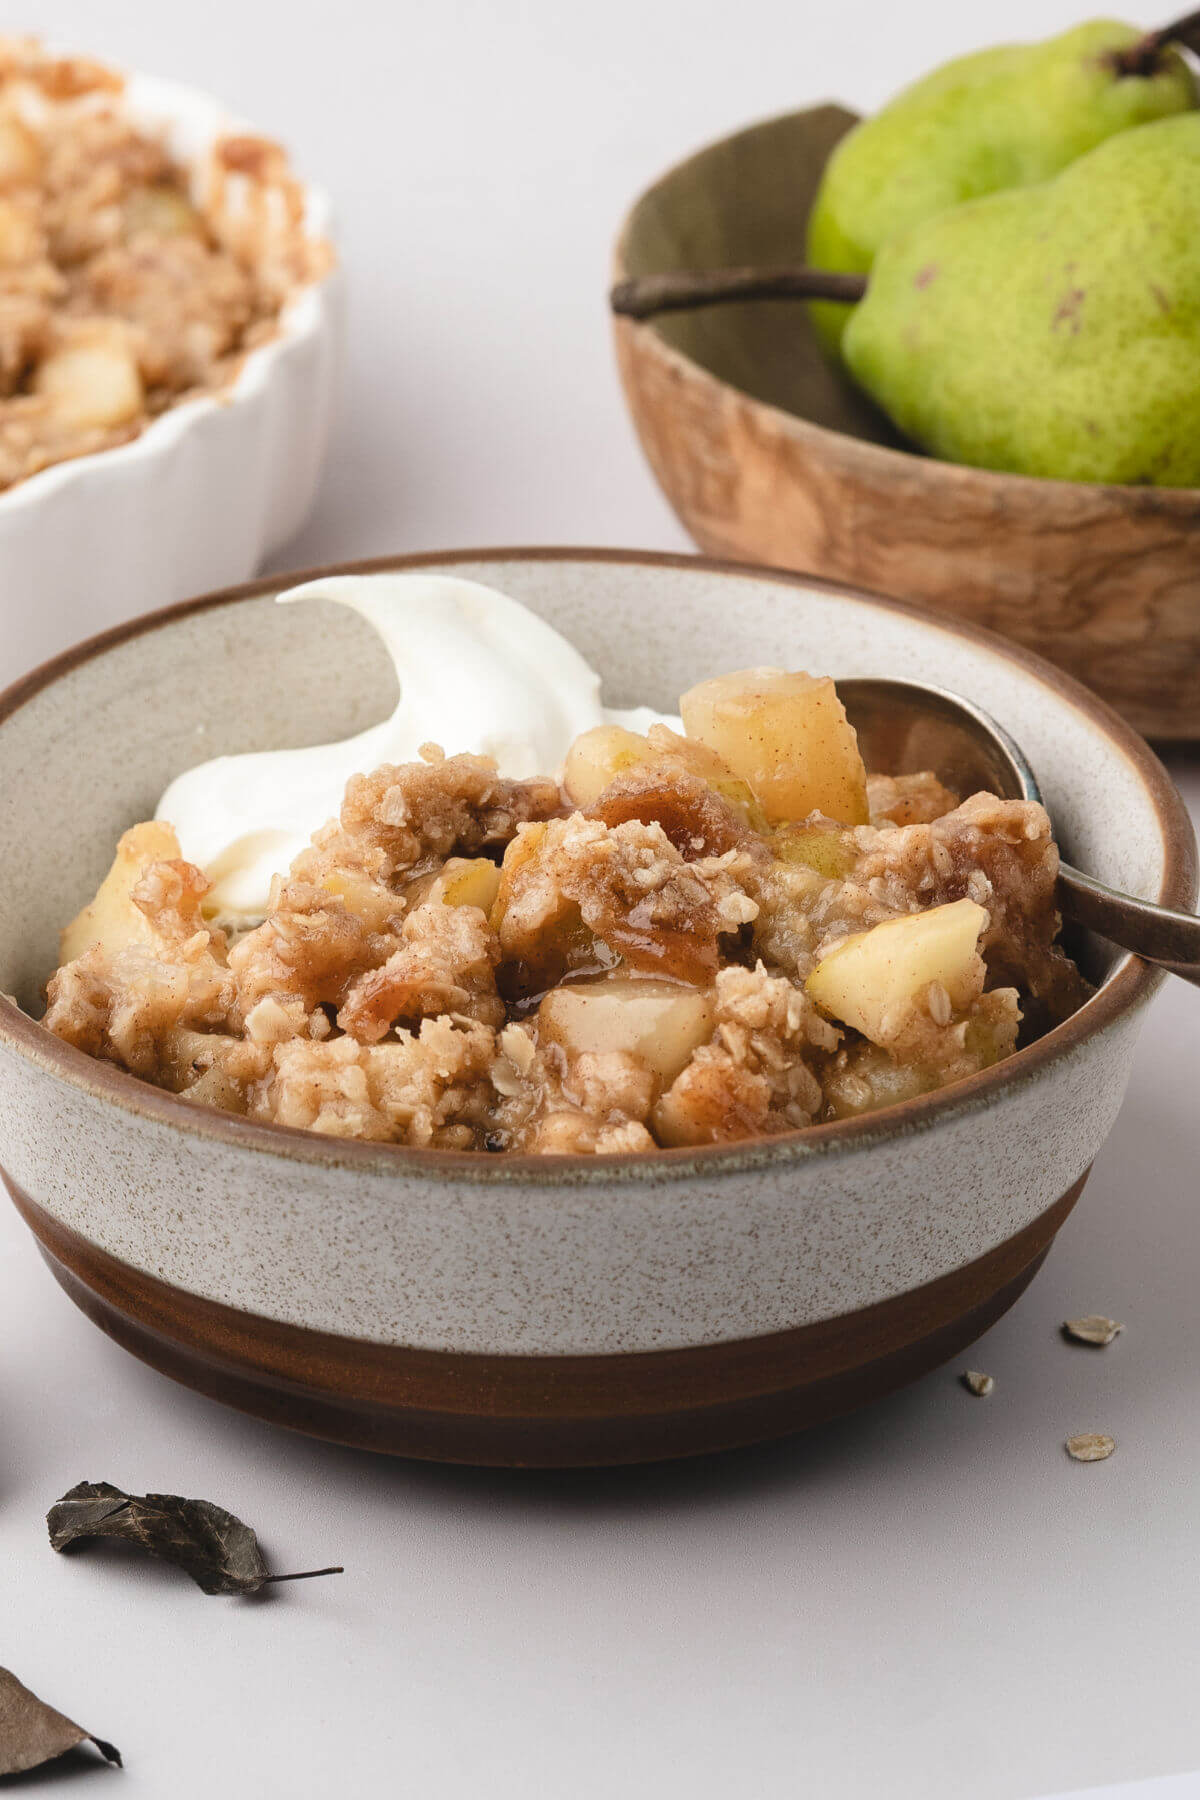
This easy pear crisp is a cozy fall dessert made with sweet, juicy pears, pure maple syrup, vanilla, and warm spices, all tucked beneath a buttery oat crumble.
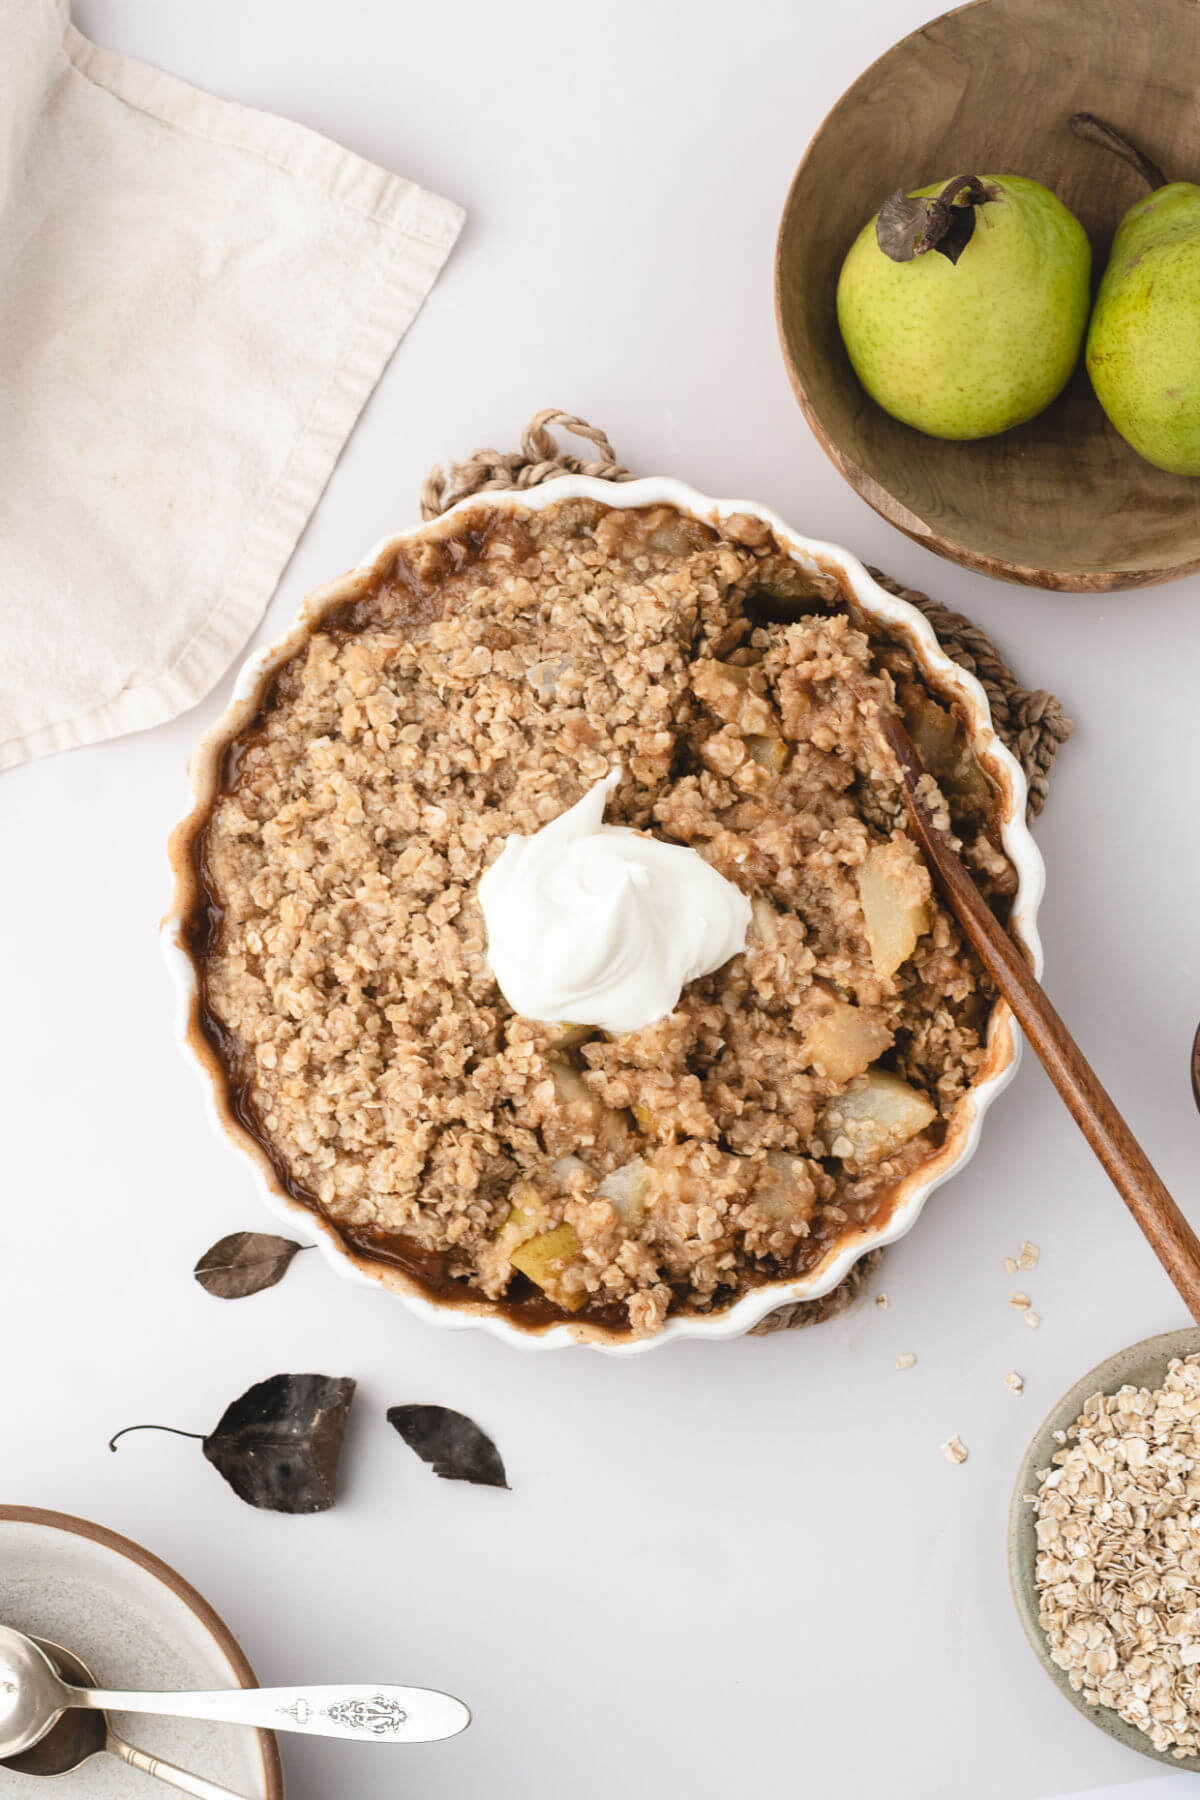
Baked until golden and bubbling, it’s an easy dessert that feels special enough for holidays but simple enough to make whenever you have ripe pears on hand.
The maple syrup and vanilla pair beautifully with the natural sweetness of the pears, while cinnamon and nutmeg add just enough warmth.
Tip: If you bake the crisp in a cast-iron skillet, that makes it especially easy to bring straight from the oven to the table.
If you love simple fruit crisps with a crunchy oat topping like this one, try my Easy Apple Crisp, Apricot Crumble, and Cherry Crumble.
Why You’ll Love This Easy Pear Crisp Recipe
- Cozy fall flavors: Pears, maple syrup, vanilla, cinnamon, and nutmeg make this a perfect dessert for cooler weather.
- Buttery oat topping: The crisp topping bakes until golden and crunchy with plenty of delicious buttery crumbles.
- Simple but special: It’s easy enough for a weeknight dessert while still being pretty enough for Thanksgiving desserts, Christmas, and dinner parties.
Ingredients
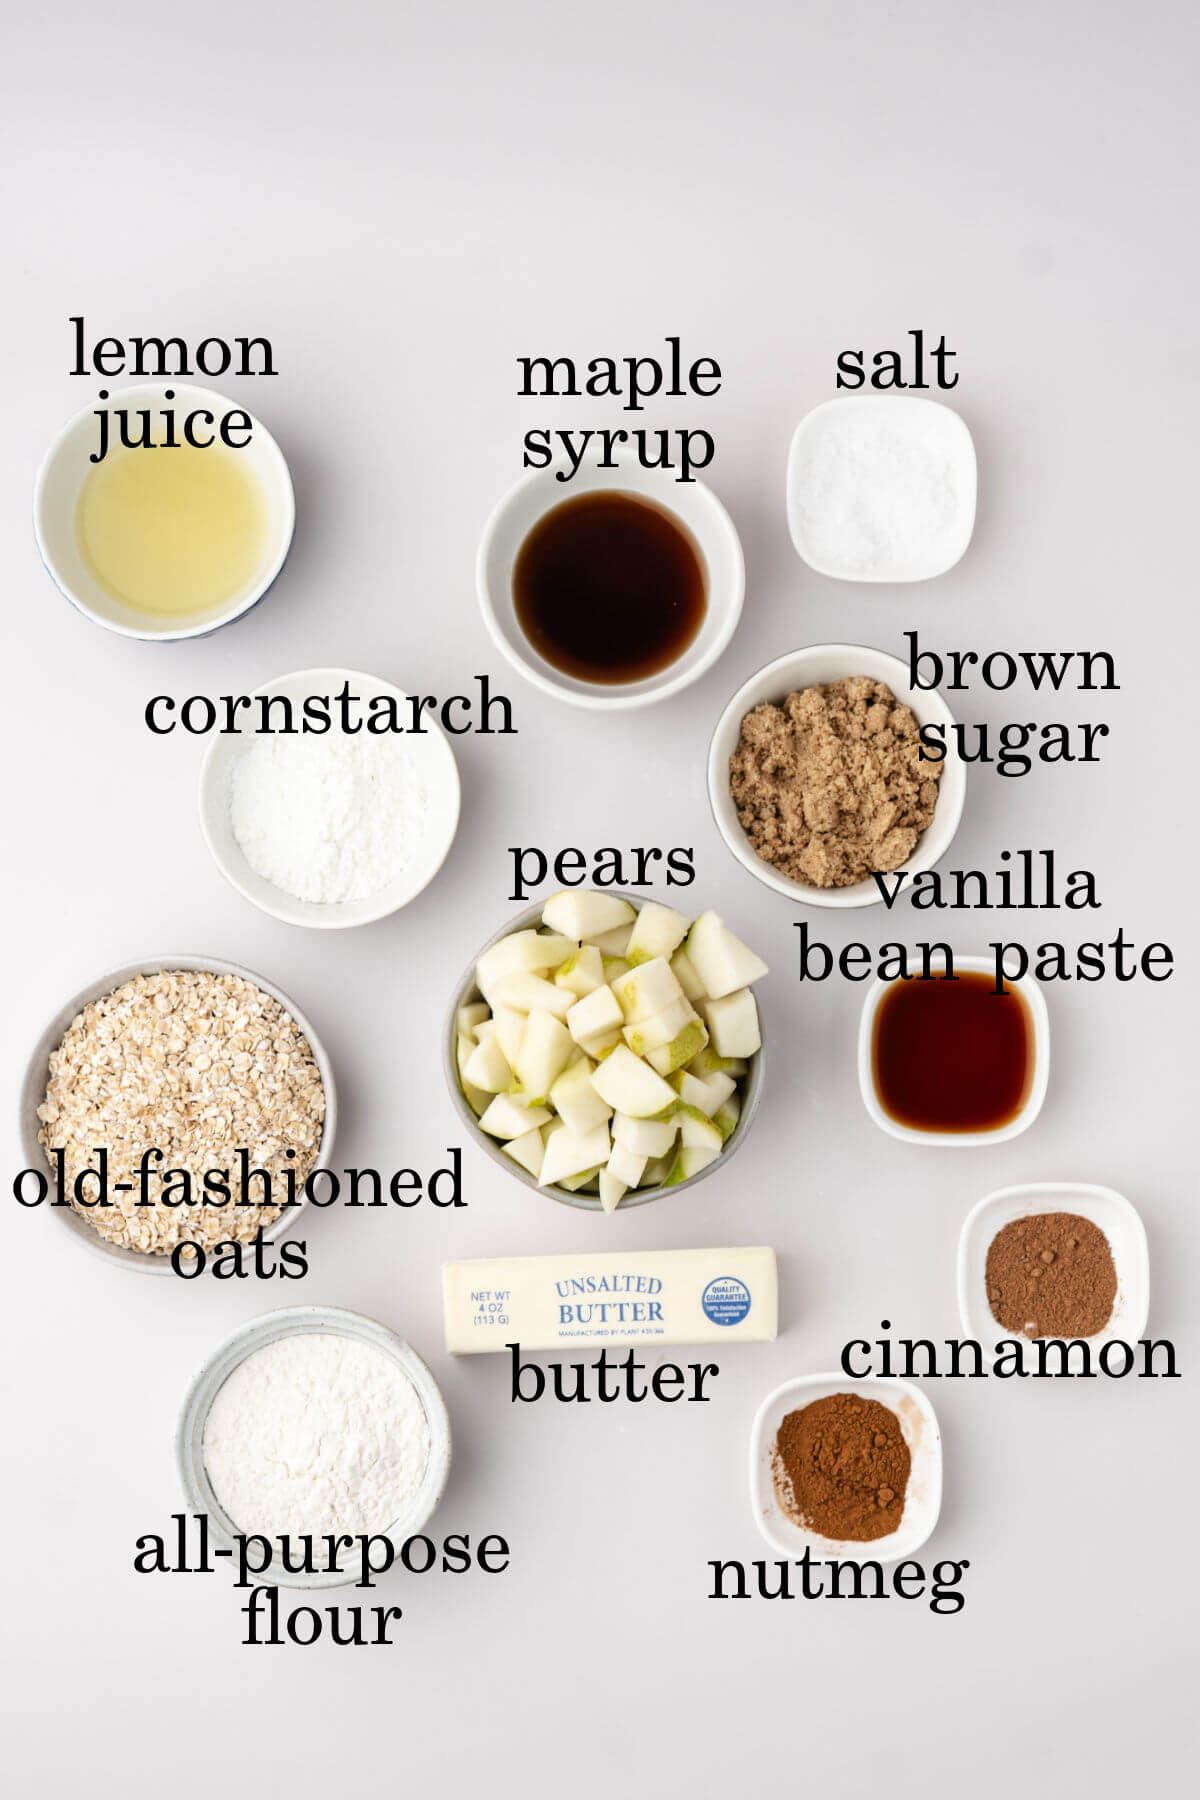
Find the full list of ingredients, amounts, and instructions in the recipe card at the bottom of this post.
- Pears – Bartlett or Anjou pears both work well. Choose pears that are ripe but still firm so they hold their shape while baking.
- Pure maple syrup – Adds natural sweetness and a rich maple flavor that pairs especially well with pears. Be sure to use pure maple syrup rather than pancake syrup.
- Vanilla bean paste – Gives the filling a rich vanilla flavor. Pure vanilla extract can be substituted. Learn how to make homemade vanilla extract.
- Cinnamon and nutmeg – Add warm, cozy spice to the pear filling.
- Old-fashioned oats – Give the crumble topping its classic hearty texture.
- All-purpose flour – Provides structure to the crisp topping.
- Pecans – Optional, but they add extra crunch and nutty flavor to the topping.
How to Make Pear Crisp
Here are the step-by-step instructions for making this Pear Crisp recipe:
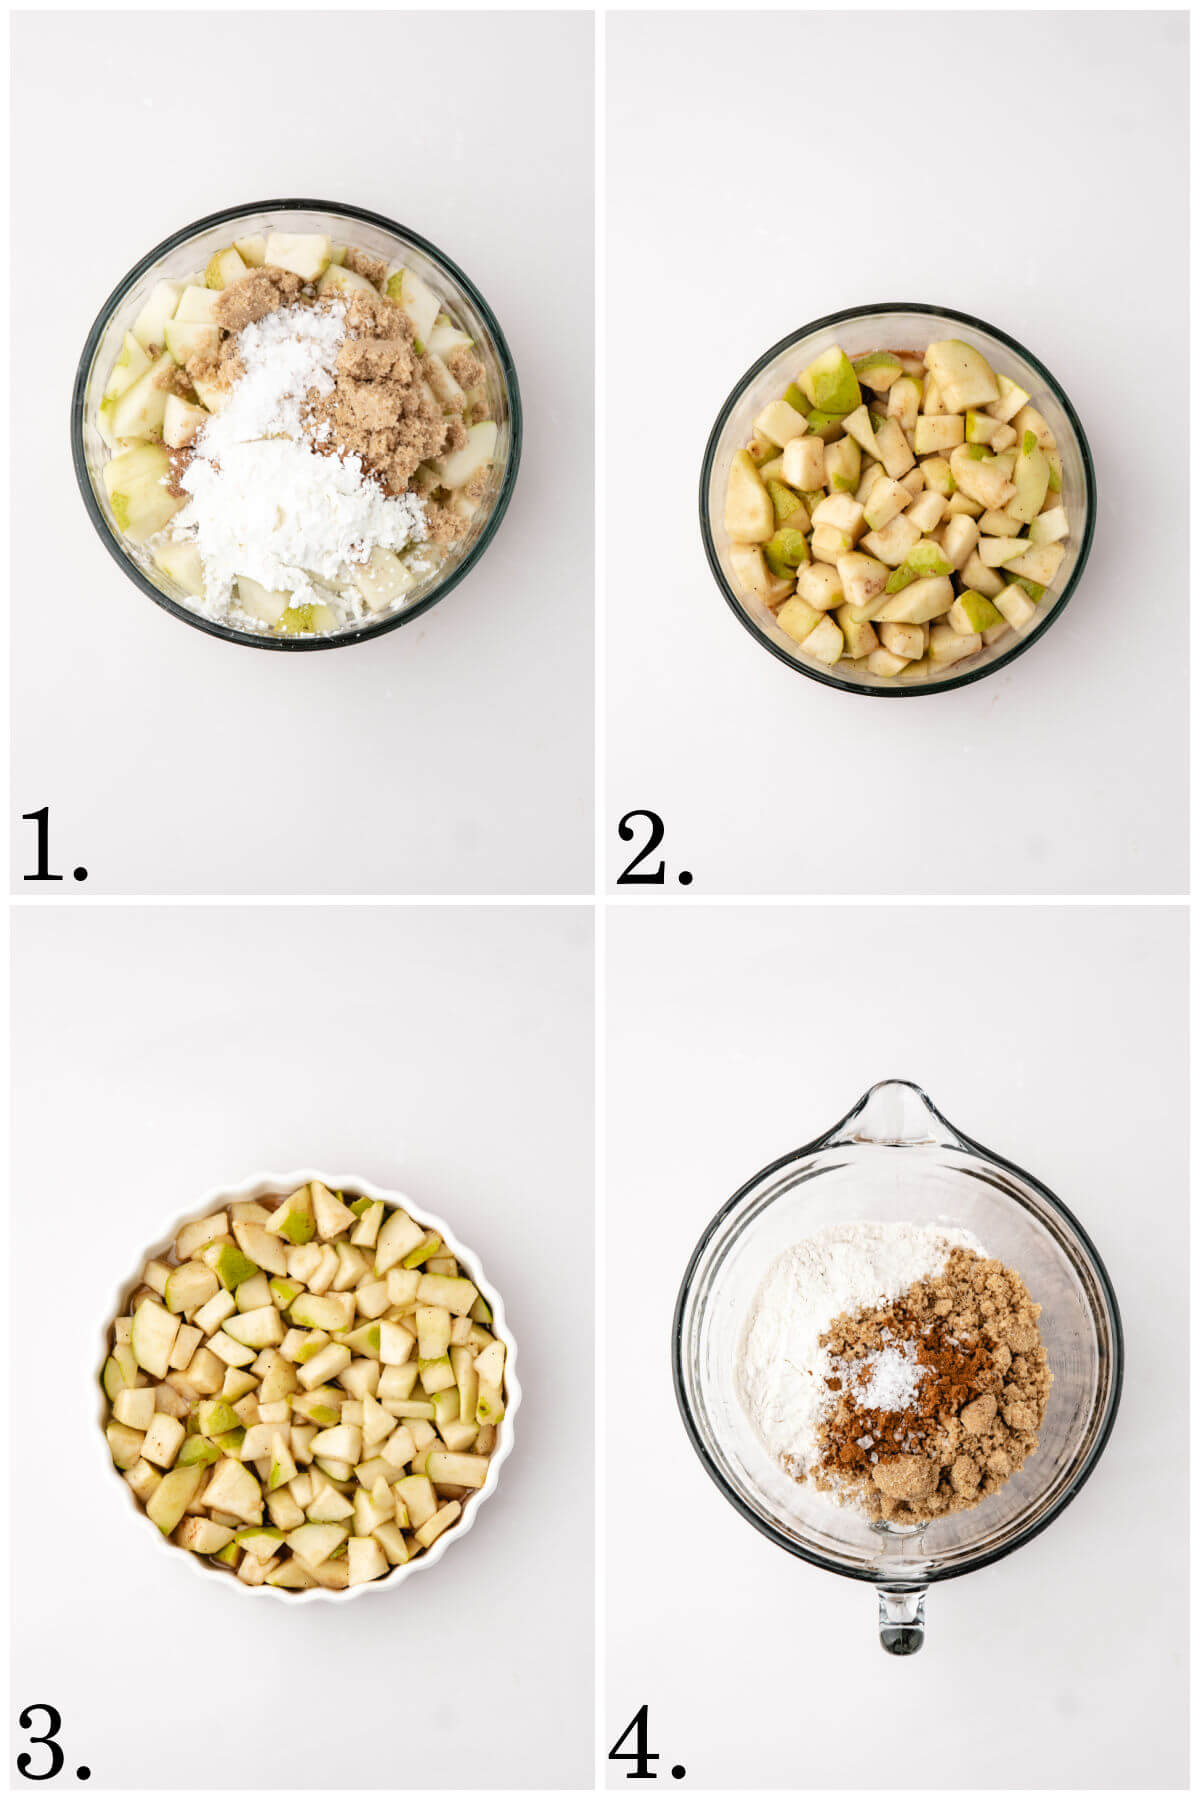
Step 1: Preheat the oven to 350°F. In a large mixing bowl, gently toss together ripe Bartlett or Anjou pears slices, maple syrup, vanilla bean paste, brown sugar, lemon juice, cornstarch, cinnamon, nutmeg, and salt.
Step 2: Gently mix until the pears are evenly coated.
Step 3: Transfer the pear mixture to the prepared skillet or baking dish and spread it into an even layer.
Step 4: In a separate bowl, combine oats, flour, brown sugar, cinnamon, and salt.
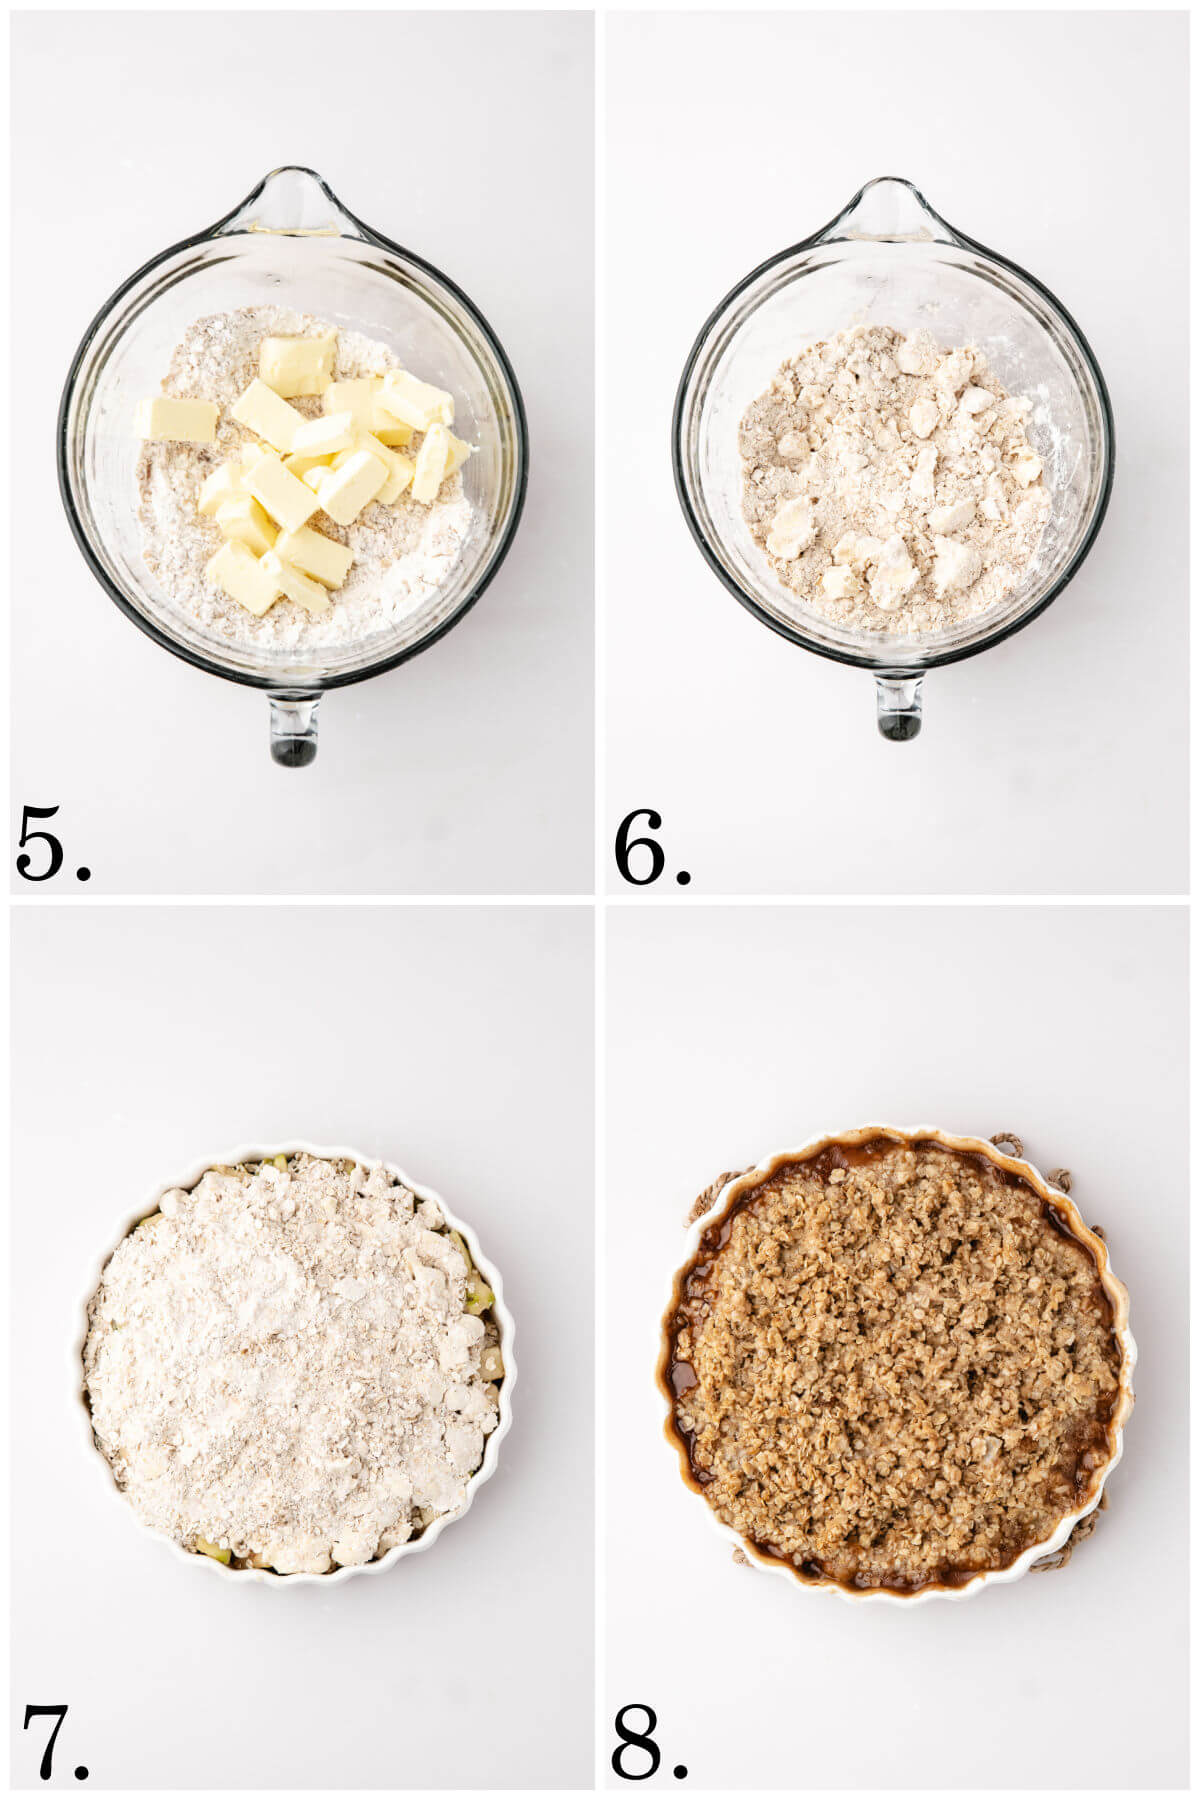
Step 5: Cut butter into the topping ingredients with a pastry cutter, fork, or your fingertips.
Step 6: Continue mixing until the mixture resembles coarse crumbs with some larger buttery clusters. Fold in chopped pecans, if using.
Step 7: Scatter the crumble topping evenly over the top of the pears without pressing it down.
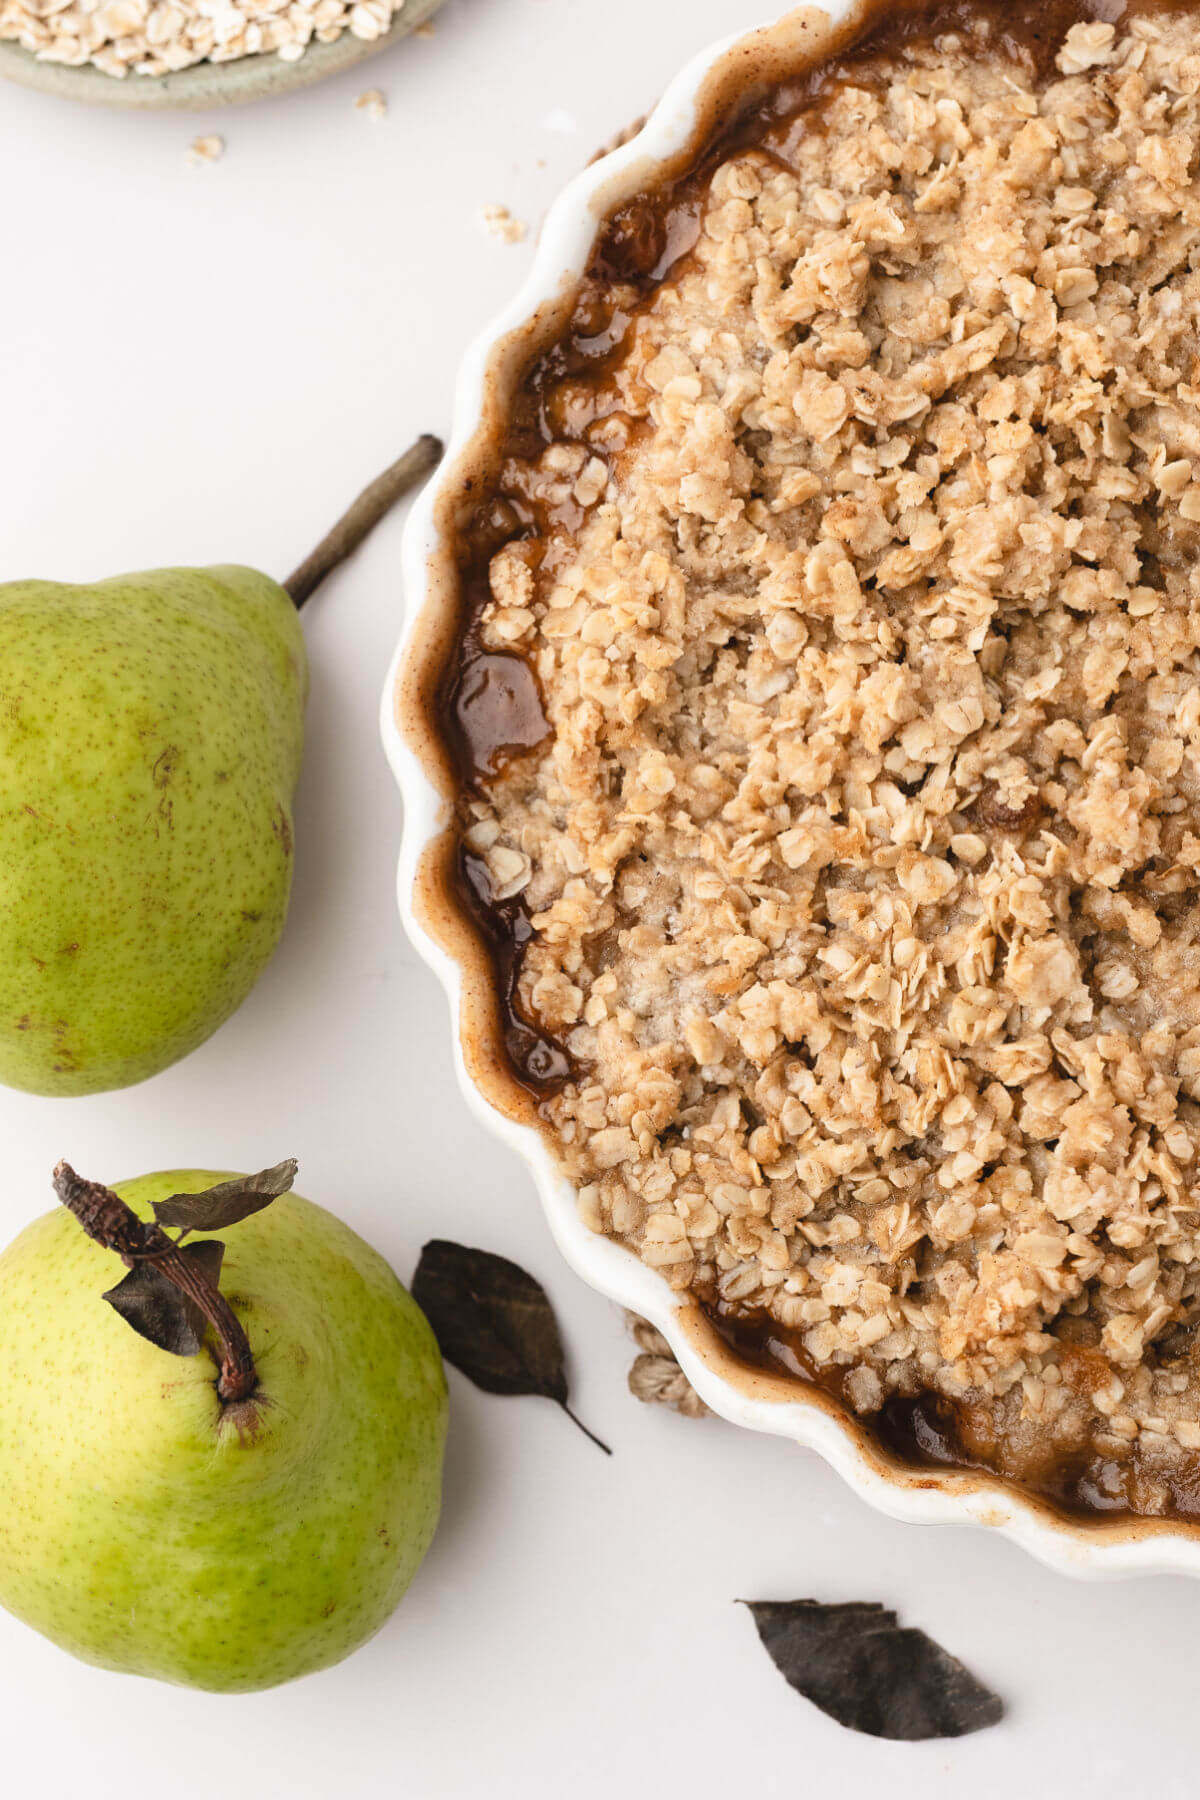
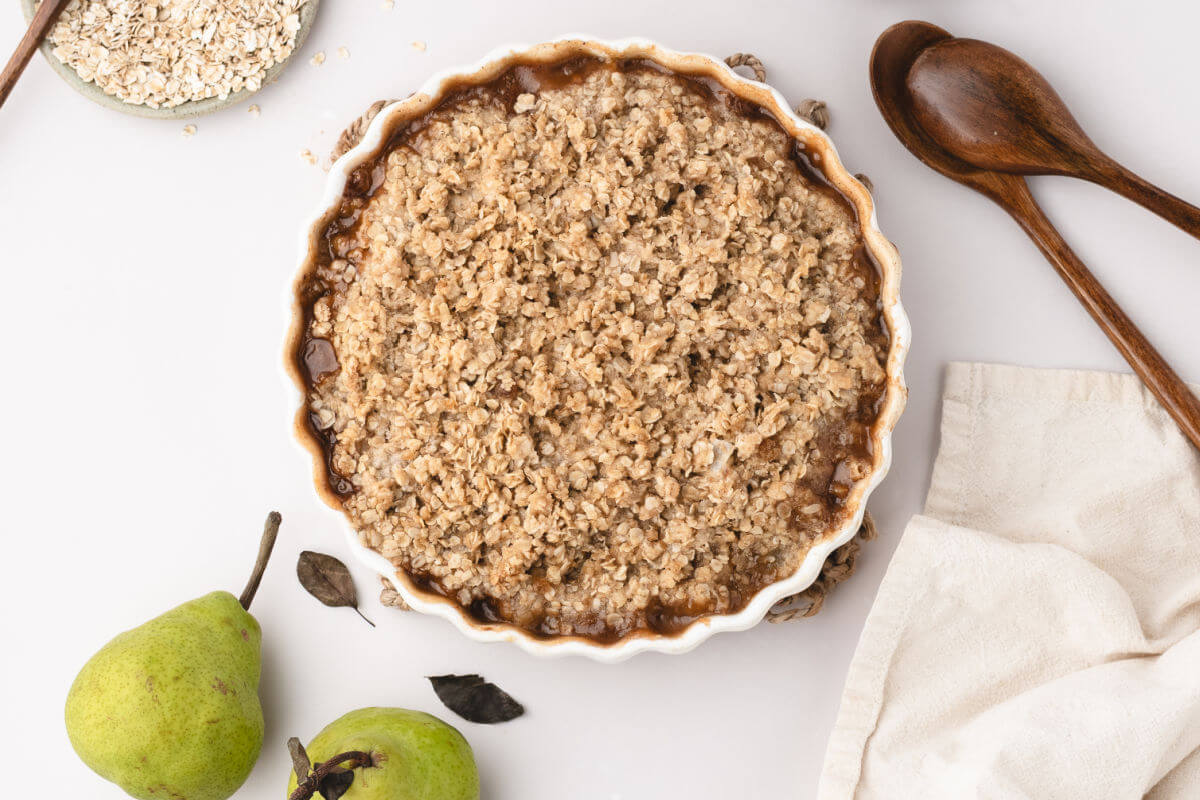
Step 8: Bake for 45–50 minutes, or until the topping is crisp and golden brown and the pear filling is bubbling gently around the edges.
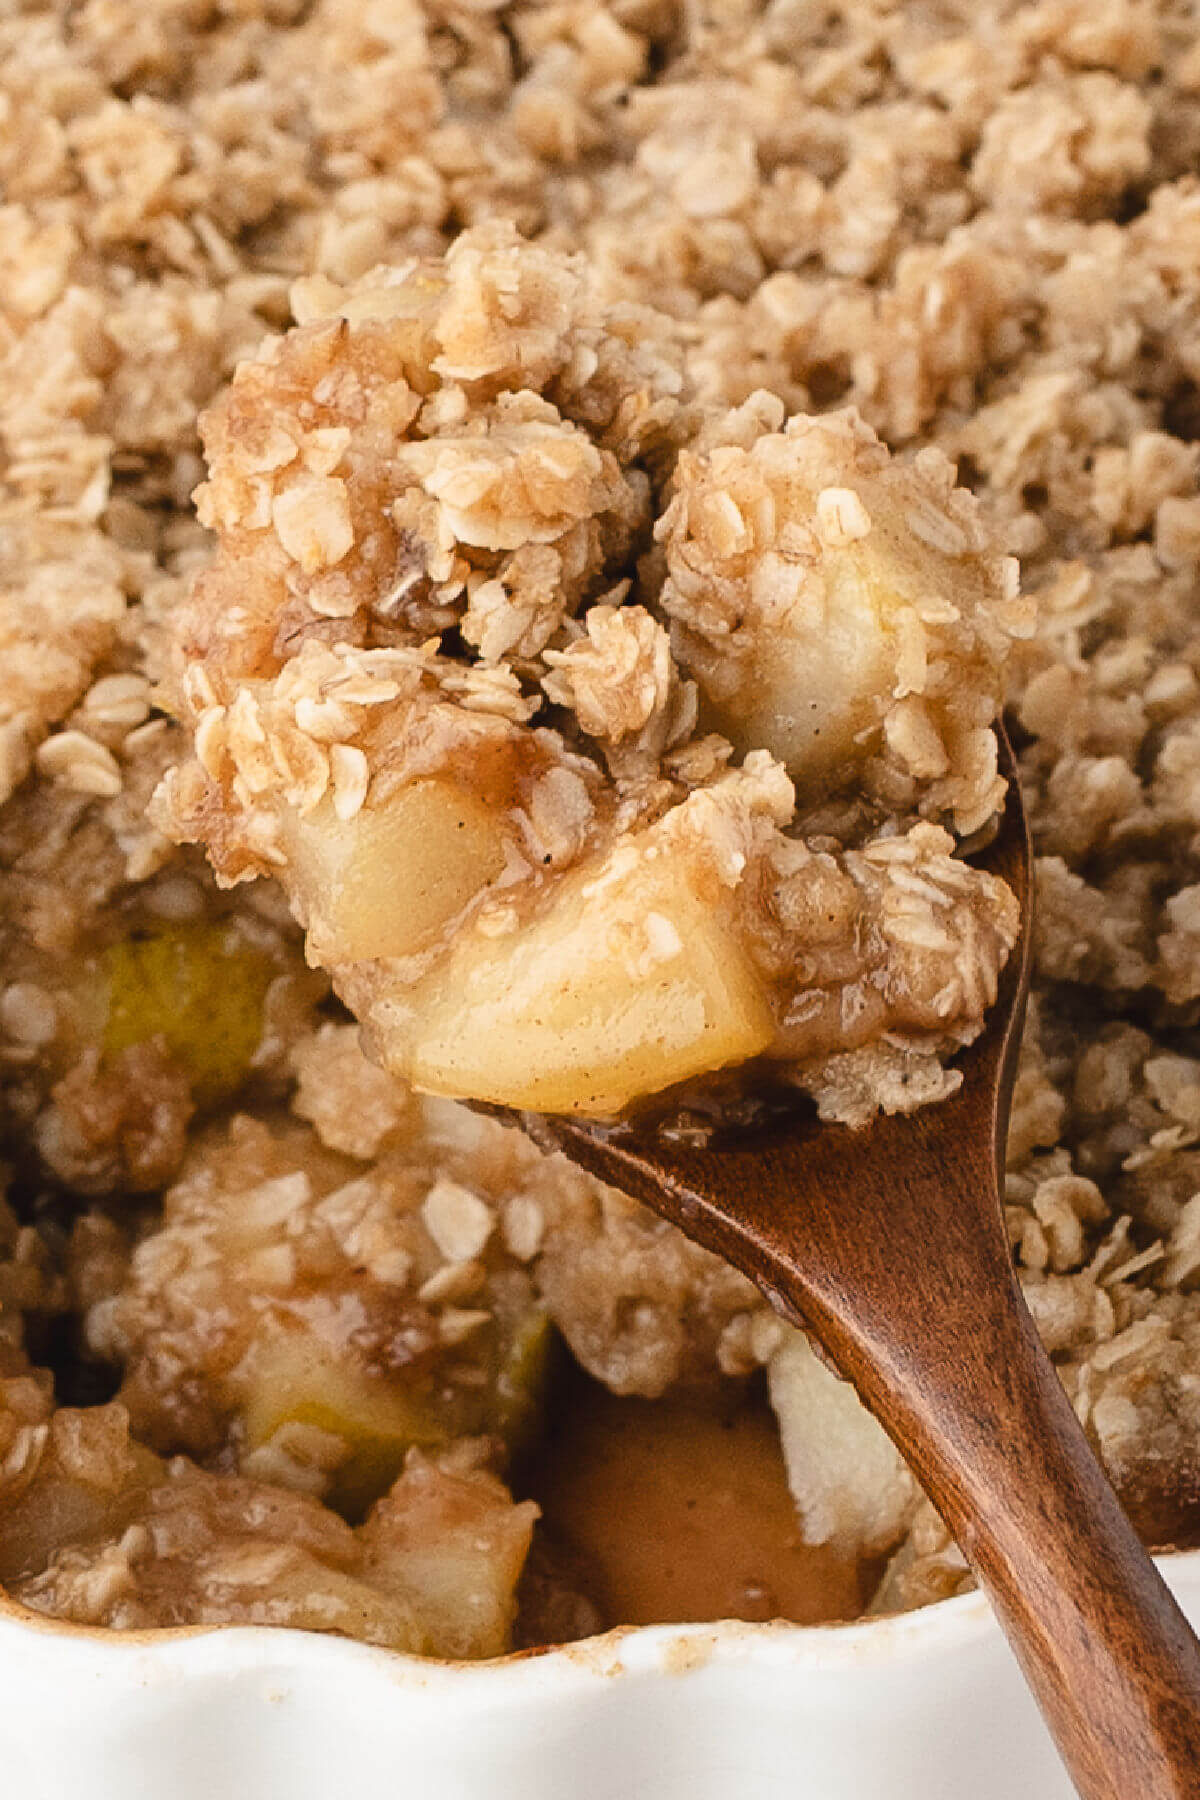
Step 9: Remove the crisp from the oven and allow it to rest for about 15 minutes before serving. This gives the filling time to thicken.
Tips for the Best Pear Crisp
- Choose pears that are ripe but still slightly firm. Very soft, overripe pears can become mushy during baking.
- Vanilla bean paste gives this dessert an especially rich vanilla flavor, but regular pure vanilla extract works well too.
- Keep the butter cold until you’re ready to make the topping. Cold butter helps create those larger buttery crumbles that become wonderfully crisp in the oven.
- Don’t overmix the crumble topping. You want a mixture of smaller crumbs and larger buttery pieces rather than a completely uniform texture.
- If your pears are especially juicy, add an additional teaspoon of cornstarch to the filling. You can also set the cast-iron skillet on a baking sheet to catch any juices that bubble over.
- For even more crunch, sprinkle about a tablespoon of coarse sugar over the crumble before baking.
- And be sure to let the finished pear crisp rest for at least 15 minutes. The filling will continue to thicken as it cools.
Serving Ideas
Pear crisp is especially delicious served warm, although it’s also good at room temperature. Try it with a scoop of vanilla ice cream, fresh whipped cream, cinnamon whipped cream, salted caramel sauce, or a drizzle of warm maple cream.
For a cozy fall dessert, pair it with hot coffee, chai tea, or a vanilla latte.
Storage
- Store leftover pear crisp covered in the refrigerator for up to 4 days.
- To reheat individual portions, microwave them for about 30–45 seconds, or place the skillet in a 325°F oven until the crisp is warmed through.
- For longer storage, baked pear crisp can be frozen for up to 3 months. Thaw it overnight in the refrigerator before reheating.
Make Ahead
You can prepare the pear filling and crisp topping separately up to one day in advance. Cover and refrigerate both components separately, then assemble the crisp just before baking.
Keeping the topping separate until baking helps preserve its crisp texture.
Pear Crisp Variations
There are several easy ways to change up this recipe. Add 1 cup fresh cranberries for a tart holiday variation, or replace half of the pears with Honeycrisp apples for an apple-pear crisp.
You can also swap the pecans for chopped walnuts or add 1 teaspoon freshly grated ginger for a little extra warmth.
Frequently Asked Questions
Yes. The peels soften during baking and add a little extra texture, though peeled pears create a smoother filling.
The crisp may need a little more baking time, or it may simply need to rest after coming out of the oven. As it cools, the cornstarch continues to thicken the juices.
Fresh pears are best, but frozen pears can be used. Thaw and drain them well to avoid excess moisture.
The topping should be golden brown and crisp, and the filling should be bubbling around the edges of the skillet.
Some pear varieties naturally contain more moisture than others. If you notice extra liquid after baking, don’t worry. Let the crisp rest 15-20 minutes before serving, as the filling will continue to thicken.
This usually happens when the butter isn’t fully worked into the dry ingredients. The mixture should resemble coarse crumbs with a few larger buttery clumps. Those large pieces melt during baking and create the crisp, crunchy topping everyone loves
Overripe pears tends to soften much faster during baking. Choosing pears that are ripe but still slightly firm helps them keep their shape and gives the filling a better texture.
More Fall Dessert Recipes
- Peaches and Cream Parfait
- Baked Pumpkin Donuts
- Apple Crumb Cake
- Chocolate Covered Apple Slices
- Pumpkin Bars
If you make this easy pear crisp recipe and enjoy it, please leave a comment with a 5-star recipe rating and let me know! Thank you!
Easy Pear Crisp
Equipment
- 10-inch cast iron skillet or your favorite circle baking dish
- Pastry Cutter or fork
Ingredients
Pear Filling
- 6 Bartlett or Anjou pears, ripe, peeled and diced (I like to keep some skin on for texture)
- 1/4 cup maple syrup
- 2 teaspoons vanilla bean paste, or pure vanilla extract
- 2 tablespoons brown sugar
- 1 tablespoon lemon juice
- 2 tablespoons cornstarch
- 1 teaspoon ground cinnamon
- 1/4 teaspoon nutmeg
- 1/4 teaspoon kosher salt, or sea salt
Crisp Topping
- 1 cup old-fashioned oats
- 1 cup all-purpose flour
- 3/4 cup brown sugar
- 1/2 teaspoon cinnamon
- 1/4 teaspoon kosher salt, or sea salt
- 1/2 cup cold unsalted butter
- 1/2 cup chopped pecans, optional
Instructions
- Preheat the oven to 350*F. Lightly butter a 10-inch cast iron skillet or any circle baking dish and set aside.
- In a large bowl, gently toss together the sliced pears, maple syrup, vanilla, brown sugar, lemon juice, cornstarch, cinnamon, nutmeg, and salt until every slice is evenly coated.
- Transfer the pear mixture to the prepared skillet or baking dish, spreading the mixture into an even layer.
- In a separate bowl, combine the oats, flour, brown sugar, cinnamon, and salt.
- Work the cold butter into the dry ingredients using a pastry cutter or your fingertips until coarse, and crumble clusters begin to form. Fold in the chopped pecans if using.
- Scatter the crumble evenly over the pears without pressing it down.
- Place in the oven and bake for 45-50 minutes, or until the topping is crisp and golden brown and the fruit filling is gently bubbling around the edges.
- Allow the crisp to rest for about 15 minutes before serving so the filling has time to thicken slightly.
Notes
- Choose pears that are ripe but still slightly firm. Very soft, overripe pears can become mushy during baking.
- Vanilla bean paste gives this dessert an especially rich vanilla flavor, but regular pure vanilla extract works well too.
- Keep the butter cold until you’re ready to make the topping. Cold butter helps create those larger buttery crumbles that become wonderfully crisp in the oven.
- Don’t overmix the topping. You want a mixture of smaller crumbs and larger buttery pieces rather than a completely uniform texture.
- If your pears are especially juicy, add an additional teaspoon of cornstarch to the filling. You can also set the cast-iron skillet on a baking sheet to catch any juices that bubble over.
- For even more crunch, sprinkle about a tablespoon of coarse sugar over the crumble before baking.
- And be sure to let the finished pear crisp rest for at least 15 minutes. The filling will continue to thicken as it cools.
Nutrition
Nutrition information is automatically calculated, so should only be used as an approximation.