This post may contain affiliate links. Please read our disclosure policy.
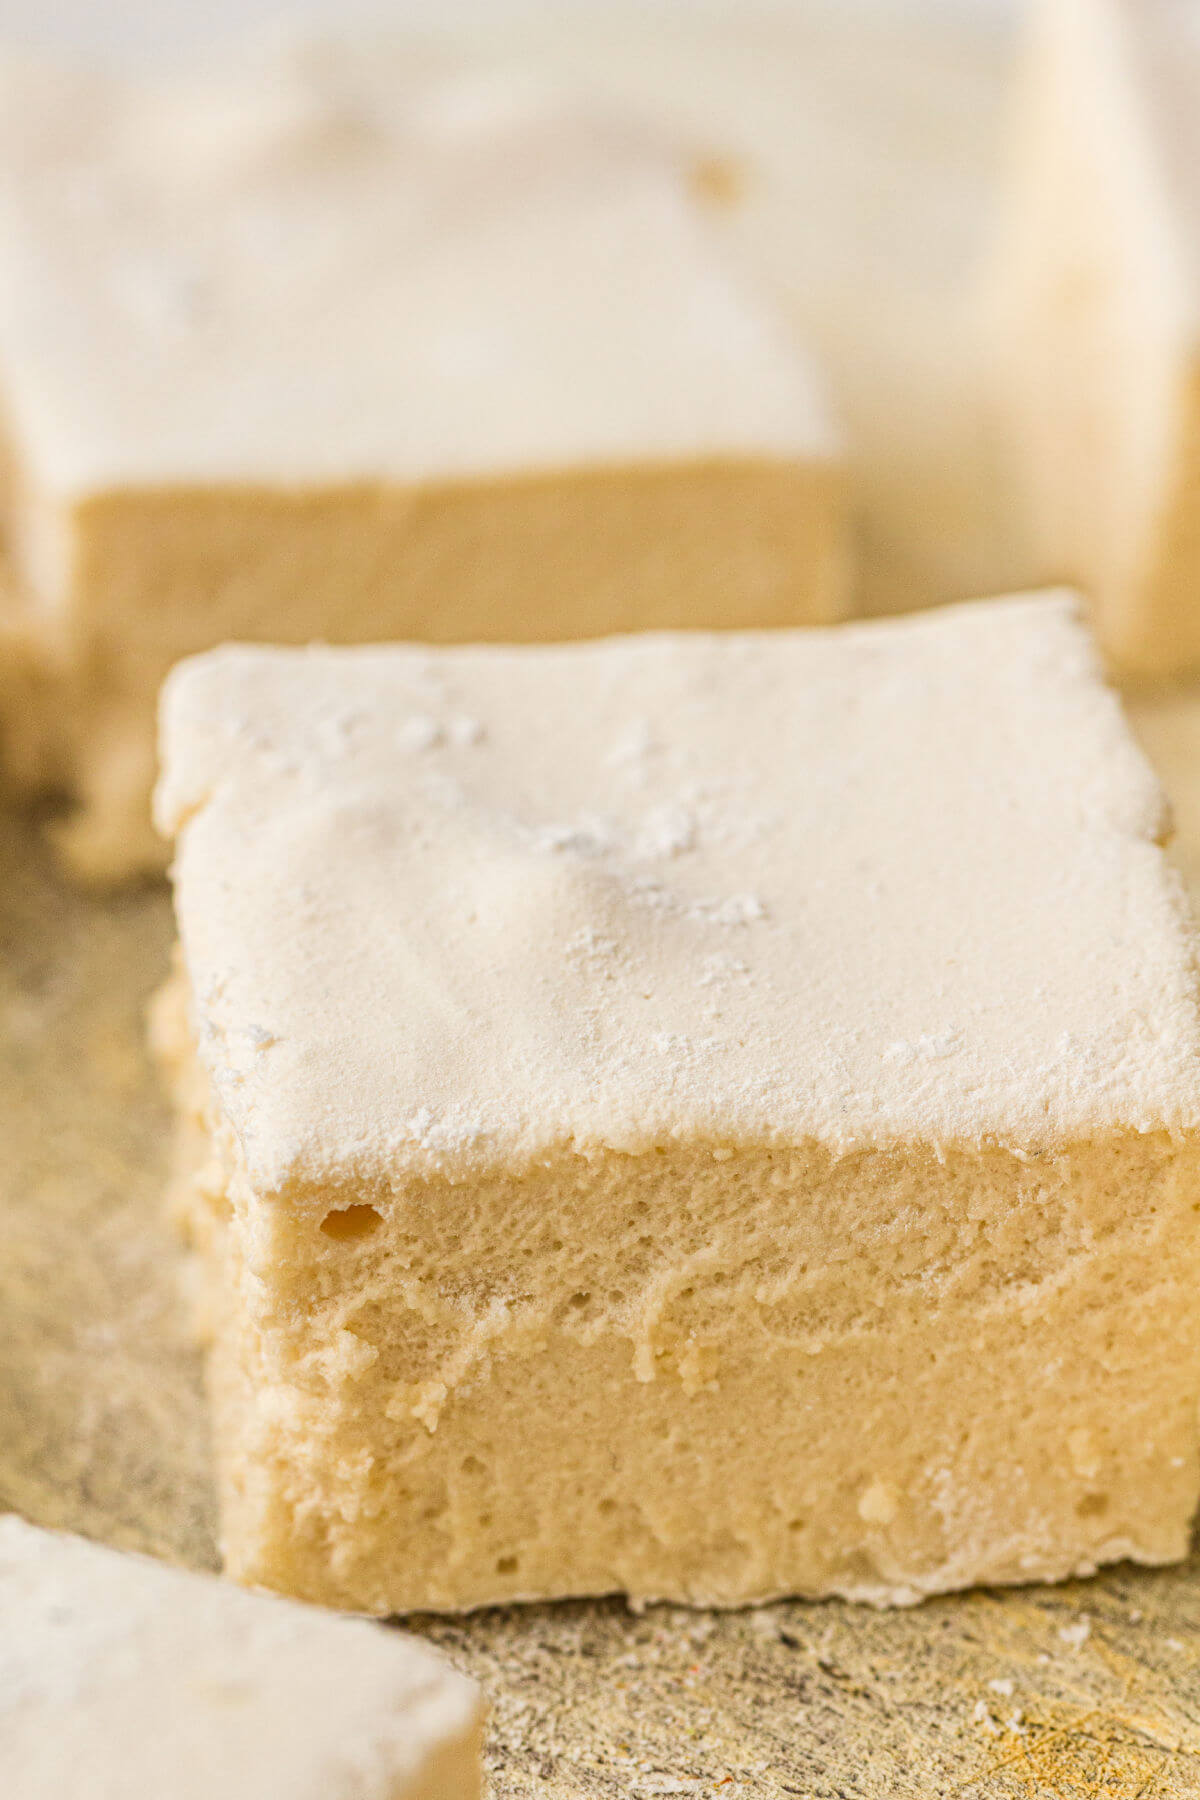
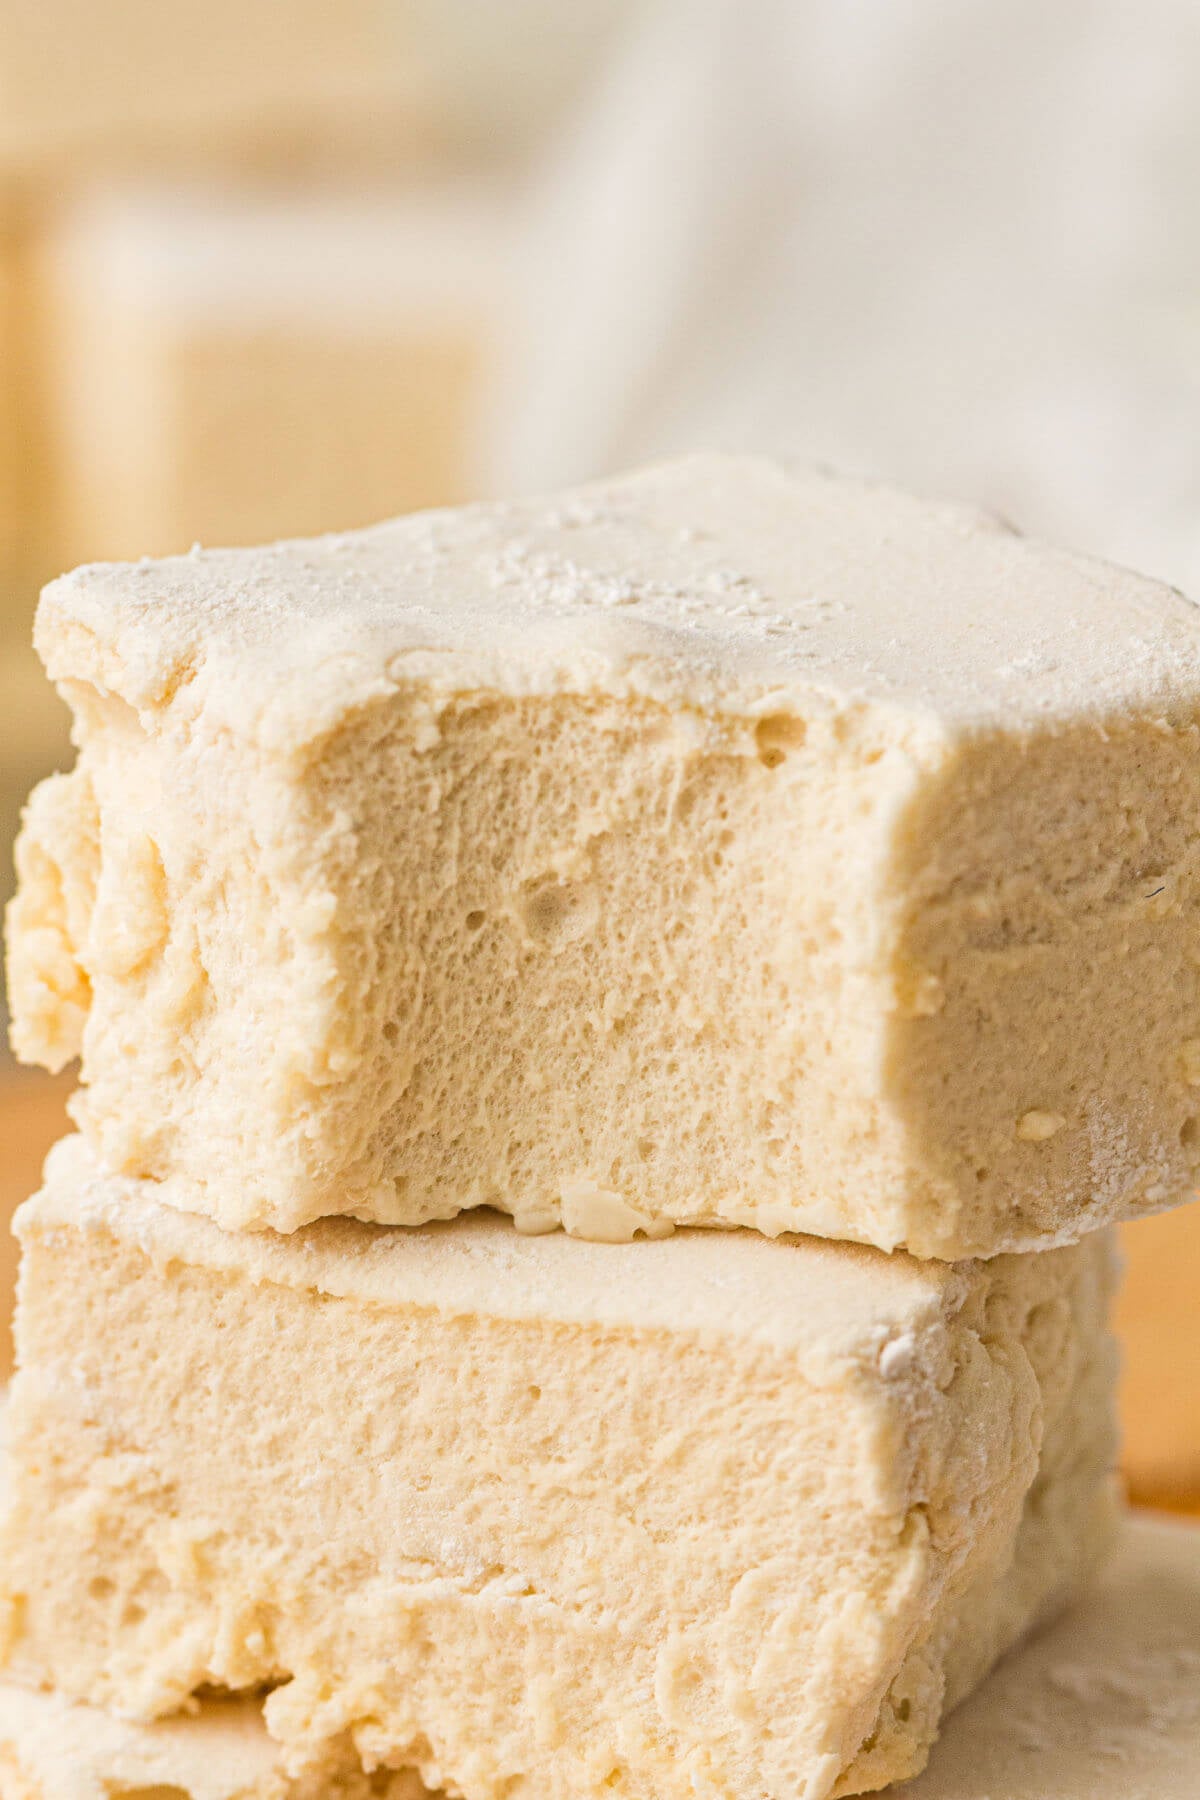
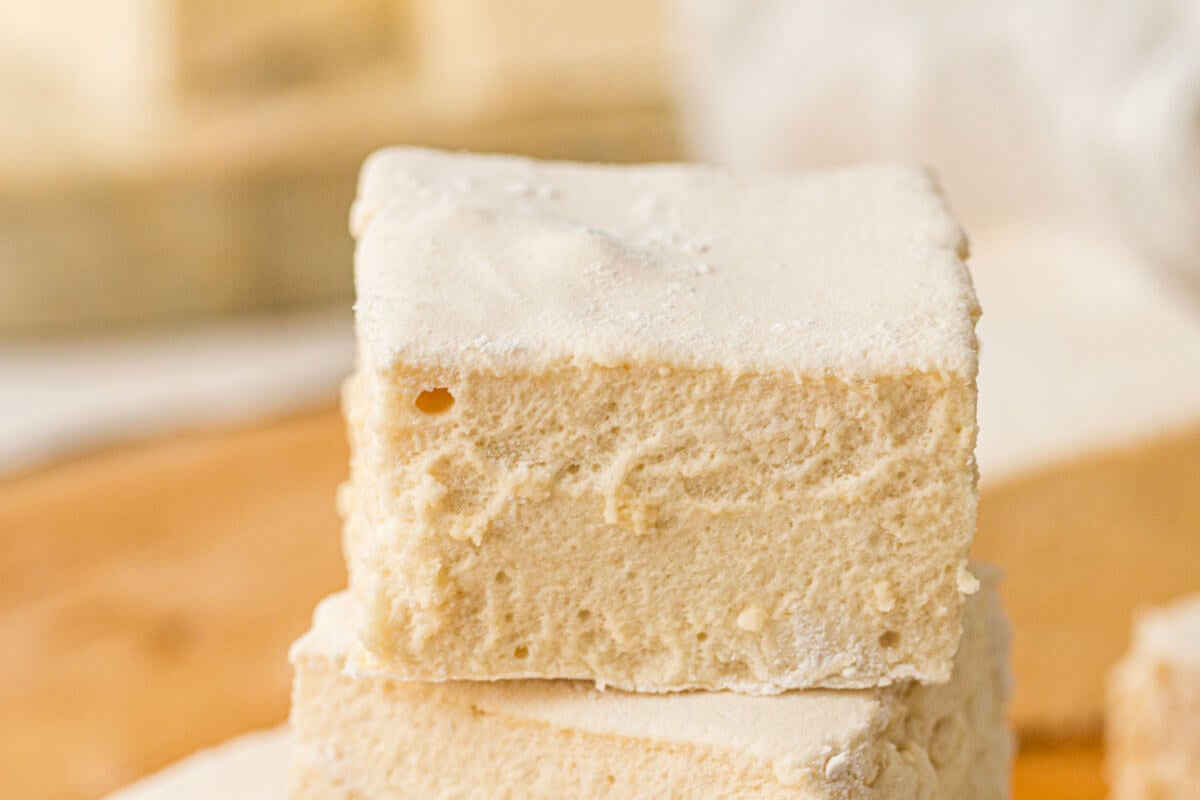
This healthy homemade marshmallow recipe makes marshmallows that are soft, fluffy, and only contain a few simple ingredients. Instead of corn syrup and refined sugar, this recipe uses honey as a natural sweetener, along with gelatin, water, and vanilla extract.
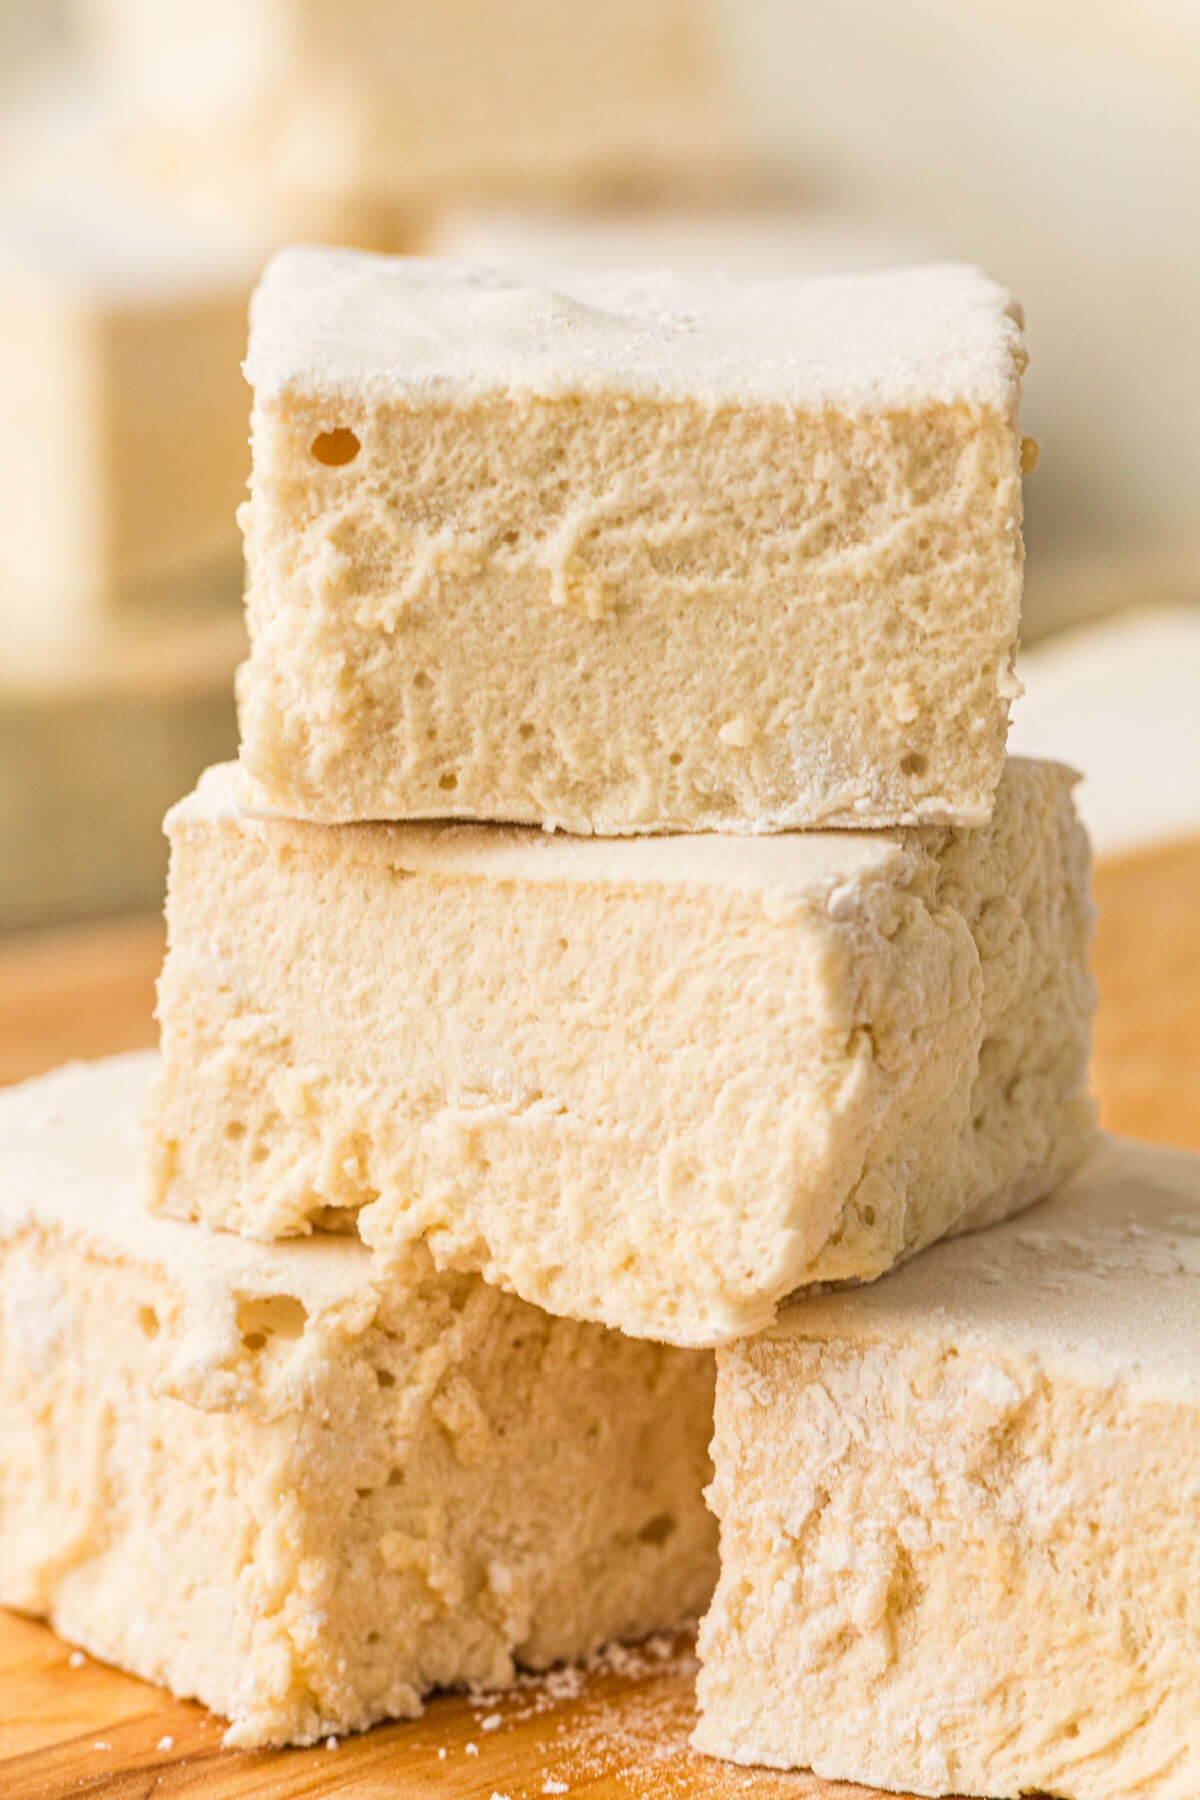
Making your own healthy homemade marshmallows is easier than you might think. You’ll heat the honey mixture on the stovetop, then whip it with the gelatin until it becomes thick, glossy, and fluffy. After a few hours of setting, the marshmallows are ready to cut into squares.
These homemade marshmallows are delicious in a cup of hot chocolate, and they can even be roasted over a fire with a little extra preparation.
If you enjoy making honey-sweetened recipes, be sure to try my Healthy No-Bake Cookies, Honey Popcorn Balls, and Healthy Caramel Popcorn.
Why You’ll Love Healthy Homemade Marshmallows
- Made with simple ingredients – You only need honey, gelatin, water, salt, and vanilla, plus a little starch for dusting. These are a healthier alternative to store-bought marshmallows.
- No corn syrup – These delicious marshmallows are sweetened with honey instead of the corn syrup or high fructose corn syrup found in some commercial marshmallows.
- Soft and fluffy – Whipping the gelatin and honey mixture creates light, fluffy marshmallows with a texture similar to traditional marshmallows.
Ingredients
Find the full list of ingredients, amounts, and instructions in the recipe card at the bottom of this post.
- Unflavored gelatin – Gelatin gives the marshmallows their structure and helps them set. You can use regular unflavored gelatin or grass-fed gelatin, which may promote gut health.
- Honey – Honey provides the sweetness and helps create the marshmallows’ texture. It also gives them a mild honey flavor.
- Water – Cold water is used to bloom the gelatin, while the remaining water is heated with the honey to make the syrup.
- Vanilla extract – Adds a classic marshmallow flavor.
- Arrowroot powder or cornstarch – Used to dust the pan and finished marshmallows to help prevent sticking. Corn starch is an easy option, but arrowroot works just as well.
How to Make This Healthy Homemade Marshmallow Recipe
Here are the step-by-step instructions for making this healthy marshmallow recipe:
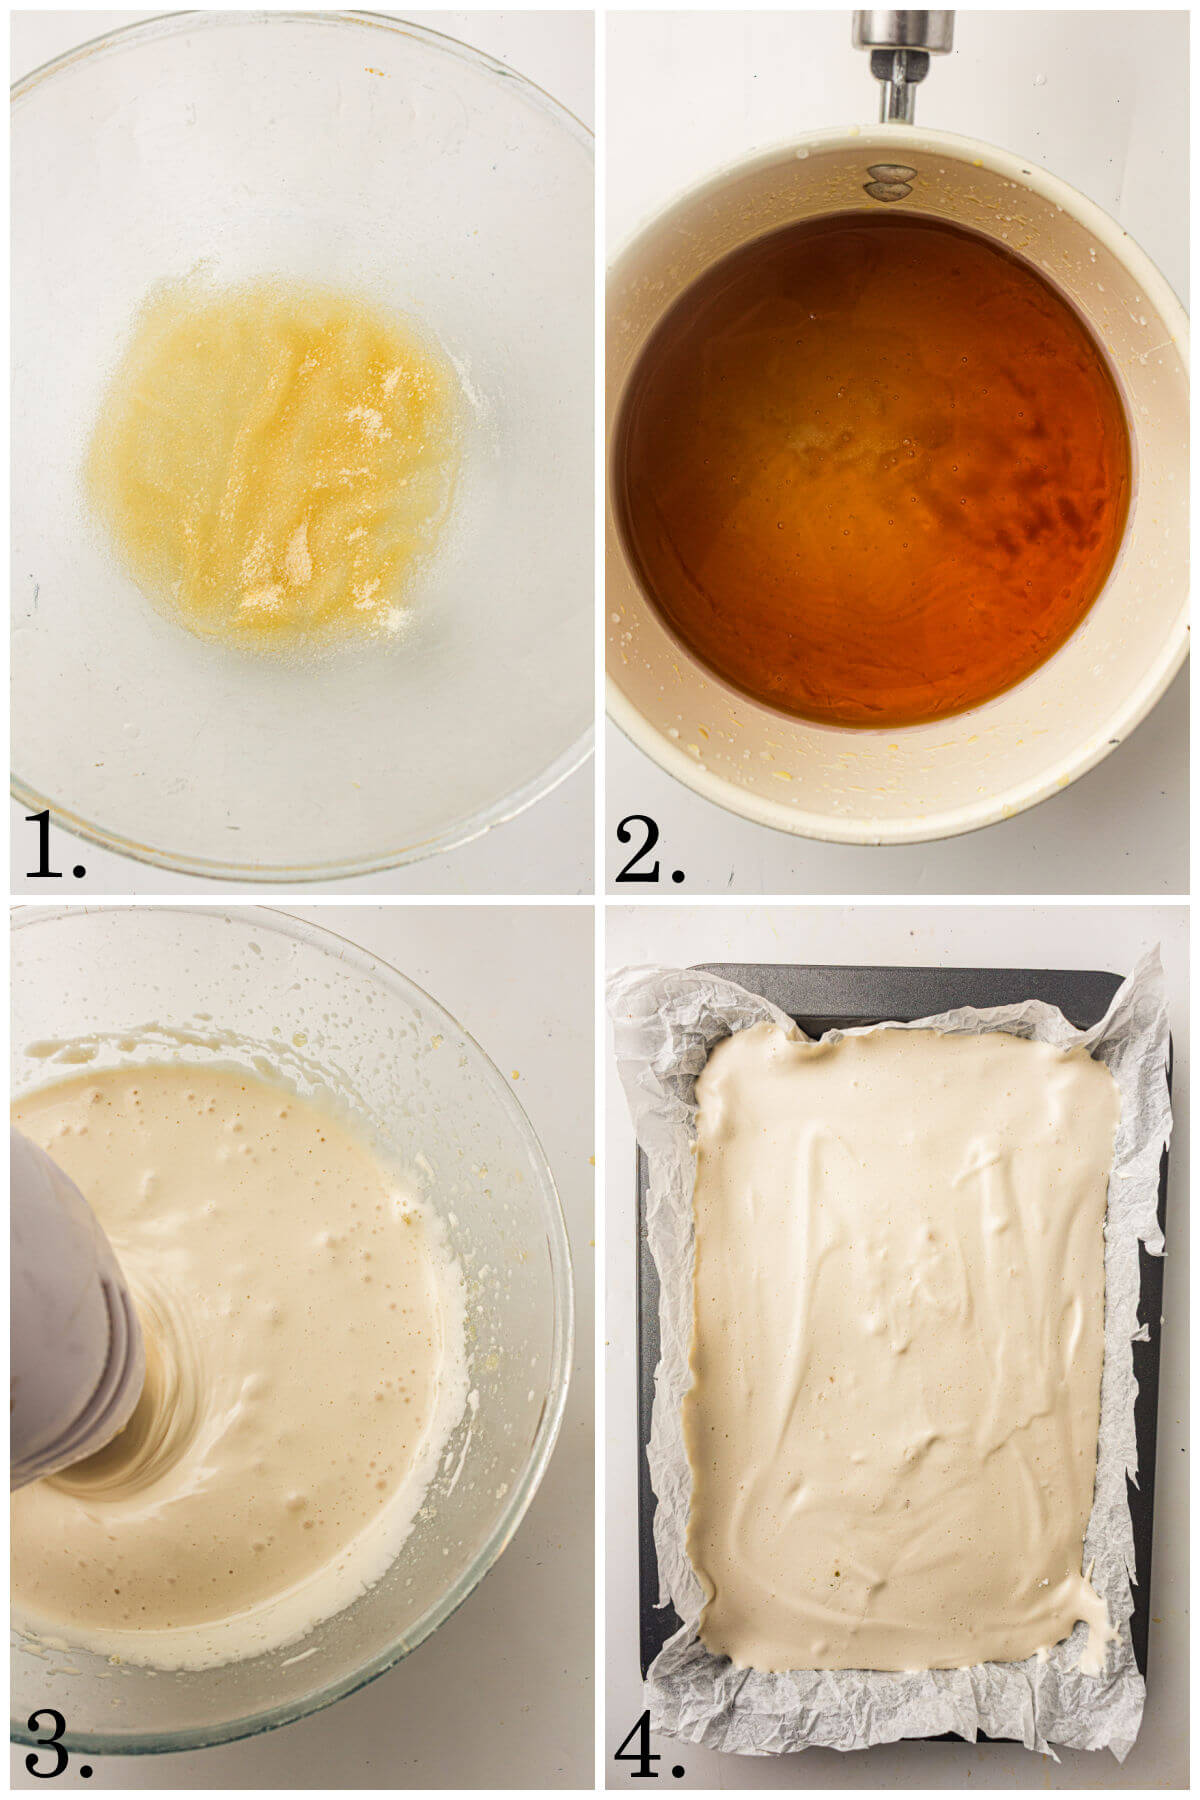
Step 1. Prepare a 9×9-inch baking pan (or 9×13). Pour some of the cold water into the bowl of a stand mixer. Sprinkle the unflavored gelatin evenly over the water and let it bloom for 5–10 minutes.
Step 2. In a small saucepan, combine the honey, remaining water, and salt. Heat over medium heat until the syrup reaches 240°F on a candy thermometer.
Step 3. With the mixer running on low speed, carefully pour the hot syrup into the bloomed gelatin mixture. Increase the mixer speed to high and whip until the marshmallow mixture is thick, glossy, and approximately tripled in volume.
Step 4. Immediately transfer the marshmallow mixture to the prepared pan. Use a lightly greased spatula to spread it evenly and smooth the top.
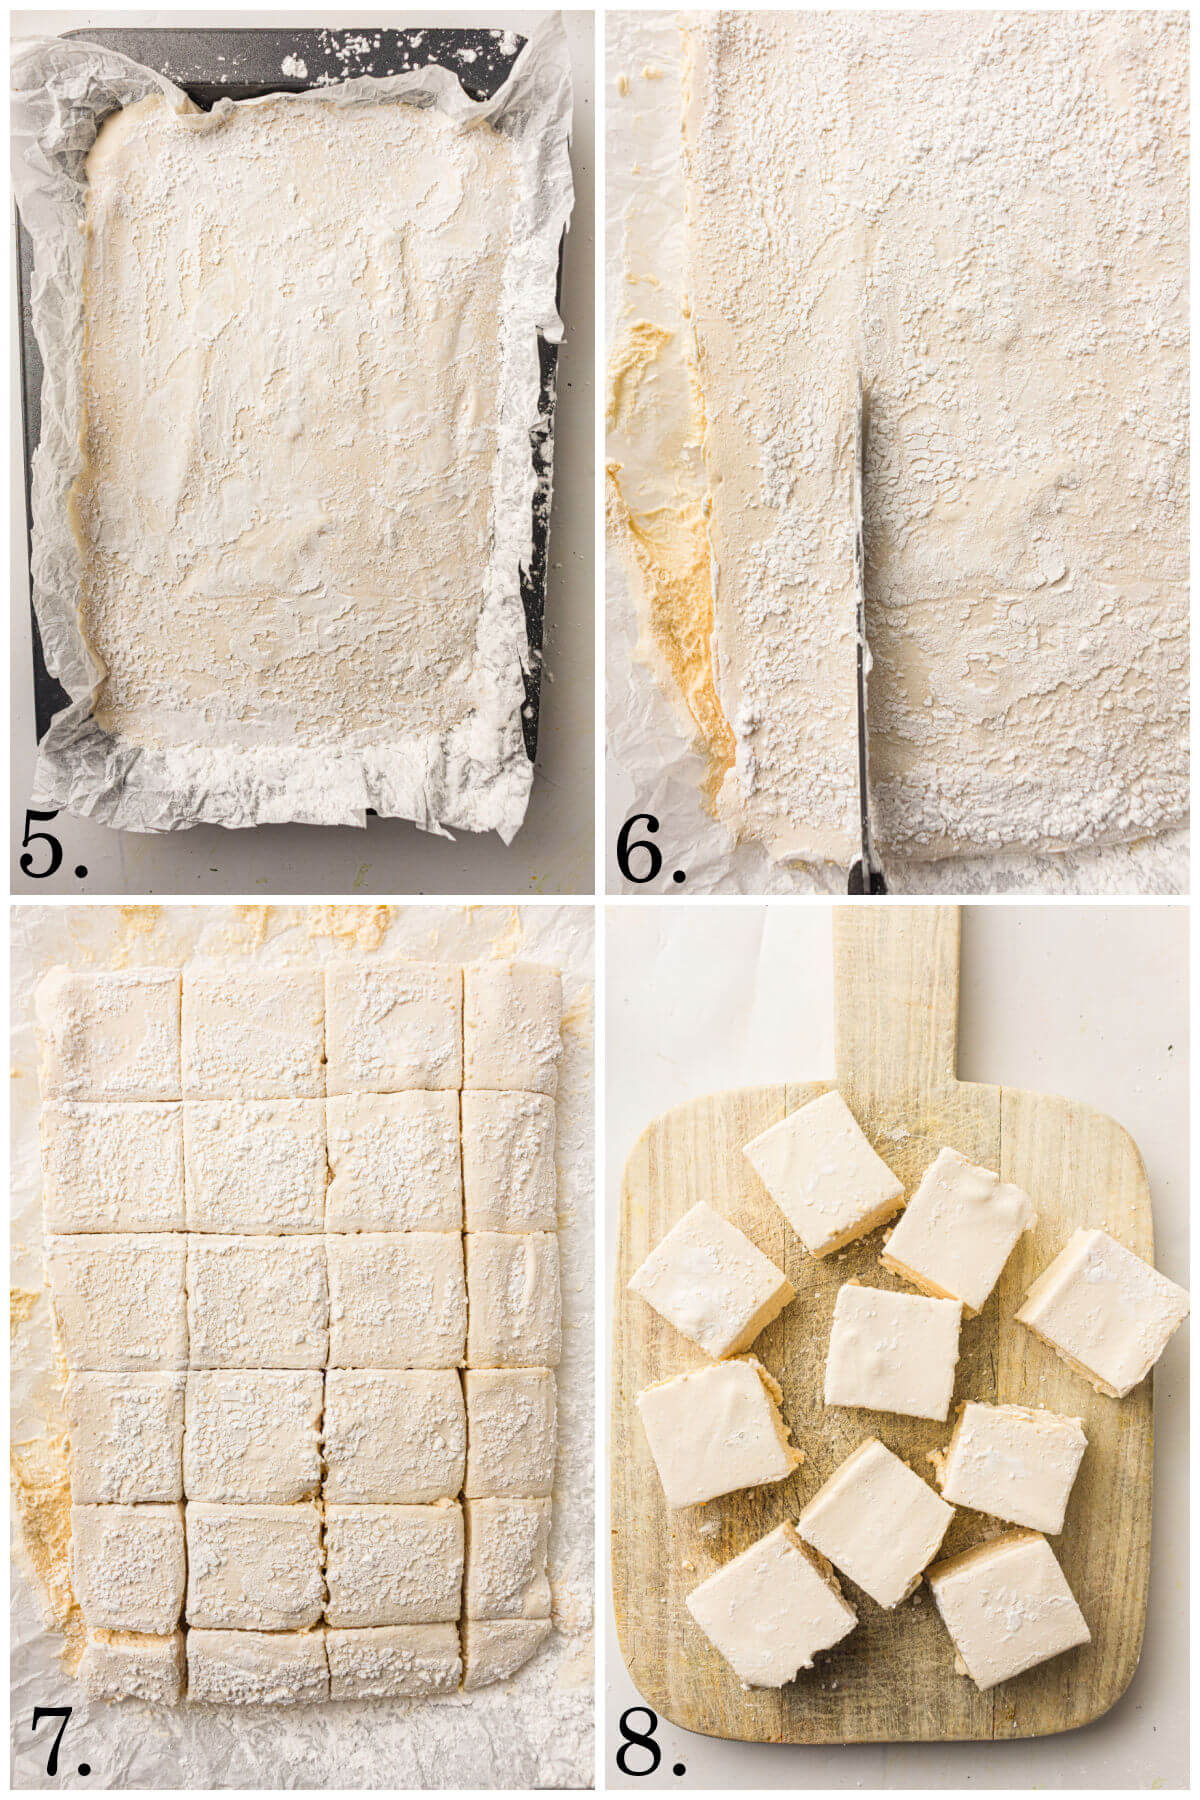
Step 5. Let the marshmallows sit in the pan at room temperature for at least 4 hours or overnight, until completely set.
Step 6. Dust the top with additional arrowroot powder or cornstarch.
Step 7. Lift the marshmallows out of the pan using the parchment paper.
Step 8. Use a sharp knife to cut them into squares.
Recipe Tips
- Use a candy thermometer. The honey syrup needs to reach 240°F for the marshmallows to set properly. A candy thermometer takes the guesswork out of this step.
- Bloom the gelatin first. Allowing the gelatin to absorb the cold water before adding the hot syrup helps it dissolve evenly.
- Whip until thick and fluffy. The marshmallow mixture should become glossy and increase significantly in volume. A stand mixer with a whisk attachment makes this easier.
- Work quickly after whipping. Once the marshmallow mixture is ready, transfer it to the prepared pan right away. It will begin setting as it cools.
- Grease your spatula. A lightly greased spatula makes it easier to spread the sticky mixture evenly.
- Dust generously. Arrowroot powder or cornstarch helps keep the finished marshmallows from sticking together.
- Allow plenty of setting time. Let the marshmallows rest undisturbed for at least 4 hours before cutting.
Ways to Enjoy Homemade Marshmallows
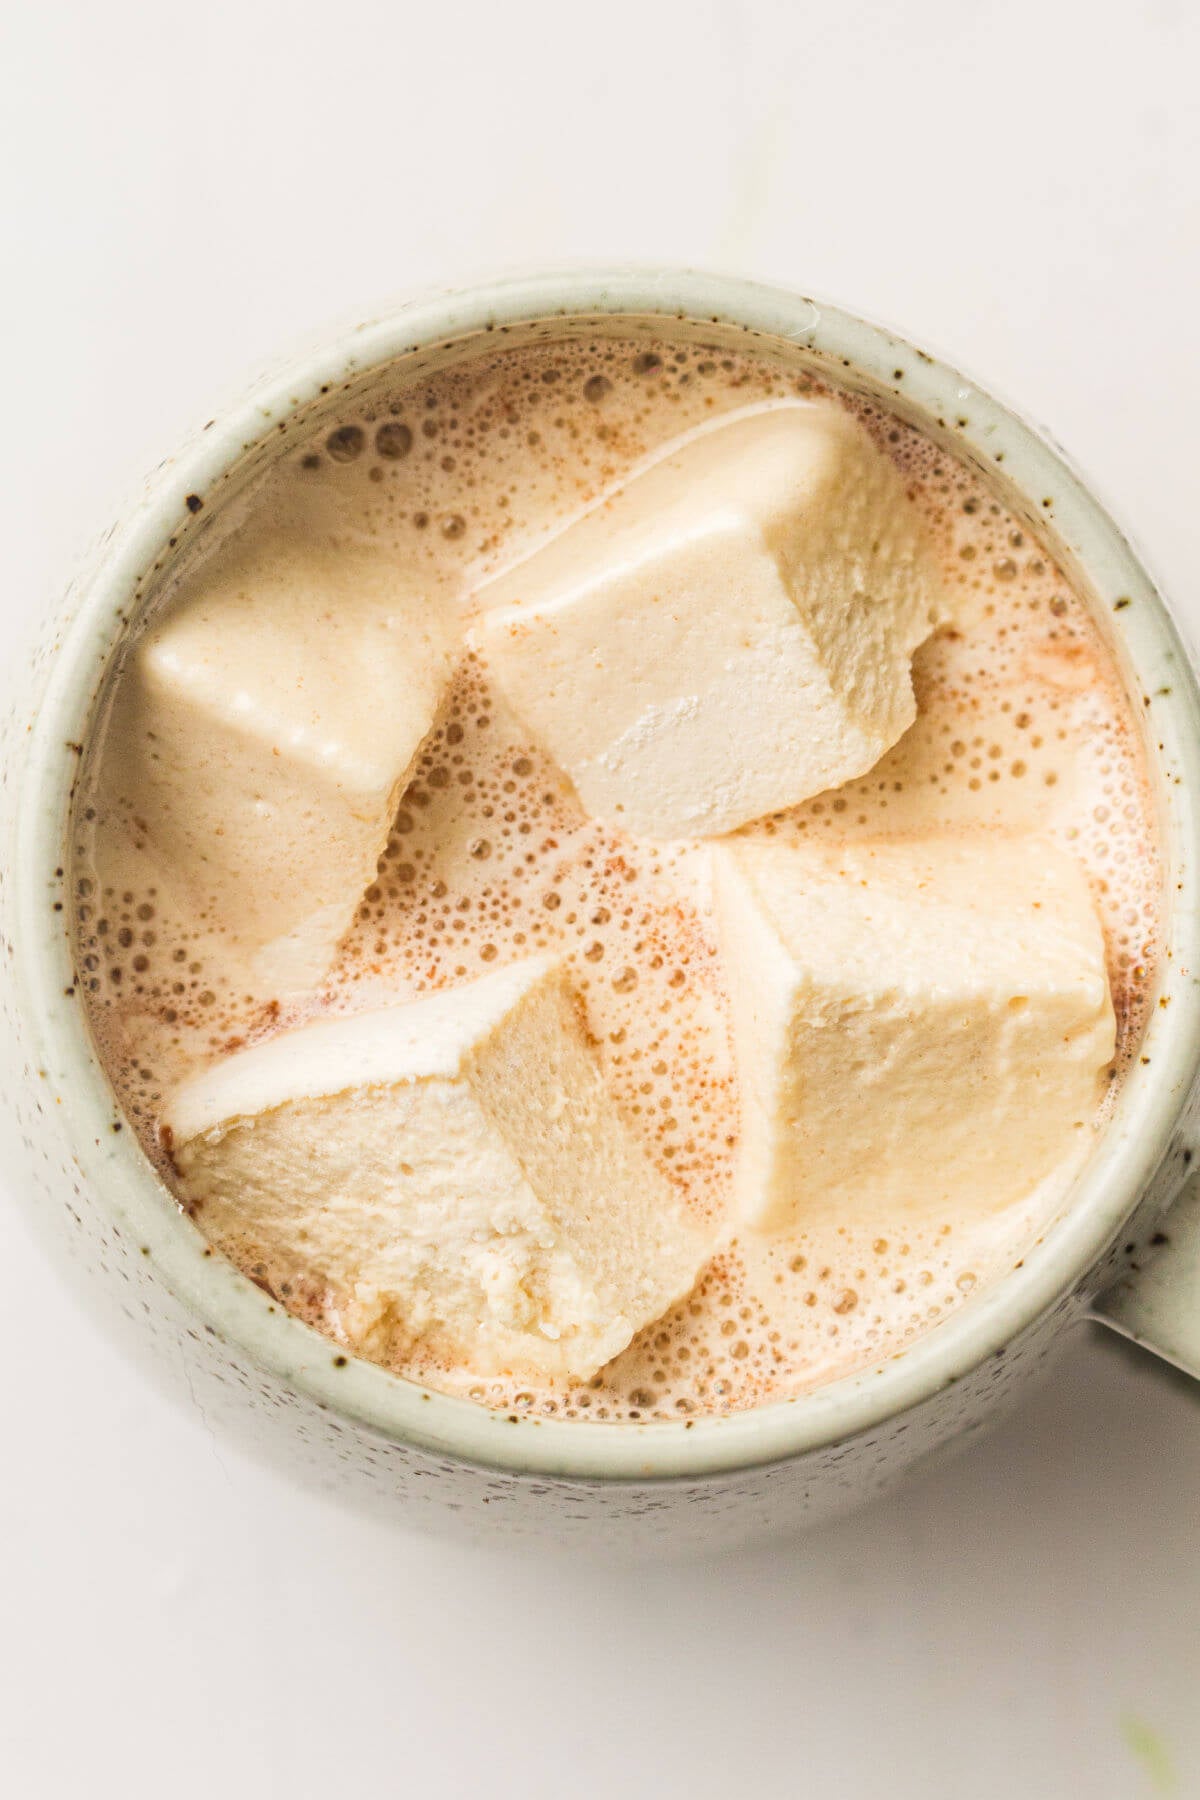
These homemade healthy marshmallows can be enjoyed in many of the same ways as store-bought marshmallows.
Add a few squares to a warm cup of hot chocolate (try my Easy Healthy Hot Cocoa recipe that’s sweetened with maple syrup) and let them slowly melt into the drink.
They’re also a fun homemade treat to serve with coffee during the colder months.
How to Store Homemade Marshmallows
- Store the finished marshmallows in an airtight container at room temperature for up to 1 week.
- Dust the cut sides with additional arrowroot powder or cornstarch if needed to prevent the squares from sticking together.
- Avoid refrigerating them, since moisture can make the marshmallows sticky.
- If you’re planning to roast the marshmallows, let the cut pieces dry uncovered for a few days before using them.
Frequently Asked Questions
You can use a hand mixer, but just know that the whipping stage requires high speed for a long time for proper volume. If you use a hand mixer be sure it doesn’t overheat, and be prepared to hold it for a while!
Honey is recommended for structure and stability. Maple syrup may produce softer marshmallows, but it would still work.
Be generous with dusting powder and allow them to fully set before cutting.
Yes, but these honey-sweetened marshmallows behave a little differently from conventional marshmallows. To prepare them for roasting, cut the marshmallows into squares and let them sit uncovered for a few days to dry out. They tend to melt faster than store-bought marshmallows, so roast them gently. Hold them near the edge of the fire rather than directly over the hottest flames.
More Healthy Desserts
- Healthy Gingerbread Cookies
- Healthy Banana Bread
- Healthy Zucchini Bread
- Strawberry Honey Pie
- Chocolate Oatmeal Bars
If you make this healthy homemade marshmallow recipe and enjoy it, please leave a comment with a 5-star recipe rating and let me know! Thank you!
Healthy Homemade Marshmallow Recipe
Equipment
- 9 x 9 Inch Pan or 9 x 13 inch (9×13 will make thinner marshmallows, 9×9 will be taller)
- Stand mixer with whisk attachment or hand mixer
Ingredients
- 1/4 cup arrowroot powder, or cornstarch, for dusting
- 1 cup cold water, divided
- 3 tablespoons gelatin
- 1 cup honey
- 1/4 teaspoon salt
- 2 teaspoons vanilla extract
Instructions
- Line a 9×9-inch pan (or 9×13) with parchment paper and lightly dust with arrowroot powder or cornstarch.
- Pour 1/2 cup cold water into the bowl of a stand mixer. Sprinkle gelatin evenly over the water and let bloom for 5–10 minutes.
- In a small saucepan, combine honey, remaining 1/2 cup water, and salt. Heat over medium until the mixture reaches 240°F (soft ball stage) on a candy thermometer. This will take about 10-15 minutes.
- With the mixer on low speed, carefully pour the hot honey mixture into the bloomed gelatin.
- Increase speed to high and whip for 8–10 minutes, until thick, glossy, and tripled in volume.
- Add vanilla extract and mix briefly to combine.
- Immediately spread mixture into the prepared pan and smooth the top with a lightly greased spatula.
- Let sit at room temperature for at least 4 hours or overnight, until fully set.
- Dust the top with additional arrowroot or cornstarch, remove from pan, and cut into squares.
Notes
- Use a candy thermometer. The honey syrup needs to reach 240°F for the marshmallows to set properly. A candy thermometer takes the guesswork out of this step.
- Bloom the gelatin first. Allowing the gelatin to absorb the cold water before adding the hot syrup helps it dissolve evenly.
- Whip until thick and fluffy. The marshmallow mixture should become glossy and increase significantly in volume. A stand mixer with a whisk attachment makes this easier.
- Work quickly after whipping. Once the marshmallow mixture is ready, transfer it to the prepared pan right away. It will begin setting as it cools.
- Grease your spatula. A lightly greased spatula makes it easier to spread the sticky mixture evenly.
- Dust generously. Arrowroot powder or cornstarch helps keep the finished marshmallows from sticking together.
- Allow plenty of setting time. Let the marshmallows rest undisturbed for at least 4 hours before cutting.
Nutrition
Nutrition information is automatically calculated, so should only be used as an approximation.