Use the Erin Condren Teacher Planner for Homeschool
After trying just about every lesson planner on the market, I finally found Erin Condren. In this post I’ll show you how to use the Erin Condren Teacher Planner for homeschool.
Use the Erin Condren Teacher Planner for Homeschool
As I mentioned in this Erin Condren Teacher Lesson Planner review post, this planner is beautiful. But it was also designed with classroom teachers in mind. So, it requires a few simple tweaks to make the whole planner homeschool-friendly.
You can certainly make great use of it without making any changes. The calendar pages and the lesson planning pages are perfectly useful just as they are. However, you’ll be able to make use of the whole thing with just a little bit of creativity!
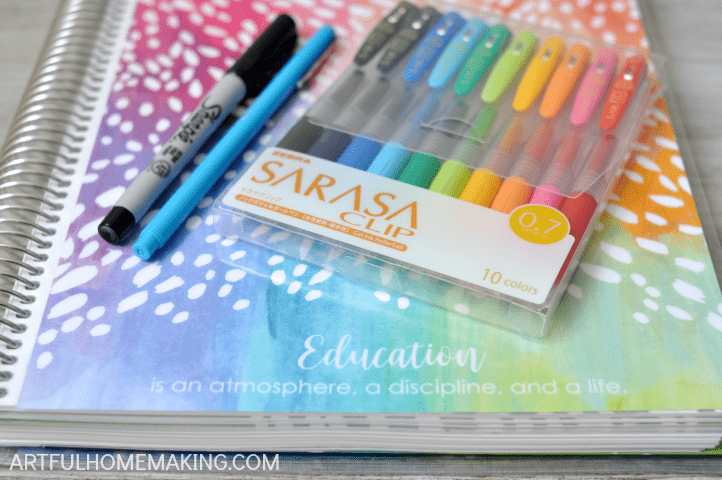
What You’ll Need
First, you’ll need some sticker paper. You don’t have to use this, but I loved being able to cover up the existing writing with the sticker paper. And, if you choose a font that closely matches (I used this one), it will look even better.
(I can’t take credit for this awesome idea. I was completely inspired by Jennifer at Wildflowers and Marbles, who came up with the idea for the stickers and found the matching font. Thank you, Jennifer!)
The Erin Condren Cool for School sticker sheets were also used to cover up some of the existing writing (and they also just make it look really cute).
(Get $10 off your First Erin Condren order when you register for a new account here!)
Also, these are my all-time favorite planner pens, and I’m also loving these for my new planner. And I use an ultra-fine point Sharpie for writing on the inside wipeable covers (the permanent marker can be erased with an alcohol pad when you need to write something else).
Watch the Video
I’ve made a video to go with this post, which you can watch below:
A Look Inside My Planner
Now let’s take a look inside the planner to see what it looks like now that I’ve adapted it to work for our homeschool planning needs.
I left the first “About Me” section pretty much as-is, and I’m using it to record our state’s homeschool requirements and also some account numbers and passwords.
Next is the two-page spread that was formerly “Classroom Events and Volunteers,” and “Helpful Hints for the Substitute.” Using the sticker paper, I changed these two pages to be for “Habits and Character,” and “Encouragement and Inspiration.”
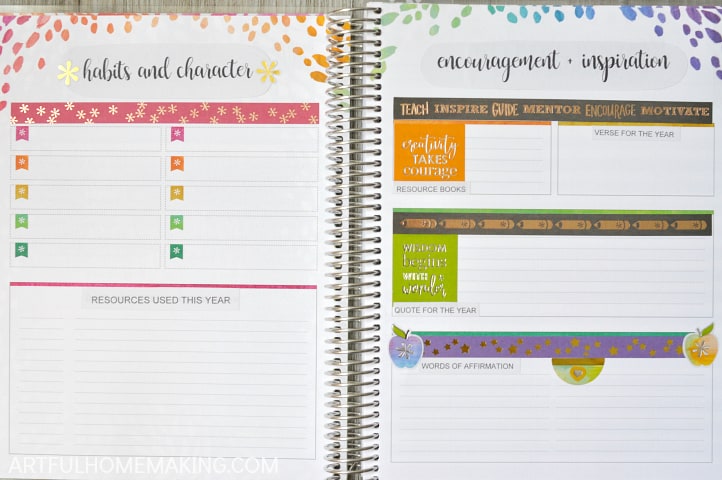
This will be a great place for listing the habits and character traits we will be focusing on.
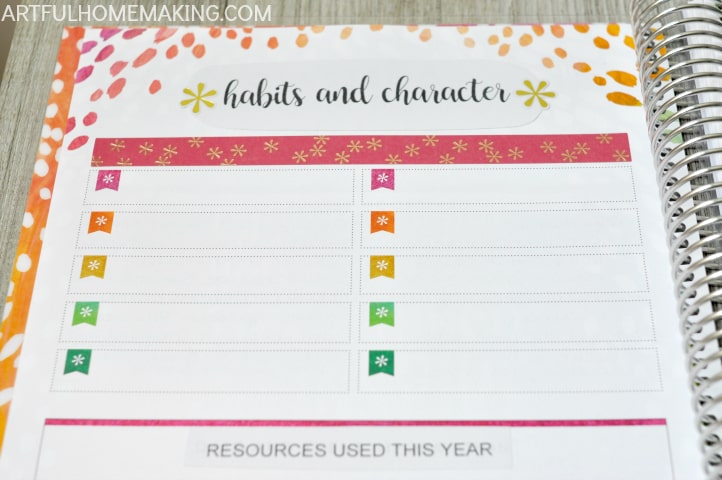
The bottom section outlines the resources we’ll be using to develop habit and character.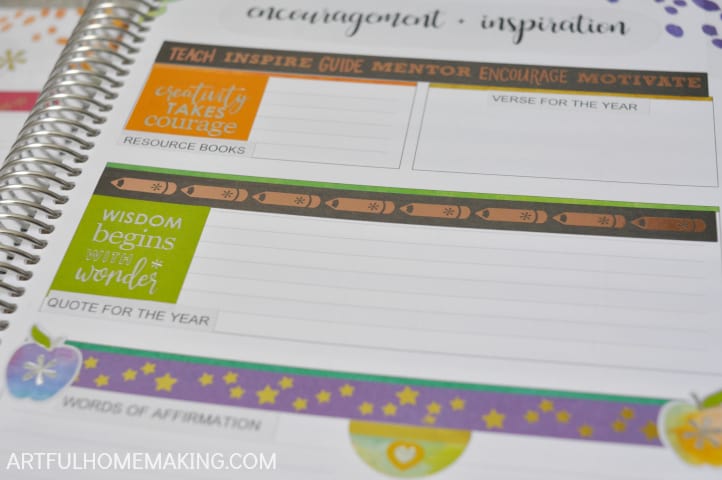
On the other side, I’ve made a page for my own encouragement as a homeschool mom. I’ve got a place to list my favorite resource books, a section to record our verse for the year, and a place for a quote. And the bottom section is where I’m going to list some words of affirmation for my children (to remind me to say them regularly).
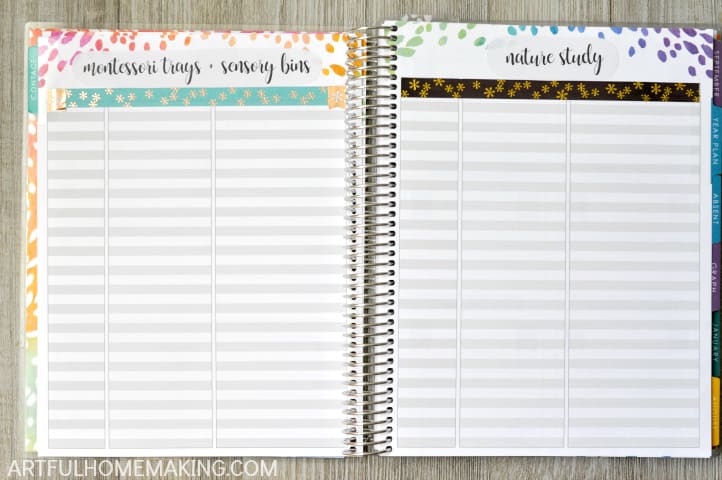
Next are the pages that used to be the “Communication Log.” Now they are for listing Montessori Trays and Sensory Bins for my youngest, and planning Nature Study on the other page.
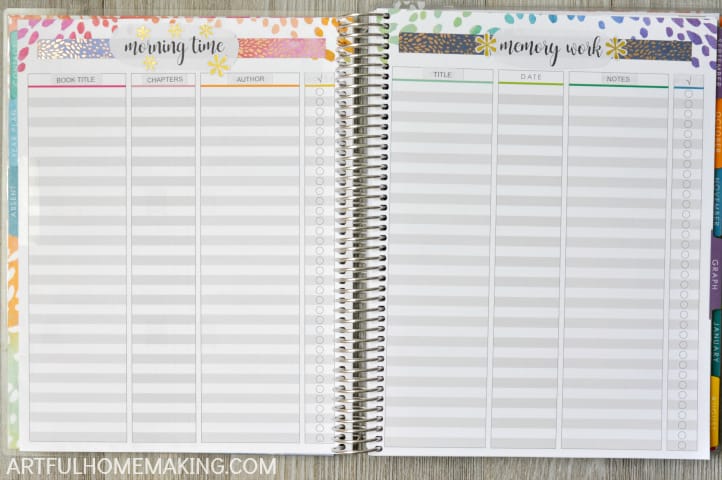
The next two-page spread used to be an “Absentee Log.” Now those two pages are for planning Morning Time and tracking our Memory Work.
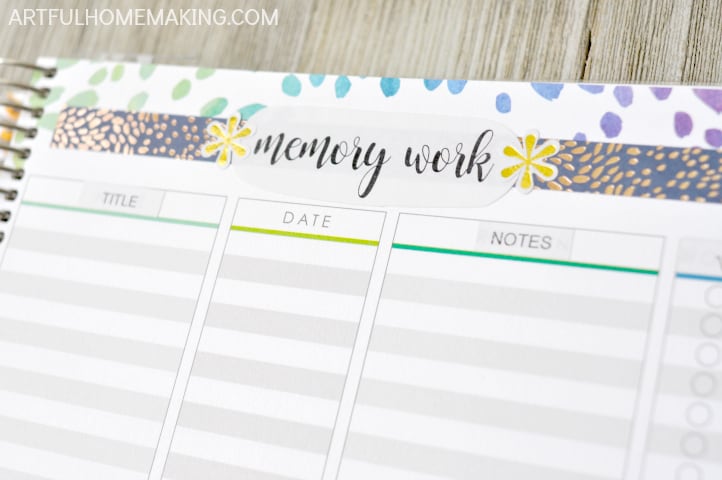
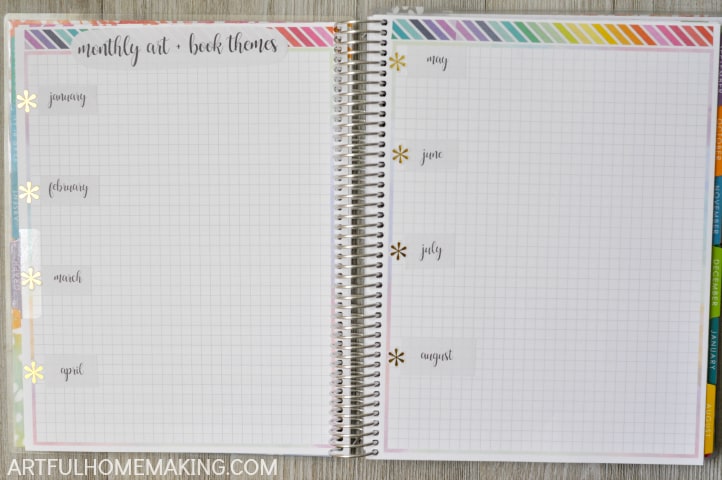
I made some little stickers to cover up the existing words to make these pages work for me:
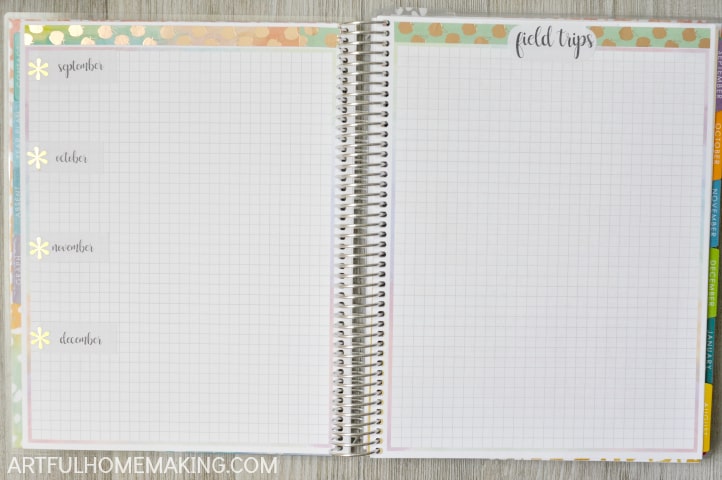
The graph paper is a great place for outlining my monthly art and book themes.
And the final page of graph paper is for field trips.
Useful Checklists
At the back of the planner, I used all of those student checklists for attendance tracking (see below), chore checklists, and a memory work checklist.
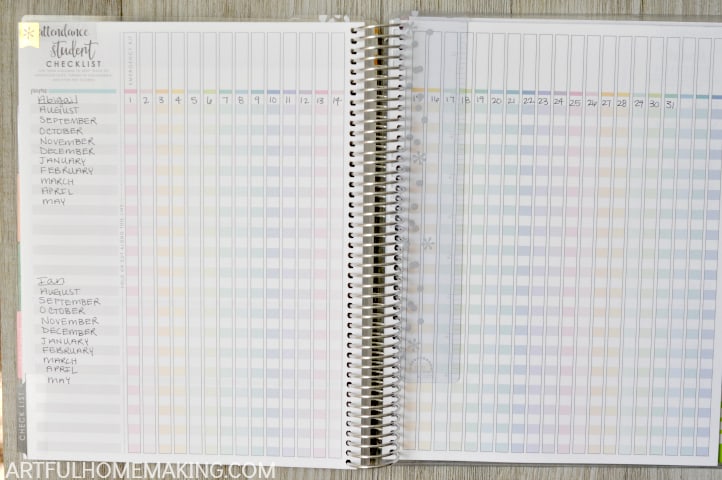
In the photo above, you can see that I wrote the child’s name and the months of the school year down the side. Along the top, I added numbers 1-31. This will make it easy to track how many days of school we did.
I think that’s it for the pages I changed. Now every single page of my planner is being used! Yesterday I finished making a new school schedule and that was filed in the back in one of the page protectors (you can see those in this post).
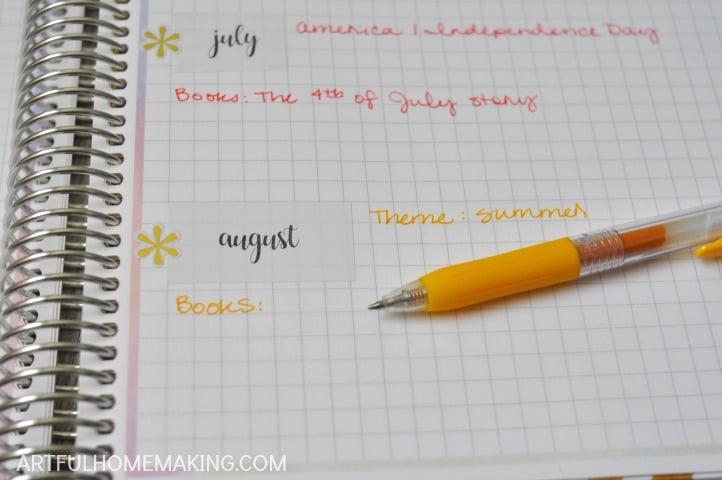
I’ve also been filling out the pages for art and book themes, and I’m getting closer to being completely planned and ready!
Resources in This Post:
- Erin Condren Teacher Lesson Planner (get $10 off your first order here)
- Erin Condren Cool for School Sticker Book
- Sticker Paper
- My Favorite Planner Pens
- Sarasa Pens
- Ultra-Fine Point Sharpie Permanent Markers
Don’t Forget! Get $10 off your first Erin Condren order when you use my referral link here.
Disclosure: This post contains affiliate links. Read my full disclosure here. Sharing here.

I love how you set it all up! Do you have advice for a perfectionist who always doubts her own plans and changes what she originally wrote? 🙂 That is what always keeps me from investing in a (not cheap) pre-printed planner. I worry I’ll ruin it with scratch outs. But yet, maybe that would keep me from switching things up too much and keep me more consistent. Right now, I’m still using composition books that I start over frequently.
I always love your blog! 🙂
Thank you, Keri! One thing that really helps me is using sticky notes. If there’s something that I’m not totally sure about, I can use a small sticky note and just remove it if I change my mind. Erin Condren has some adorable sticky notes that fit her planners perfectly, but you can also just use the less expensive kind.
Also, I don’t write out all my lesson plans in advance. I make an overall plan (which I put into a Word document and print out), and then I write the plans for the coming week in my planner. I try to plan on Saturday or Sunday, once I have a better idea how our week might go. So, I’m not filling the planner with a bunch of plans that I’ll need to change up later.
I’ve also heard good things about these erasable pens (haven’t tried them myself yet). Lots of people use them in their planners because they’re less permanent.
I hope that helps, and thanks so much for the encouraging words! 🙂
Very creative and very well done ideas! Also very VERY helpful! Thanks so much
Thanks Nancy! So glad it was helpful!
Wow! So thorough and cute. Thanks for sharing!
Thank you, Bethany!
Mann thanks for the useful video. I have just discovered your blog and I enjoy reading it a lot. I am a stepmother to two boys aged five and seven and even though we do not have homeschooling in Germany I find your post and video very interesting for accompaning my boys during school year.
Thank you very much.
Regards,
Carmen
Hi Carmen! I’m so glad the video was helpful, and thank you so much for your kind words.
Hi how do I get $10 off? I registered but didnt receive anything.
If you go to this link and register for a new account, then they immediately send you an email with a code for $10 off. I just had a family member try it, and it worked fine for them. I had someone else asking me about this recently, and we discovered that she had actually signed up for their newsletter (instead of registering a new account), and that just gets you 10% off rather than the $10 coupon code. In that case, you’d need to use a different email address (so they’ll recognize it as a new account) and register at this link and they’ll email you the code immediately after. Hope that helps!