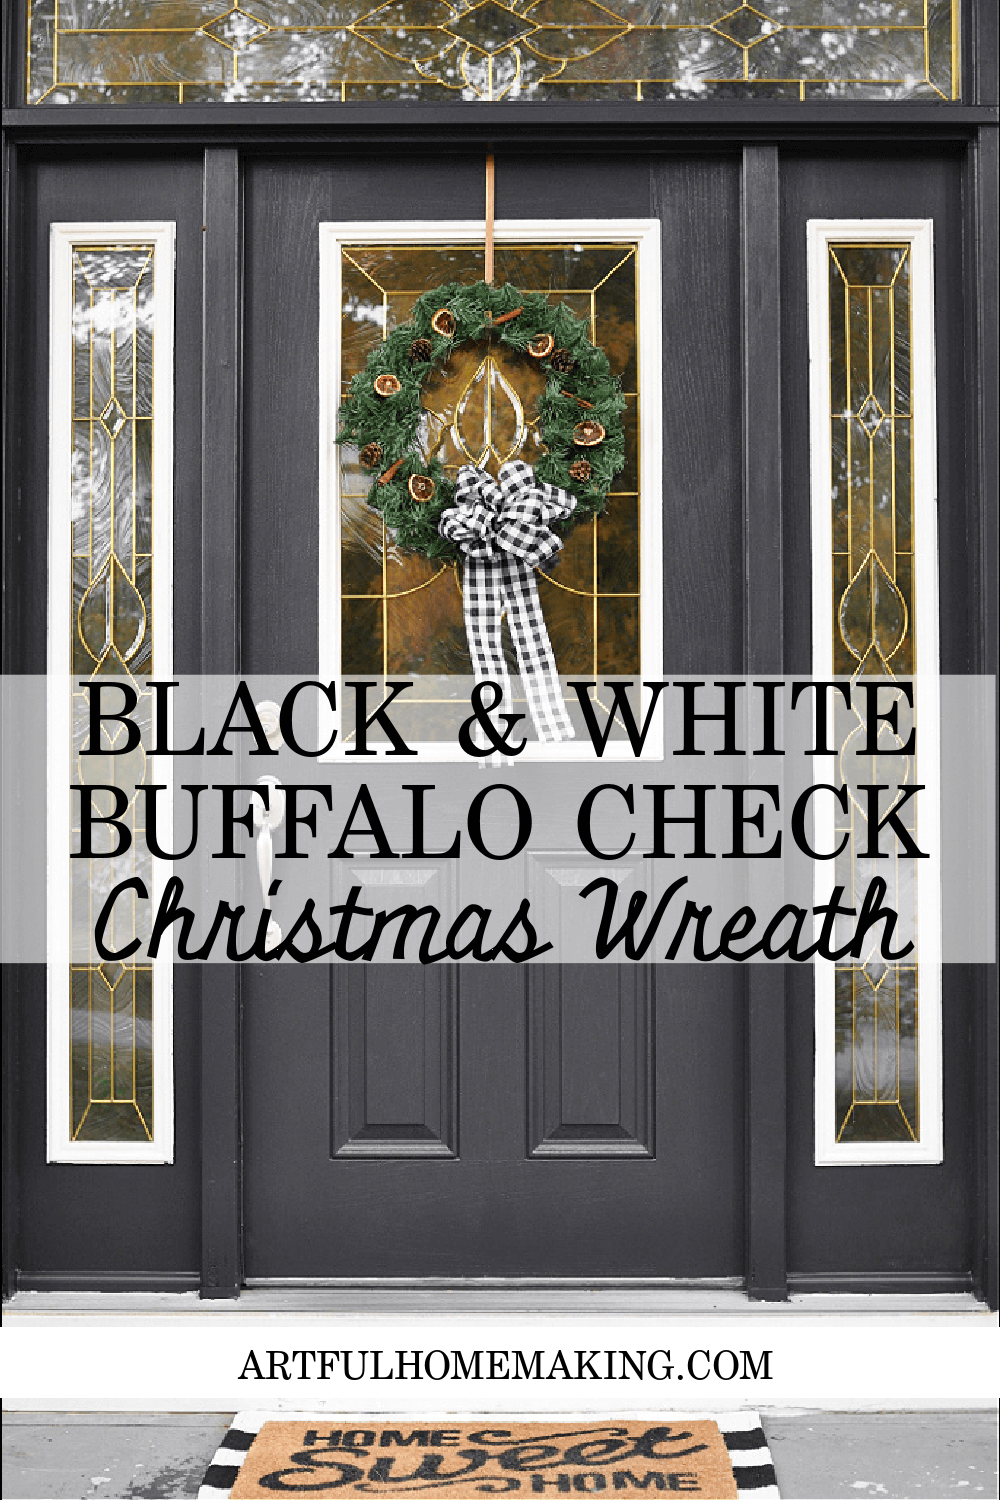
Buffalo Check Christmas Wreath DIY Tutorial
Learn how to make a buffalo check Christmas wreath with this easy DIY tutorial! If you love buffalo check, then this is the wreath for you!
I found some black and white buffalo check plaid ribbon at the craft store, and I immediately imagined a wreath bow.
We have a lot of neutral décor in our home. Our walls are white, and we love to accent the white walls with touches of black and brown.
Black and White Christmas Décor
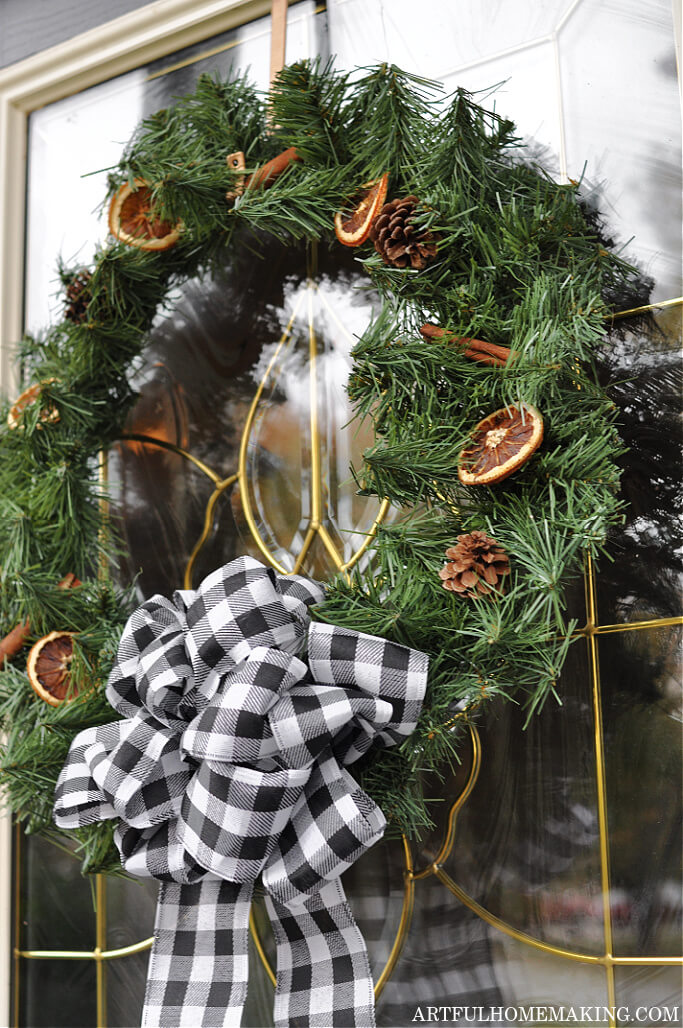
I had the idea that it would be fun to have some neutral Christmas elements, instead of the usual red and green (which I also love!).
When I was planning this wreath in my mind, I was thinking about how the black and white buffalo check ribbon would look great with the black and white items in our home.
I also wanted to add some natural elements to the wreath, so I added some cinnamon sticks and dried orange slices to it. (Learn how to make oven dried orange slices here.)
And lastly, I also included some pine cones. I love how it turned out!
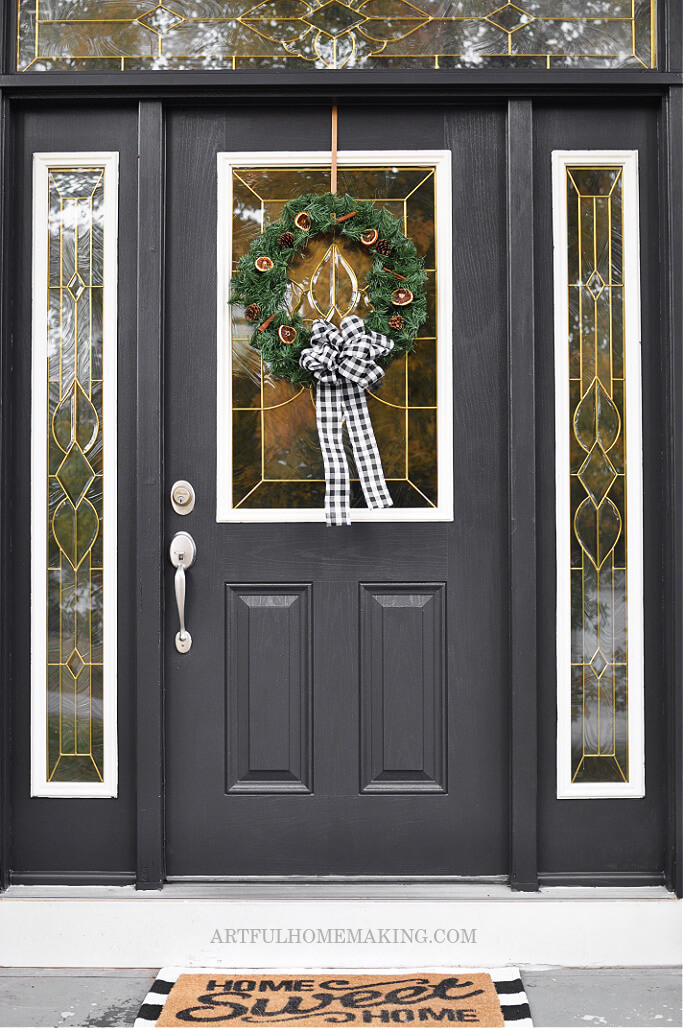
Buffalo Check Christmas Wreath Tips
- I used an artificial evergreen wreath, but a grapevine wreath would also look cute with a buffalo check bow!
- Feel free to use whatever natural elements you have on-hand: cinnamon sticks, faux berries, or any other natural elements would look great!
- Gold bells would look very festive on this wreath.
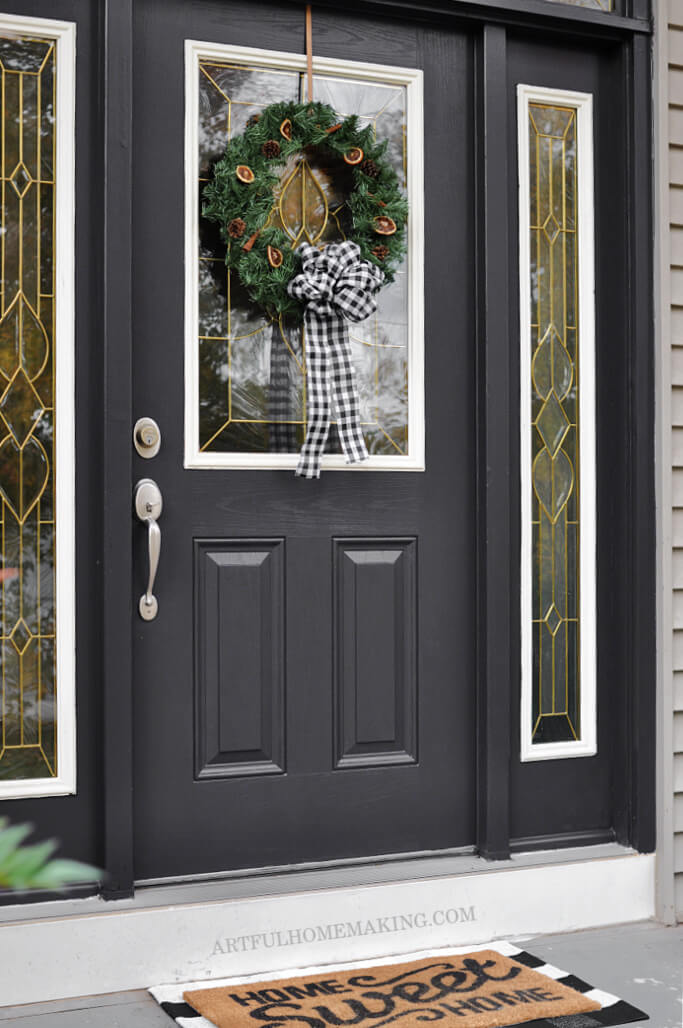
How to Make a Buffalo Check Christmas Wreath
The first step for making a buffalo check Christmas wreath is to gather your supplies.
Then, you’ll want to decide how full you want your wreath to be. I was using what I had on-hand, so my wreath is a little sparse.
So much more could be added to your wreath! Add more natural elements (dried orange slices, pine cones, cinnamon sticks, etc.), or a family initial letter would also be cute!
Affiliate links included below, which means I may make a small commission at no extra cost to you. Read my disclosure here.
Supplies Needed to Make This Wreath
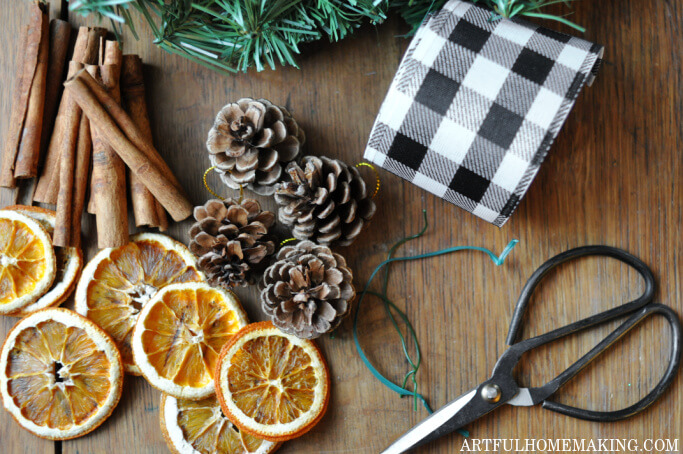
You’ll need the following supplies for this project:
- Evergreen wreath (I used an artificial pine wreath, but use whatever kind you’d prefer!)
- Buffalo Check wired edge ribbon
- Floral wire
- Heavy-duty twist tie (or pipe cleaner)
- Scissors (any kind will work but I love the vintage look of these)
- Dried orange slices (learn how to make your own here)
- Cinnamon sticks
- Pine cones
- Wreath hanger
Buffalo Check Christmas Wreath Tutorial
First, if you’re adding the dried orange slices, you’ll need to make some of those. They’re very easy to make!
Learn how to make oven dried orange slices here.
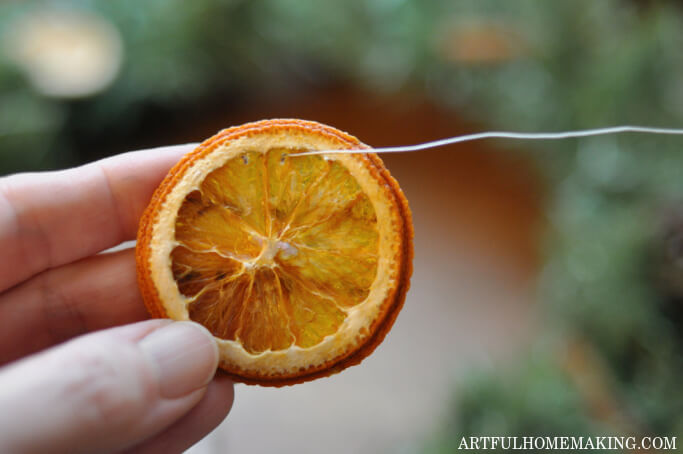
After you have your orange slices dried, use some floral wire to attach them to the wreath.
I just take a piece of the wire (enough to go through the orange and wrap around the wreath), and poke it through the top part of the orange.
Then wrap the wire with the orange slice around the wreath tightly, twisting the wires to secure it.
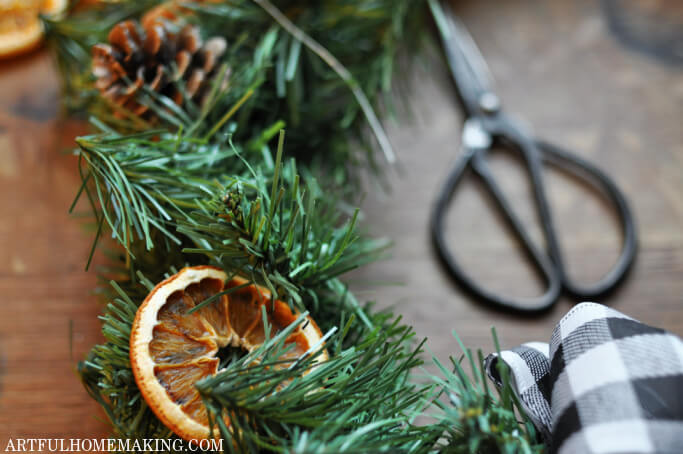
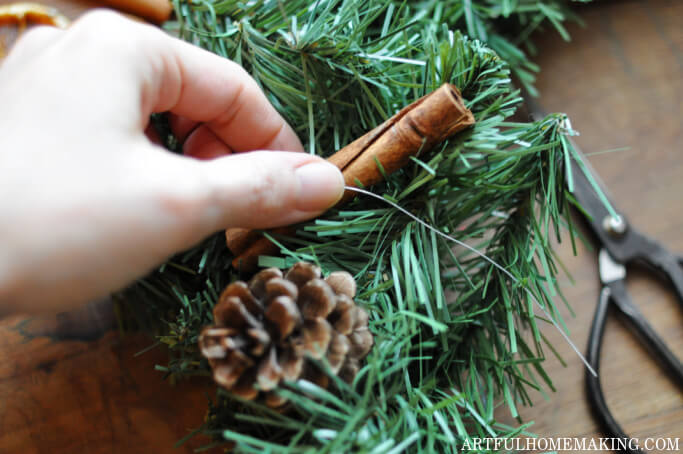
Next, use the wire to attach the pinecones and cinnamon sticks.
To attach the cinnamon sticks, I ended up putting the wire through the holes on the cinnamon stick (lengthwise) and then wrapping the wire around the wreath.
You’ll need a longer piece of wire to attach the cinnamon sticks, since it has to go through the length of the cinnamon stick.
If your cinnamon sticks don’t have a hole going through them, the wire could be wrapped around the body of the cinnamon stick. Or, you could hot glue the wire to the back of the cinnamon stick.
Once you have everything attached, it’s time to make the buffalo check ribbon bow.
I’ve been making wreath bows for years, and I’m pretty random with mine! It’s easier to show someone how to do this than to describe it with words.
First, I make a center loop, holding it with my left hand (since I’m right-handed).
Then, make a figure eight on either side of the center loop. These loops should be larger than the center loop.
Continue making these larger loops on the side until you have about 4-6 of them (I think I did about 6 for this bow).
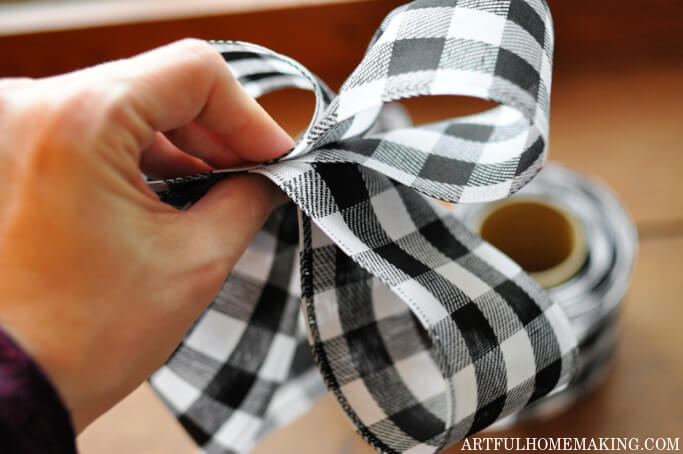
While you’re still holding it all together with one hand, twist the twist tie or pipe cleaner (or floral wire) tightly around the center of the bow (going through the center loop).
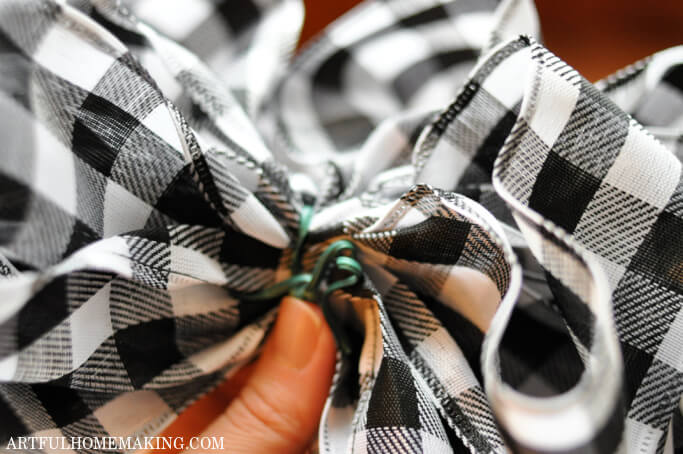
Decide how long you want the tails of your bow to be, and trim them to that length.
Sometimes it takes a few tries to get the bow just the way you want it.
I know these instructions aren’t easy to follow without a visual. Here’s a tutorial that is very similar to the way I make my bows.
Here’s my finished bow. After finishing the bow, adjust it so that it looks the way you want. My bows are never perfect, and that’s okay!
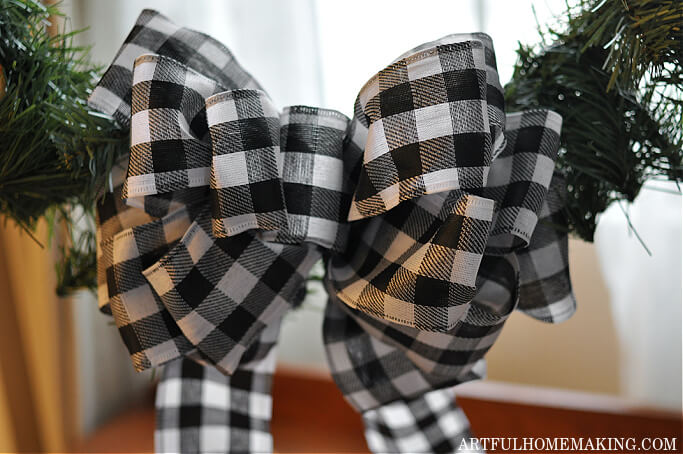
Hang your wreath on the door hanger on the front door (or wherever you’d like to hang it).
I actually made this wreath last year (and didn’t get a chance to share about it). We used it through the whole last Christmas season, and I just took it out of the Christmas box again.
You can see that the bow is in a bit of a different shape than what it looked like originally! This wreath has weathered lots of fall and winter wind and weather, and it still looks great!
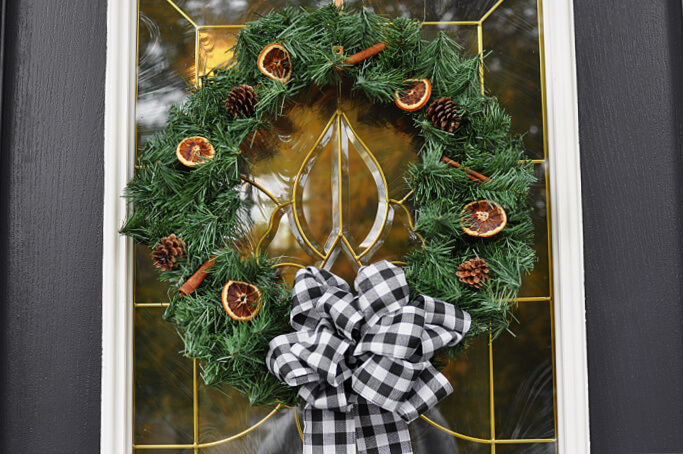
Before hanging the wreath on the door this year, I just fluffed out the greenery and fluffed up the bow. I kind of like the fuller look of the bow!
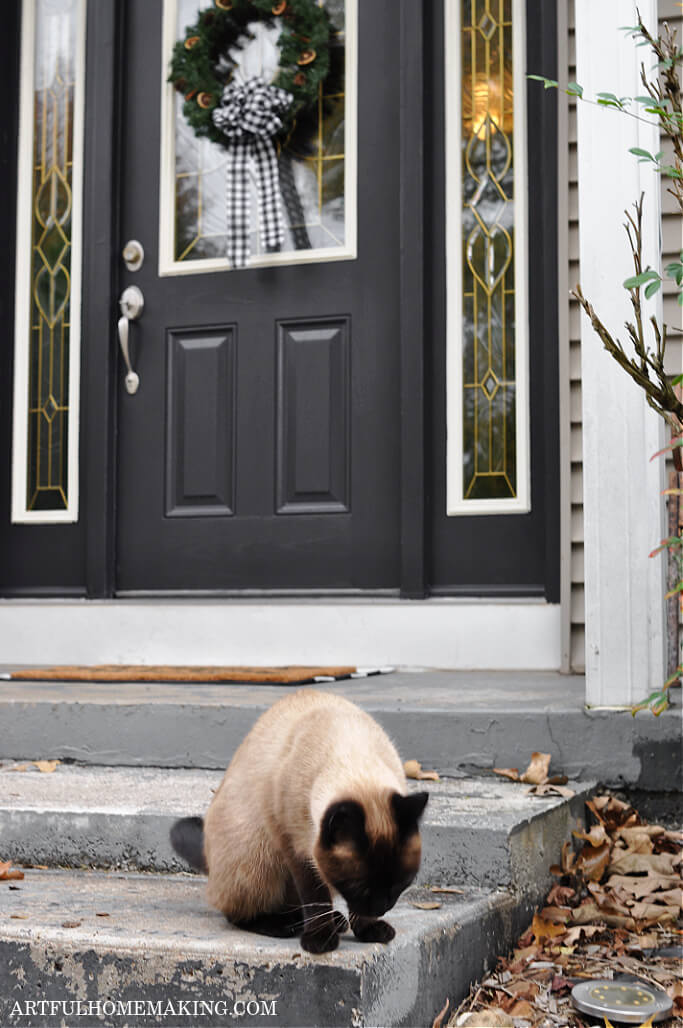
Our cat Mittens stopped to admire the wreath (actually, she was watching the tails of the wreath bow blow in the wind!).
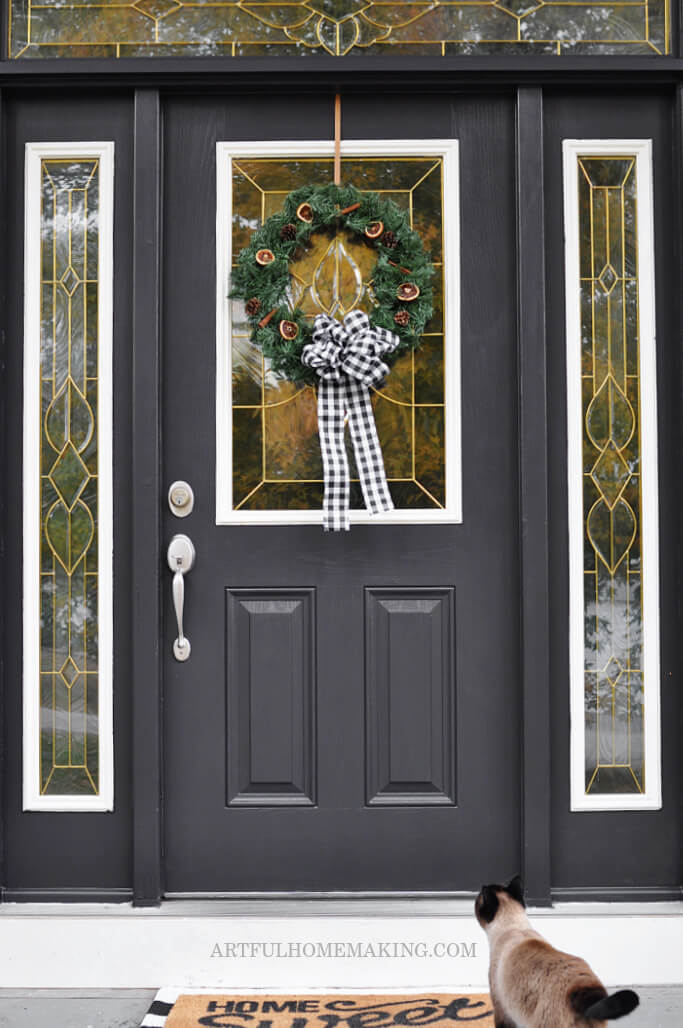
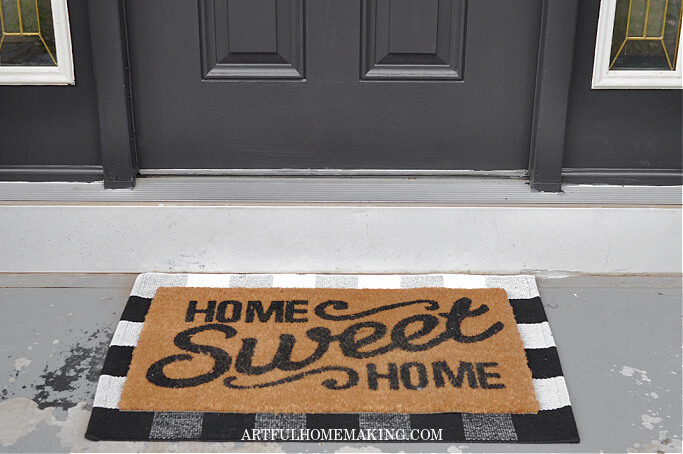
The buffalo check plaid Christmas wreath goes so well with our home sweet home welcome mat and buffalo check rug! I found that rug last year here.
It’s a great all-year-long rug:
More Christmas Crafts and Décor Ideas
- DIY Grain Sack Christmas Ornaments
- Wood Slice Christmas Ornaments Tutorial
- Easy Handmade Cinnamon Ornaments
- 28 Farmhouse Christmas Decor Ideas
- 19 Creative and Inspiring Christmas Porch Ideas
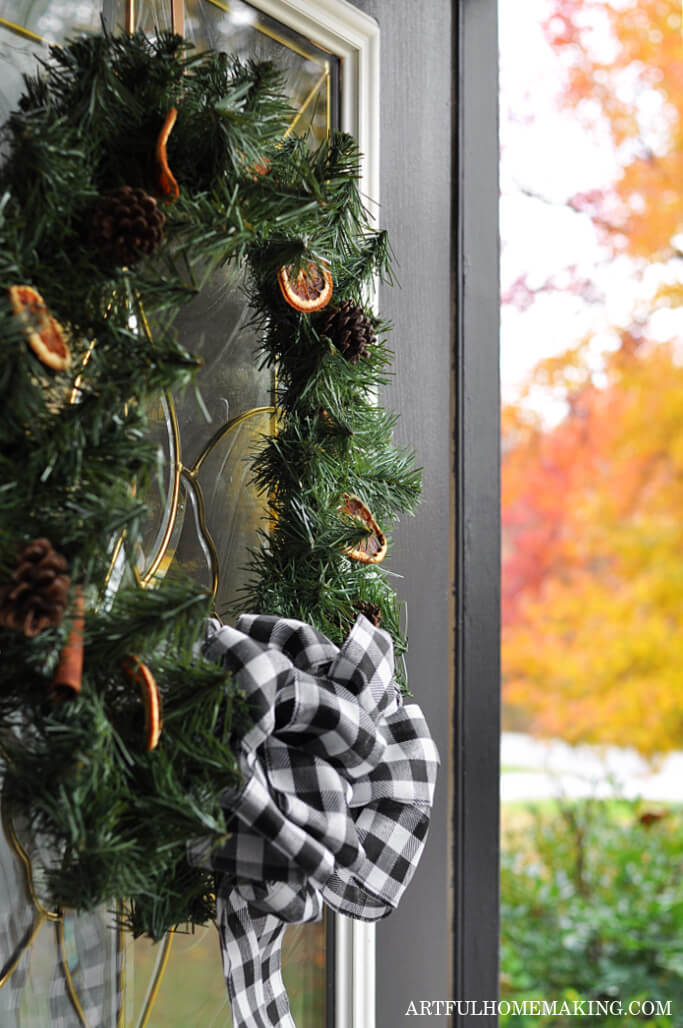
I love that this wreath can work for fall as well as Christmas, since it has a more neutral color scheme. It looks great with the colorful leaves outside our front door!
Thanks so much for stopping by!
Pin This Post for Later:
