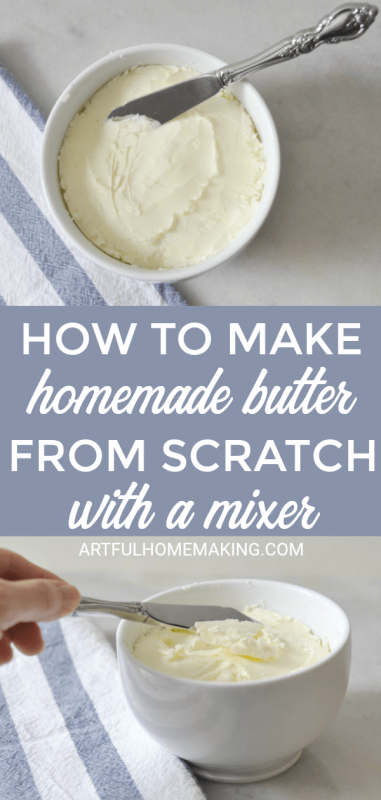
How to Make Butter from Scratch with a Mixer
Learn how to make butter with a mixer the easy way! It’s actually pretty simple to make your own homemade butter. All you need is some heavy cream and a mixer.
The Pioneer Spirit
For years I’ve been fascinated with learning how to make everything from scratch. There’s just something about the do-it-yourself lifestyle that intrigues me.
This post contains affiliate links, which means I may make a small commission at no extra cost to you. Read my disclosure here.
Especially after reading the Little House on the Prairie books years ago, I wanted to know how to do everything that Ma did (and more!).
I wanted to make my own bread from scratch, can my own jams and jellies, and make yogurt.
Not because I had to make these things myself, from scratch. I just wanted the thrill of knowing I could.
Shortly after getting married, I started teaching myself how to do all these things. I read books and watched videos, learning all I could.
And once I learned a certain skill, I wanted to share that joy with my children, if possible.
Watch the Video How to Make Butter from Scratch
How to Make Butter
The first time I made my own butter, my kids were little. I found some instructions for making butter by shaking the cream in a Mason jar.
To make it this way, all you do is put your cream in the Mason jar, and shake, shake, shake!
After a while, the cream starts to thicken and turn into butter.
My kids thought this was so much fun!
They loved the fact that they could make butter just like Laura’s mom in the “Little House Books.”
Then we found this vintage butter churn, which allows you to make butter in as little as ten minutes! My kids love using this thing!
One of my children in particular regularly asks to make butter with this. He thinks it’s a special treat!
If you’re looking for a fun “homesteading” type of activity for your kids, I highly recommend this churn! Not only is it fun, but it looks so cute and vintage-y in the kitchen.
How to Make Butter with a Mixer
Even though the other methods for making butter work well (and they’re great for kids), I wanted to be able to make a large quantity of butter at a time.
And, it’s really pretty simple to make butter with your mixer!
All the recipes I’ve seen recommend using a stand mixer, but I’ve never actually used ours for making butter.
A regular hand-held mixer works just fine for this.
It does take a while to get the cream to the right texture, but it’s a pretty simple process if you’re willing to wait.
Supplies Needed
All you need to make your own homemade butter are the following supplies:
- Mixer (hand-held or stand mixer)
- fine mesh strainer or cheesecloth
- rubber spatula
- 1 quart of heavy whipping cream or cream from raw milk
- salt, to taste
Instructions
- Pour the cream into a large mixing bowl (or the bowl of a stand mixer).
- Beat the cream at a medium/high speed. Cover the bowl with a kitchen towel if it’s spattering out of the bowl.
- Continue mixing until the cream thickens and starts to separate into chunks of butter and buttermilk. This takes quite a bit of mixing before you get to this point.
- Drain the buttermilk off of the butter, using a fine mesh strainer or a piece of cheesecloth draped over a bowl. Save and refrigerate the buttermilk for use in recipes.
- Cover the butter in the bowl with a bit of cold water. Then mix it again with your mixer. Pour off the cloudy water, and add fresh water to the bowl. Mix again, and continue this until the water remains clear. Pour off any excess water.
- Add the salt, if using. We use about 1/2 teaspoon of salt. Mix the salt in with your mixer.
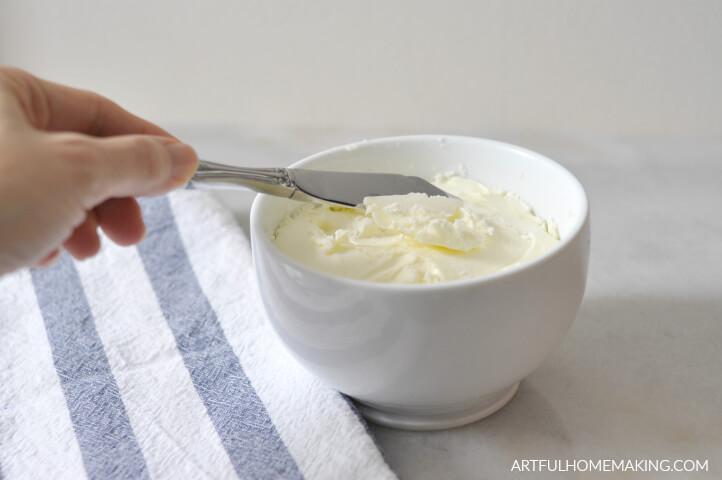
- Drain any remaining excess water off the butter, using a rubber spatula or cheesecloth to squeeze out the water.
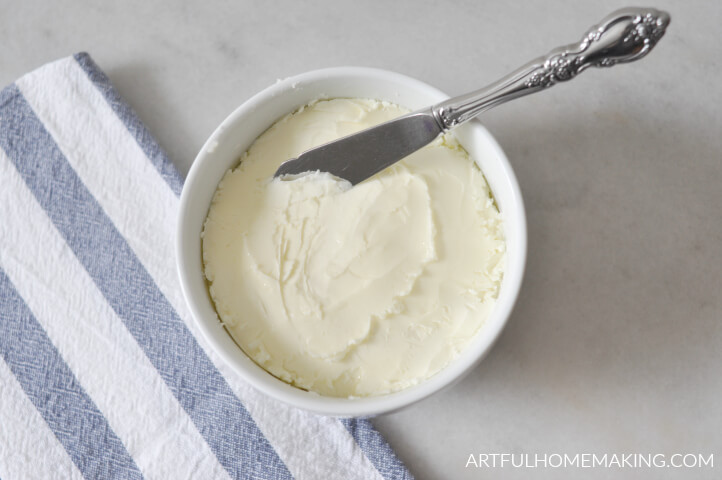
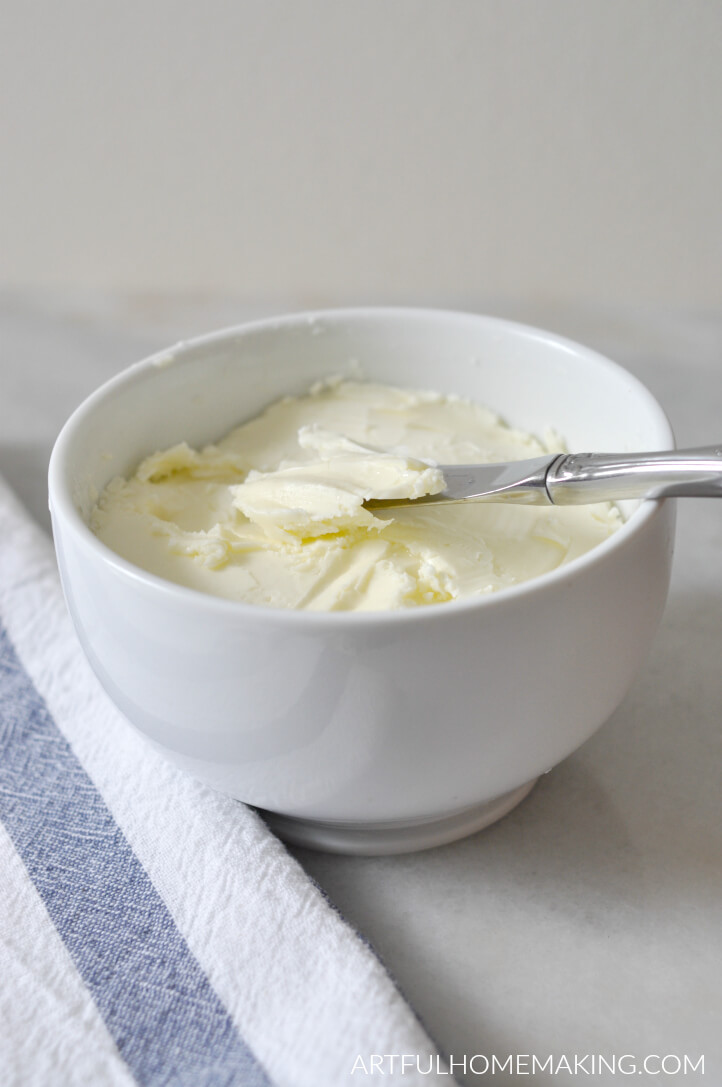
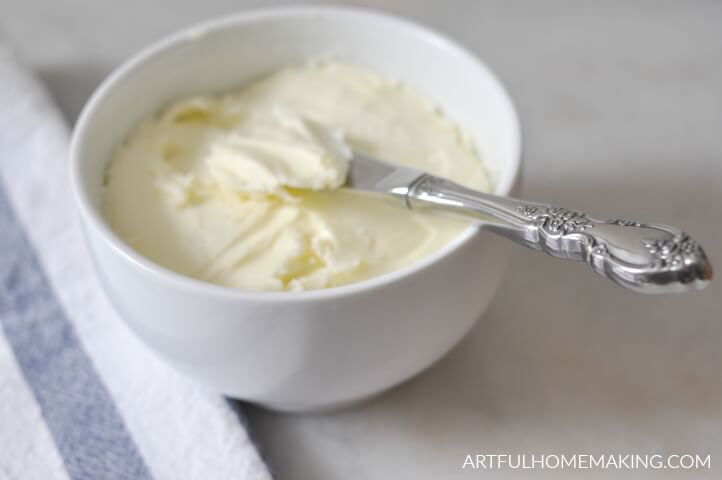
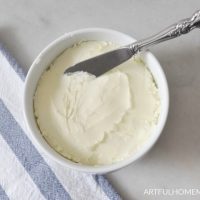
- Store your completed butter in the refrigerator for a week or two.
How to Make Butter with a Mixer
Equipment
- Mixer (hand-held or stand mixer)
- fine mesh strainer or cheesecloth
- rubber spatula
Ingredients
- 1 quart heavy cream or cream from raw milk
- salt to taste
Instructions
- Pour the cream into a large mixing bowl (or the bowl of a stand mixer)
- Beat the cream at a medium/high speed. Cover the bowl with a kitchen towel if it's spattering out of the bowl.
- Continue mixing until the cream thickens and starts to separate into chunks of butter and buttermilk. This takes quite a bit of mixing before you get to this point.
- Drain the buttermilk off of the butter, using a fine mesh strainer or a piece of cheesecloth draped over a bowl. Save and refrigerate the buttermilk for use in recipes.
- Cover the butter in the bowl with a bit of cold water. Then mix it again with your mixer. Pour off the cloudy water, and add fresh water to the bowl. Mix again, and continue this until the water remains clear. Pour off any excess water.
- Add the salt, if using. We use about 1/2 teaspoon of salt. Mix the salt into the butter with your mixer.
- Drain any remaining excess water off the butter, using a rubber spatula or cheesecloth to squeeze out the water.
- Store your completed butter in the refrigerator for a week or two.
Related Posts:
Pin This Post for Later
This post contains affiliate links, which means I make a small commission at no extra cost to you. Read my disclosure here. Sharing here.
How much butter does this recipe make.?
I never remember to measure how much it makes (I’ll try to remember to do that next time!), but I think it should make about a pound.
Can you freeze homemade butter?
Yes, it should stay good in the freezer for about 6 months if unsalted, about 12 months if salt was added. The key is to freeze it while it’s still fresh, so shortly after making it.
Just made this today using a quart of whippcream in my Kitchen aid mixer, it turned out good! Only had to drain it once, but with a little salt it’s real whipped butter. Not sure how cost effective this is , but it was fun to try !
I’m so glad it was a success! I agree, it’s just fun to make your own!
Can the butter be frozen?
Yes, it should stay good in the freezer for about 6 months if unsalted, about 12 months if salt was added. The key is to freeze it while it’s still fresh, so shortly after making it.
Be careful how much h2o is used in washing butter.This recipe does not give an exact amount. I started with a half gallon of heavy whipping cream. Whipped it into curds using a Bausch dough machine with a whip attachment.
I started with a cup of H20 in my thick lumpy butter yellow colored butter. It worked fine with no change in consistency and run of was cloudy. I did it again same amount of H20 and the butter went back to pre lumpy creamy soft butter consistency. No amount of rewhipping would bring it back to butter curds. I would start with a Cup of H20 to a half gallon cream.
THEN…add H20 1/4 cup at a time till clear. Or only adf h20 once and be done.
Butter is edible but soft. We shall see how it sets up when cold.
Made this and everything was great (looked like butter) drained with my cheese cloth added a bit of cold water as specified and it now looks like whipped butter no matter how long I beat it. What did I do wrong???
I’m so sorry to hear that. I haven’t had that happen before. I wonder if there was still liquid left in the butter. So, after rinsing the butter with water, that excess water needs to be squeezed out of the butter. As much as possible should be removed. I’m just wondering if it could be too much liquid because the process for making whipped butter is to add a bit of liquid (milk or water) to room temperature butter and then whip it, which makes the butter take on that creamy whipped butter consistency. So it sounds like maybe there was still some liquid left in it. Thankfully, whipped butter is delicious and still useable!
Can it be frozen for later use, if so for up to how long?
Hi Jennifer! I’ve never frozen my homemade butter (because we eat it before I get a chance!), but I know it’s possible! Homemade butter can be frozen, but the key is to make sure to get every trace of buttermilk out of it first. Be sure to press all the buttermilk out, rinsing the butter well in water until the water is clear. Then wrap the butter tightly with waxed paper or plastic wrap and seal in a freezer bag before storing in the freezer. Or use a vacuum sealer. If the butter is unsalted, it should last up to 6 months, possibly up to 12 months for salted butter.
My whipped cream did not turn to butter even though I mixed it in my stand mixer for several hours.
Oh, I’m so sorry to hear that. I don’t know why it wouldn’t work, as I’ve never had it fail before.
was it heavy whipping cream? maybe your mixer had some residue??
I made my own butter!! It was so easy! When the price of butter goes up. The price of heavy cream does not always follow! I only rinced once and had no extra liquid after draining. It’s time for toast!!!
So glad it turned out well! Enjoy your homemade butter!
I have used the shake shake method with my children as well and it is super fun! I am going to have to try it this way though, or maybe with the churn!
Thanks for linking up @LiveLifeWell!
Blessings,
Amy
The churn is super fun too!
Does this stay spreadable? Can you leave it out on counter like people do with sticks of butter? Do you think you get a pound out of a quart? Just wondering price wise is it better to do this, rather than buy butter, other than it is satisfying. 😉
After refrigeration, it firms up and has the texture of regular butter. If you want it to stay soft and spreadable, I’d recommend a butter bell like this one. We used one of those for years and loved it. I’m not sure exactly how much it makes (I haven’t measured it). I think it’s actually cheaper to just buy ready-made butter by the pound (unless you have your own milk from a cow), but we just think it’s fun to make occasionally. 🙂