This post may contain affiliate links. Please read our disclosure policy.
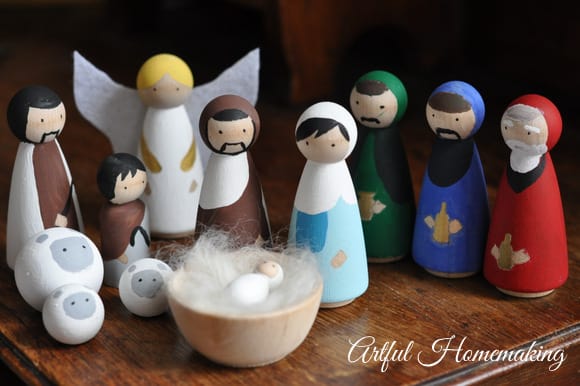
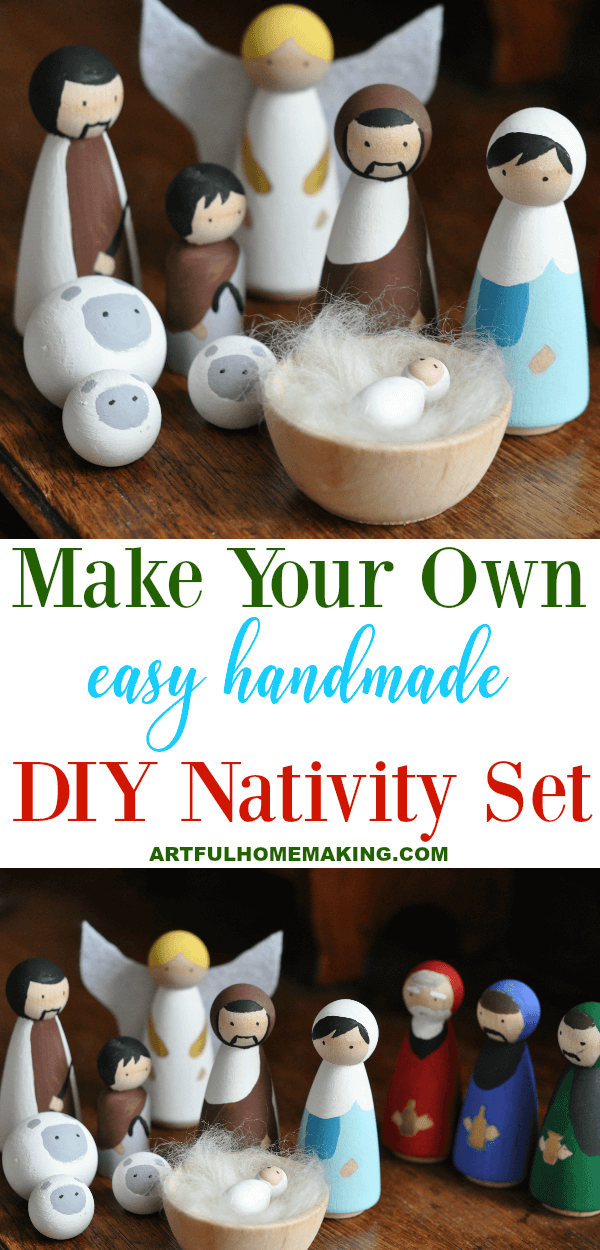
Our handmade wooden nativity set is my favorite. Just because it was handmade by us.
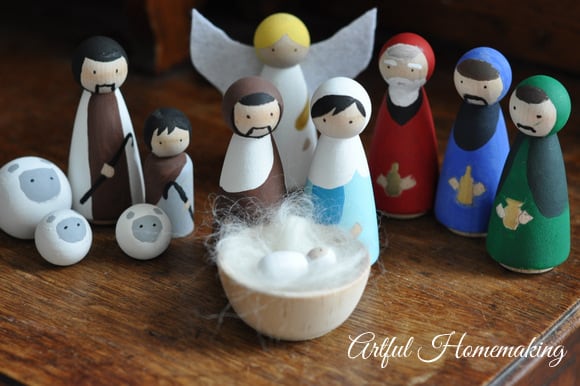
It may not be the most beautiful, and the painting isn’t perfect, but it’s beautiful to me. There’s something about handmade Christmas ornaments and handmade Christmas gifts that are just so much more special to me. Making things together at Christmastime is one of our cherished family traditions.
When I see it, I remember the sweet time painting the figures with my daughter. I love that we have this memory of painting these together. I also love that this nativity set, since it’s made with natural wood, is more durable and I can let the kids play with it.
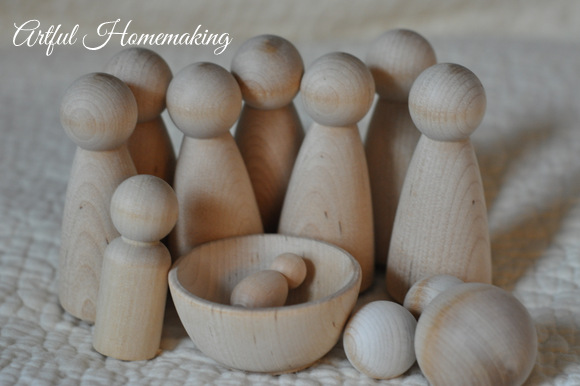
Supplies Needed for This Project
This post contains affiliate links. Read my full disclosure here.
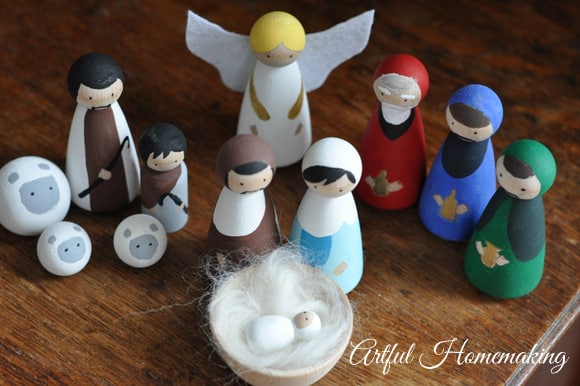
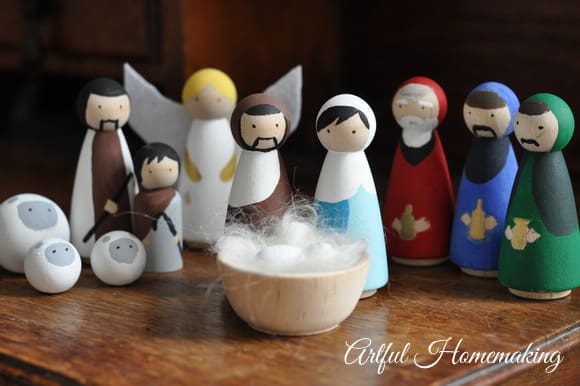
- 7 Wood Peg Doll 3.5″ Bodies for Mary, Joseph, shepherd, angel, and three wise men
- 1 Wood Peg Doll 2 3/8″ (you can let your kids paint the extra ones!)
- Wood Bowl (extras can be used for other educational activities)
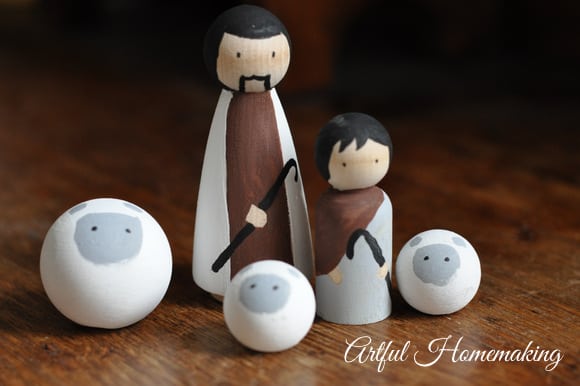
- 1 Wood Ball 1 1/4″ for the large sheep (you may need to sand the bottom so it can stand up)
- 2 Wood Balls 1″ for the small sheep (bottom may need to be sanded)
- Assorted colors of acrylic craft paint (we used black, white, yellow, gray, brown, blue, green, red, and metallic gold)
- Wool Roving for hay
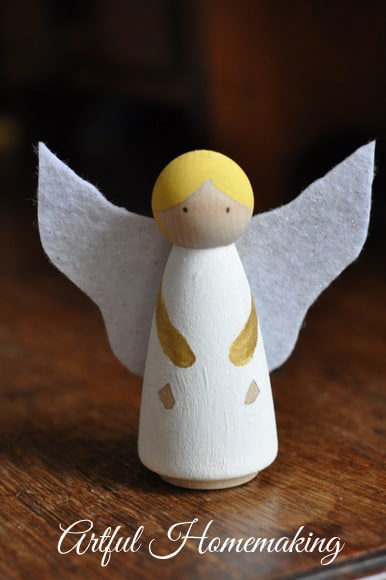
- White Felt for Angel’s Wings (we used a stiffer white glitter felt)
- Glue gun and glue sticks to glue on angel wings
You can also check out this My First Nativity Set which include the unpainted peg dolls for Mary, Joseph, and baby Jesus, and a manger.
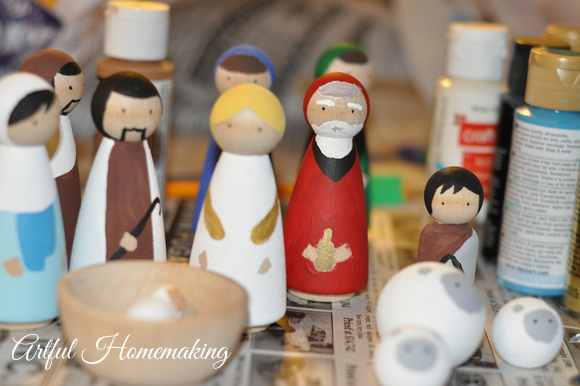
How to Make a Handmade Wooden Nativity Set
We had never made anything like this before, so it was a new experience for us.
I had seen a picture of someone else’s hand-painted nativity set, and I modeled my figures after the inspiration photo.
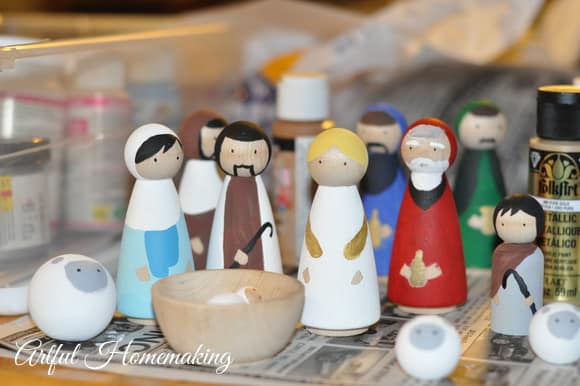
We did a few things differently, and painted a few of the details in our own way. We didn’t worry about perfection, we just did our best and had fun.

Our figures didn’t turn out perfectly, but they did turn out much better than I had anticipated! It always helps to not expect perfection.
We just looked at our inspiration photo of the handmade wooden nativity set and painted our wood figures accordingly. It was actually fairly simple!
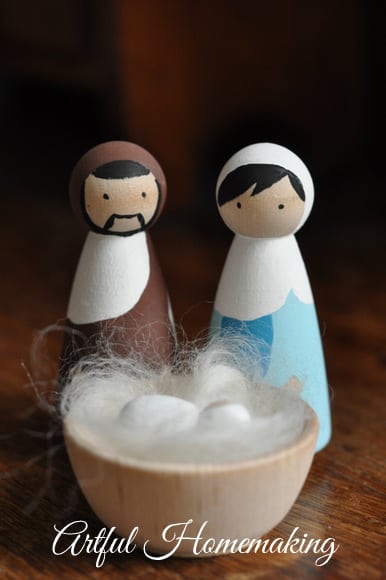
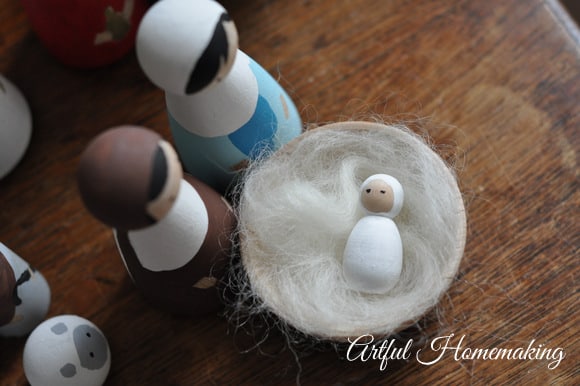
The baby’s eyes didn’t turn out the way I had hoped (the paintbrush I was using had a stray hair and it kind of smudged one of them!) but that’s okay. I used some wool roving (left over from another project) to line the “manger” with.
The wooden balls did need to be sanded on the bottom to make a smooth surface so they would stand up without rolling off the table!
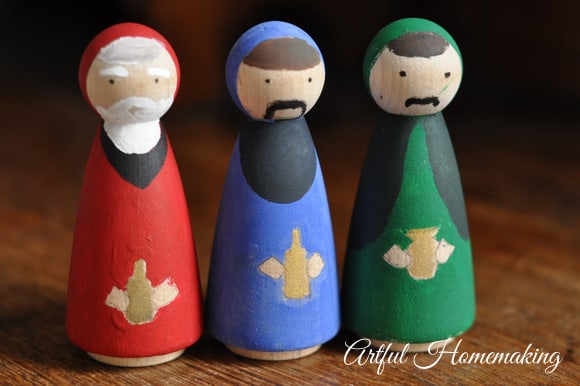
My daughter painted all of the wise men. She did a great job! The one with the green robe does have a little smudge of green paint on his cheek, but that just gives him more character. 🙂
We hot-glued sparkly white felt wings to the back of the angel.
This set is being kept in the school room, and this morning during our read-aloud time my youngest had such a fun time playing with them. ♥
Thanks so much for stopping by!
More Christmas Craft Ideas
- Easy Christmas Crafts for Kids
- Air Dry Clay Christmas Ornaments Tutorial
- Wood Slice Christmas Ornaments with a Wood Burning Tool
- How to Make Oven Dried Orange Slices
Pin it for Later


Love this! Where did you get the peg dolls, especially the baby one? I hadn’t seen those before.
Thank you! I bought mine in a set especially for a nativity craft, but the store I purchased mine from went out of business. I believe this peg baby looks like the right size. Someone in the review comments said they used this peg doll for a baby Jesus. And here’s a little nativity kit that includes the baby.
Absolutely darling! I love how simple these are, yet beautiful. One of my best friends crafted a Nativity set with her kids, and then one of her children was killed in an accident at age 14. As you can imagine, that Nativity set has become one of her most prized possessions.
Thanks so much for joining the Grace at Home party at Imparting Grace. I’m featuring you this week!
Thank you so much, Richella! Oh, I can imagine that nativity set is very special to your friend.