Air Dry Clay Christmas Ornaments Tutorial
Learn how to make air dry clay Christmas ornaments with this easy tutorial! This is an easy Christmas craft that’s fun for kids as well as adults.
They’re so fast to make that you can even make a pile of them in an afternoon! Just keep in mind that they will take a couple of days to dry completely.
These ornaments can be as simple or as elaborate as you want them to be. In this post I’m sharing a very simple version of the project, but there are so many possibilities!
You could add paint, glitter, textures, and rubber stamps can be used to imprint a design on the front.
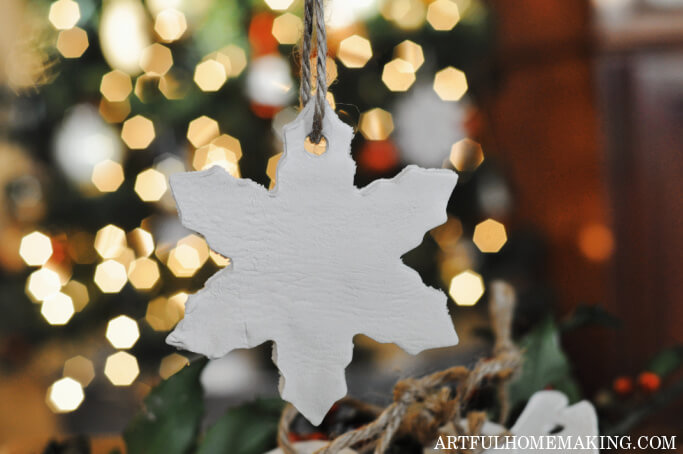
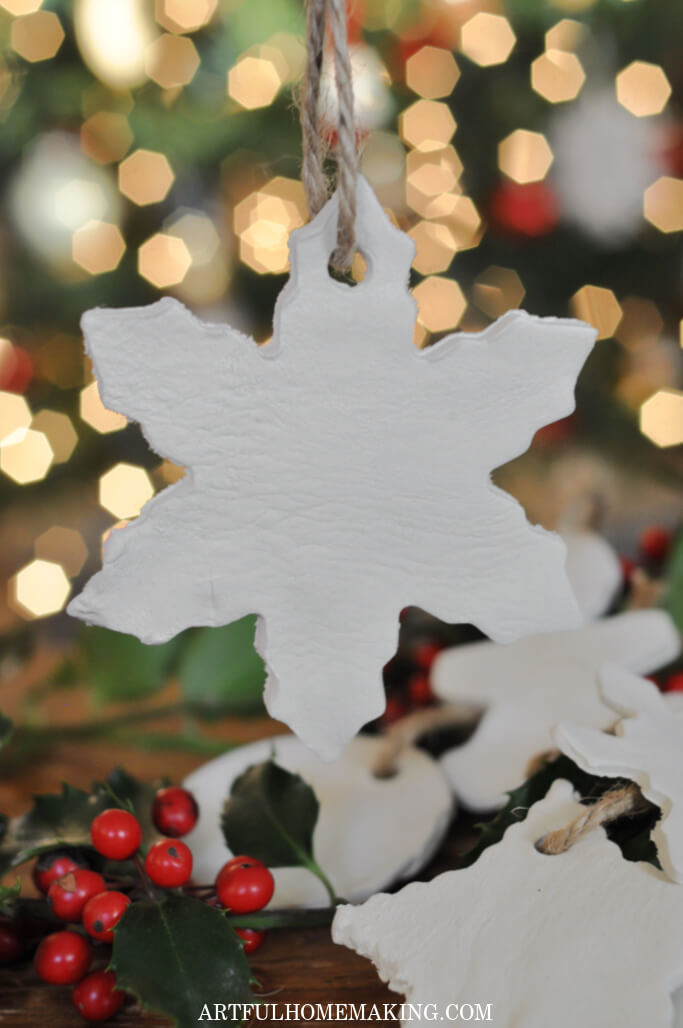
I love the look of a simple, rustic Christmas ornament, so I kept my ornaments simple with just white clay and jute twine for the hanger.
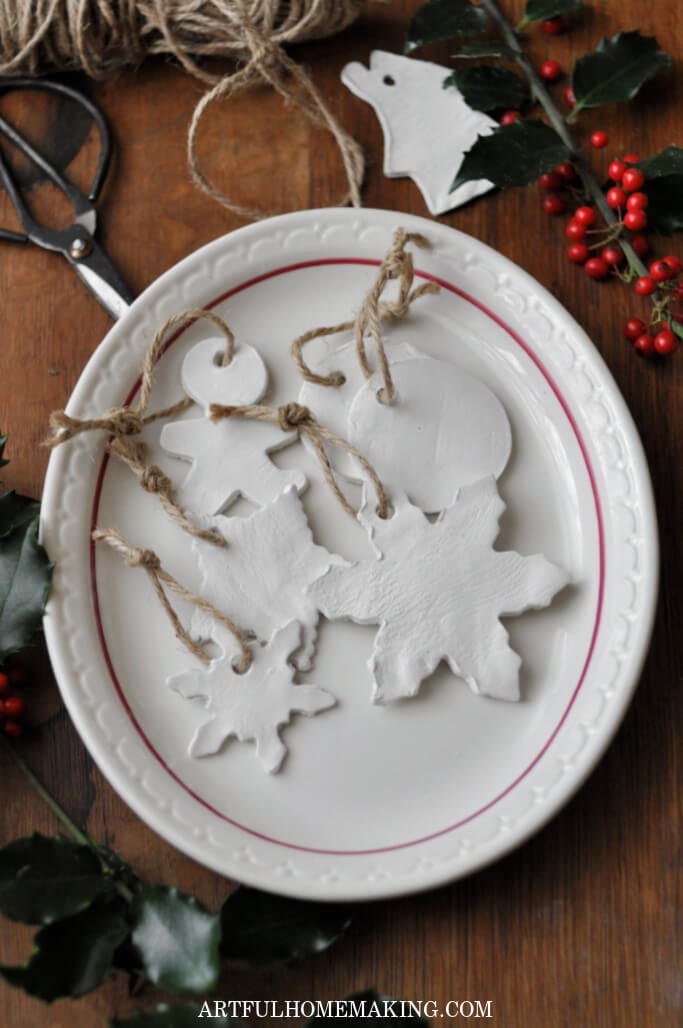
One of our family Christmas traditions is to make homemade Christmas ornaments every year. Through the years we’ve made so many different ones.
When the kids were little, we made cute little crafts that were easy for them to make (like these easy cinnamon ornaments). So many of those (the ones that were sturdy and non-edible!) are still used on our tree to this day. And making this handmade wooden nativity set was also fun!
Related: Easy Christmas Crafts for Kids
After the kids got older, we branched out into more detailed ornaments like these wood burned Christmas ornaments. These grain sack ornaments are another favorite.

But the great thing about these air dry clay Christmas ornaments, as I mentioned above, is that they’re great for almost every skill level!
Young children can help roll out the clay and cut ornament shapes with cookie cutters. Older children can use paints or rubber stamps to imprint a design on each ornament.
There are so many design options with this project!
Air Dry Clay Christmas Ornaments Tips
- After cutting your ornament into your desired shape (using a cookie cutter), you can embellish the ornament further by pressing textured items into the clay before it dries. Lace, evergreen branches, or anything with a texture can be used.
- Use rubber stamps to imprint a word or design on the clay before it’s dry.
- Try to roll the clay out as evenly as possible. We aim for about 1/4″ thick.
- Store any leftover air dry clay in a plastic zipper bag to keep it from drying out.
Affiliate links included below, which means I may make a small commission at no extra cost to you. Read my disclosure here.
Supplies Needed for This Project
Here’s what you’ll need to make these ornaments:
- Air dry clay
- Acrylic clay rolling pin (or you can use a regular rolling pin)
- Drinking straw
- Christmas cookie cutters
- Jute twine
- Waxed paper or parchment paper

How to Make Air Dry Clay Christmas Ornaments
1. First, remove a small amount of clay from the package. Close the package so the remaining clay doesn’t dry out.
2. Roll the clay out on a smooth surface (I used a marble pastry board). You don’t want the clay too thin or too thick. About 1/4″ thick is what I aim for.
If it’s too thick, it will take longer to dry. But if it’s too thin, the ornaments tend to curl up at the edges, and they break more easily.
3. Press a cookie cutter into the rolled out clay.

4. Pull up the clay around the cookie cutter (after pressing it into the clay), removing all the clay around the edges.

5. Use a drinking straw to make a hole at the top of the ornament. This is the hole for the hanger (jute twine, ribbon, or string). Press the straw all the way through the clay.
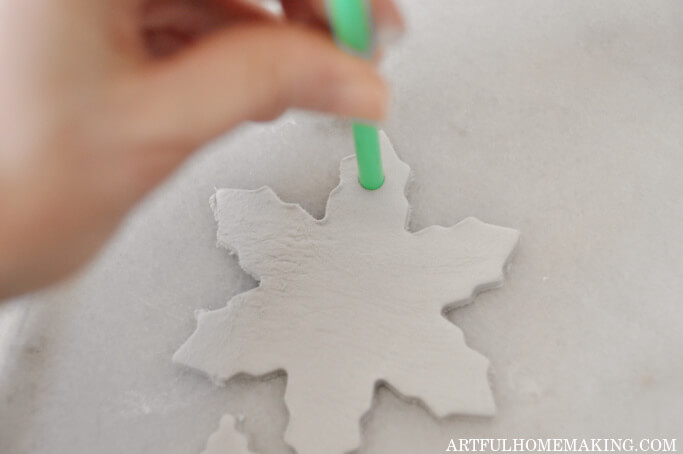
6. Carefully loosen the clay from the surface it was rolled out on, and transfer it to a piece of waxed paper or a cookie sheet to dry.
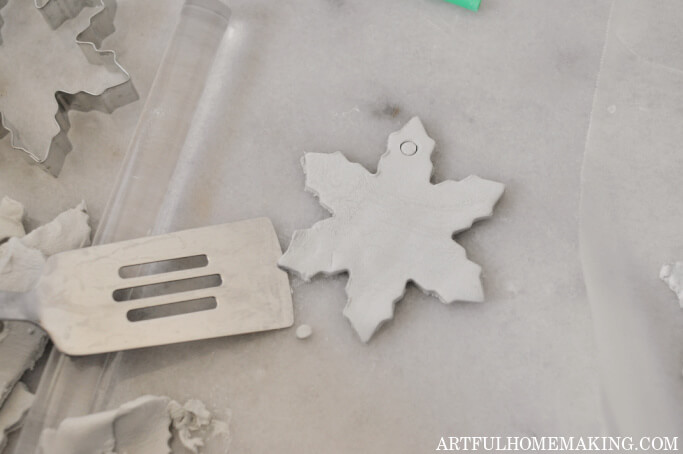
7. Allow the clay to dry undisturbed for about a day. Then turn it over and allow the other side to dry for another day.
The clay will be grayish in color at first, but it whitens as it dries.
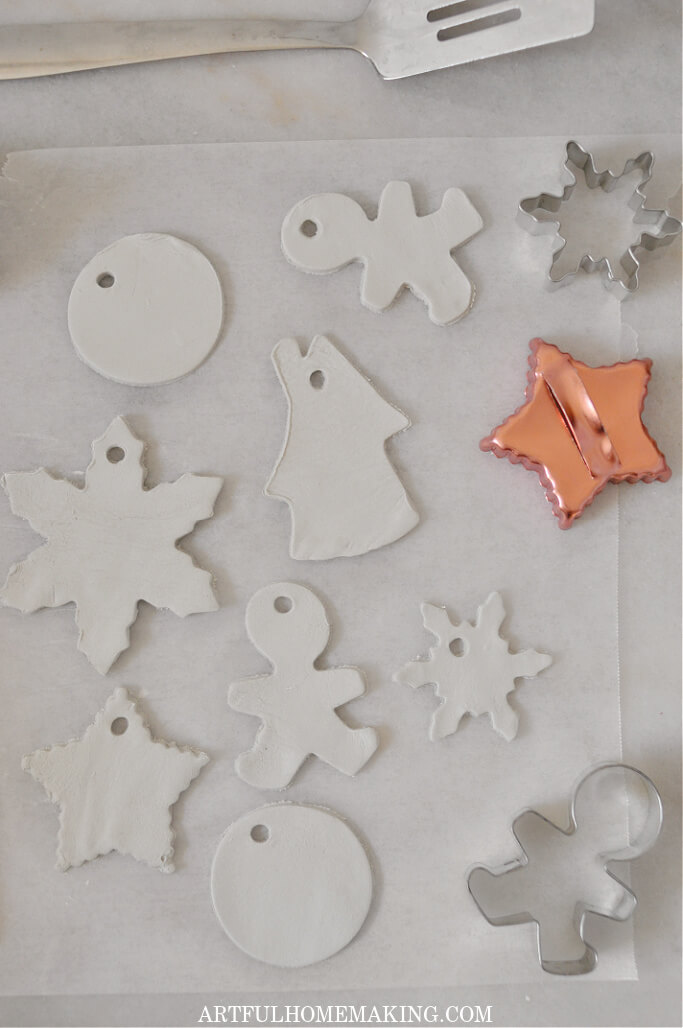
8. After the clay has dried and hardened, cut a piece of jute twine (or ribbon) and tie to make a hanger.

That’s all there is to it! Your air dry clay Christmas ornaments are completed!
More Christmas DIY Tutorials
- Buffalo Check Christmas Wreath DIY Tutorial
- DIY Grain Sack Christmas Ornaments
- Wood Slice Christmas Ornaments Tutorial
- Easy Handmade Cinnamon Ornaments
- Handmade Wooden Nativity Set
- Easy Christmas Crafts for Kids
Air Dry Clay Christmas Ornaments Tutorial

Air Dry Clay Christmas Ornament
Ingredients
- Air dry clay
- Acrylic clay rolling pin (or you can use a regular rolling pin)
- Drinking straw
- Christmas cookie cutters
- Jute twine
- Waxed paper or parchment paper
Instructions
- First, remove a small amount of clay from the package. Close the package so the remaining clay doesn’t dry out.
- Roll the clay out on a smooth surface (I used a marble pastry board). You don’t want the clay too thin or too thick. About 1/4″ thick is what I aim for.If it’s too thick, it will take longer to dry. But if it’s too thin, the ornaments tend to curl up at the edges, and they break more easily.
- Press a cookie cutter into the rolled out clay.
- Pull up the clay around the cookie cutter (after pressing it into the clay), removing all the clay around the edges.
- Use a drinking straw to make a hole at the top of the ornament. This is the hole for the hanger (jute twine, ribbon, or string). Press the straw all the way through the clay.
- Carefully loosen the clay from the surface it was rolled out on, and transfer it to a piece of waxed paper or a cookie sheet to dry.
- Allow the clay to dry undisturbed for about a day. Then turn it over and allow the other side to dry for another day. The clay will be grayish in color at first, but it whitens as it dries.
- After the clay has dried and hardened, cut a piece of jute twine (or ribbon) and tie to make a hanger.
Pin This Post for Later


These simple DIY ornaments are so easy and fun to make!
This are very cute!
Thank you so much, Donna!