This post may contain affiliate links. Please read our disclosure policy.
Our homeschool room tour with some farmhouse style updates for the new school year.

Well, here it is! Our new homeschool room, ready for a new school year! Even though we’re not quite ready to start yet, at least the room is ready!
So today, I thought I’d give you a homeschool room tour!
Through the years and in different houses and life situations, we’ve done school in various places.
Sometimes we sit on the couch in the living room. Sometimes we sit on a blanket or on the trampoline outside. Often we sit at the kitchen table.
When I had morning sickness, school would often take place on my bed.
That’s the beauty of homeschooling. The freedom to be flexible and do what works in different seasons.
I love the fact that we can learn all over the house (inside and outside).
But deep down, I love having a special place to store all the school-related paraphernalia that homeschoolers tend to collect.
Reevaluating Our Space
We’ve lived in this house for seven years, and I’ve always tried to claim a portion of our finished basement for our school space.
At the end of every year, I tend to reevaluate and see what worked and what didn’t.
Two years ago, I created the best set-up we’ve ever had. I portioned off a small section of the basement, and I loved how cozy it was.
But there was one thing I didn’t love. And that was the lack of natural light.
Our basement has one window, and that window was on the other side of the room. And it was surrounded by tall bookshelves, so much of the light was obscured.
I often wished for more light, but it seemed there was no way to get it.
Water in the Basement
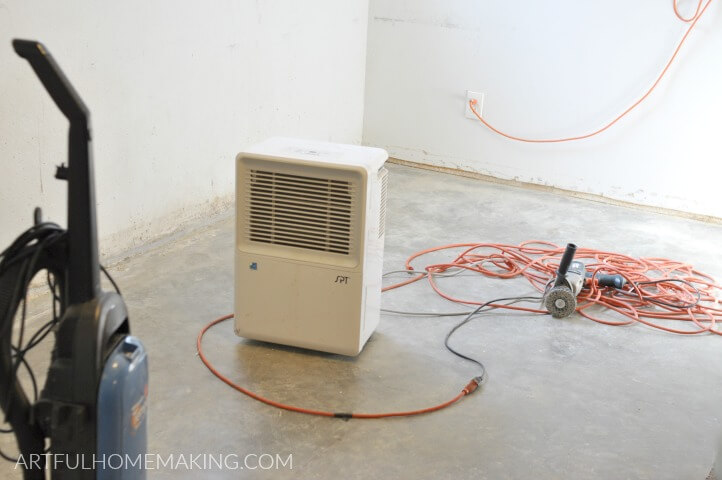
Early this spring, our area had several days of heavy rain. Even though our basement didn’t flood, some water got in and damaged the carpet.
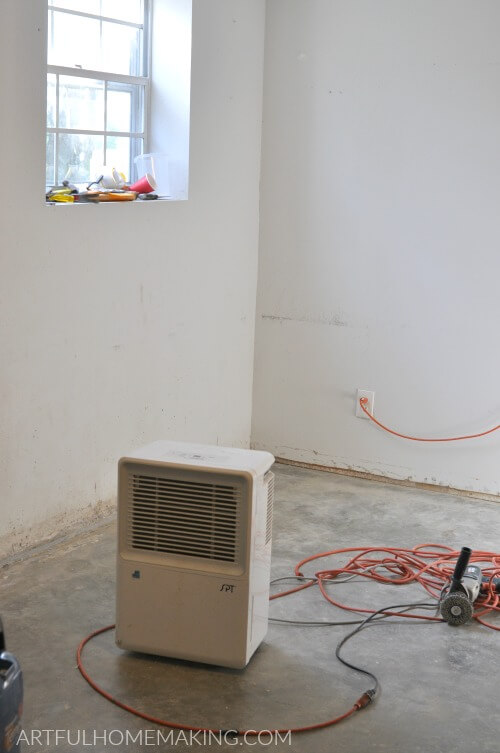
This wasn’t the first time we’d had water in the basement, with fans blowing on the carpet and a dehumidifier running non-stop.
This year, my husband and I decided it was finally time to pull out the carpet. We knew we couldn’t do the whole room, so we just isolated the one area where the water had come in and damaged the carpet.
We moved everything from that side of the room over to the other side (where my school area had been).
For months we had a mess in this room, as we tried to figure out how to seal up the cracks and finish the flooring.
We moved the school books we were using upstairs to various places during that time.
I wish I had a picture of this mess to share with you, but it was so depressing that I guess I deleted it off my phone (I looked, but can’t find it).
While we were in the midst of this huge mess, one day I had a revelation. I could move our schoolroom over to the side with the window, and actually have some natural light!
Now that all the extra furniture and bookshelves were out of the way, I realized that our one window actually lets in a decent amount of light (since it faces west).
Granted, it’s mostly light in the afternoon, but at least it’s light!
Finishing the Basement
Now that I had a vision, I couldn’t wait to get the floor finished and get everything moved.
The process seemed to take forever. First, we moved all the furniture, then we pulled up the carpet, and then we had to scrape the glue off the floor.
Scraping the glue was tedious and back-breaking work, but it had to be done if we wanted a smooth surface.
After finally getting it all scraped and cleaned, my husband sealed all the cracks. Then I gave the walls a fresh coat of white paint.
Because we wanted the area to be as bright as possible, I chose white paint for the floor. We used a heavy-duty garage floor type of paint.
I wasn’t sure I was making a good decision when I chose the white, but it turned out to be perfect! It really reflects a lot of light.
Homeschool Room Tour
So, we’re finally to our homeschool room tour! Here’s what our homeschool room looks like today.
Affiliate links included below. Read my disclosure here.
Even though our homeschool room looks quite a bit different than it did in my last homeschool room, the only thing we purchased for this space was the jute rug.
I think the main reason it looks so different is 1.) because of all that beautiful natural light, and 2.) because I removed so much from the walls so now it looks less cluttered.
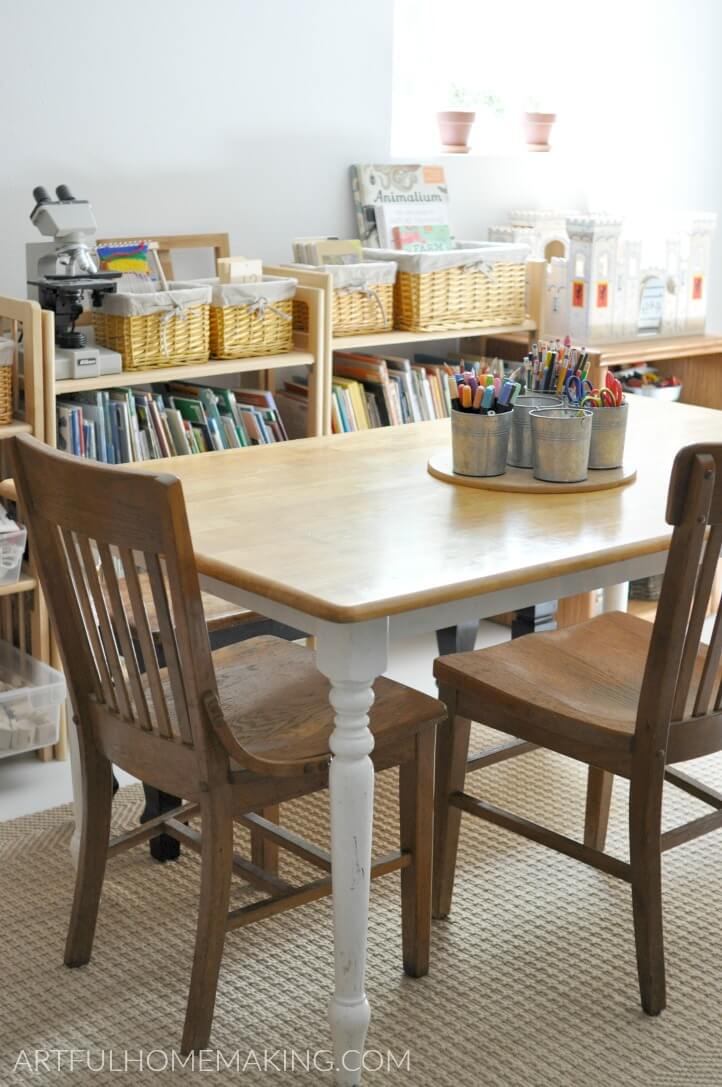
Also, my mom gave us her old dining room chairs when she upgraded, so I was able to get rid of the metal folding chairs we had before and replace them with these.
These were old library chairs that we found at a flea market, and they used to be around our kitchen table upstairs.
We found our cute white farmhouse table at a flea market years ago.
All the bookshelves were given to us by my mom a couple of years ago when she downsized after my dad passed away.
They used to be in his library, so I love having them in our home. I also just love the natural wood look.
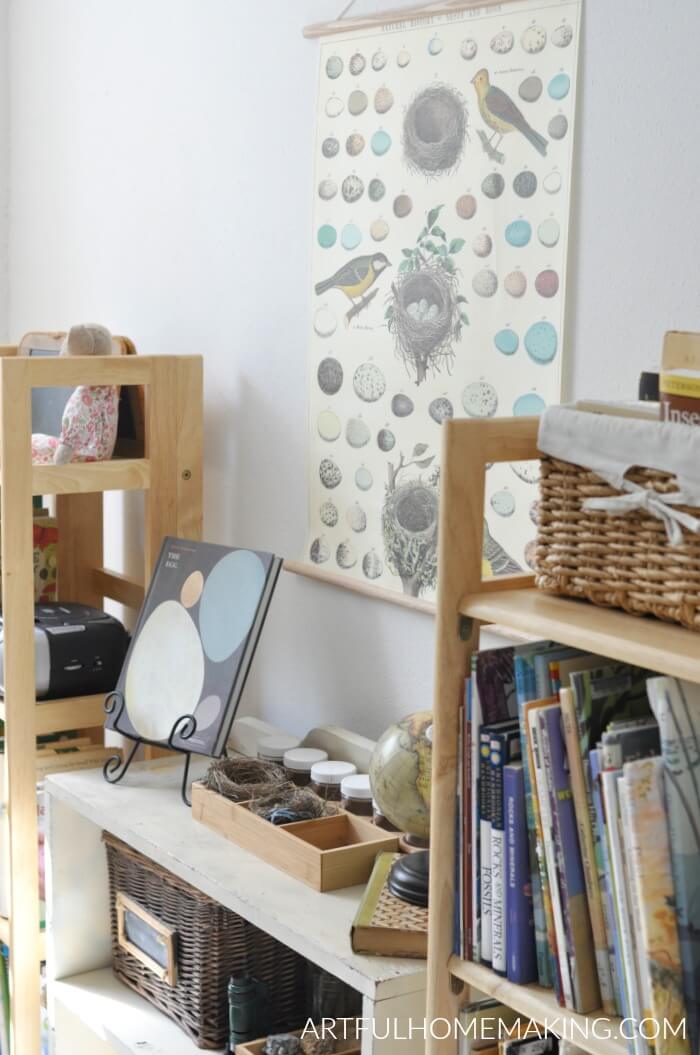
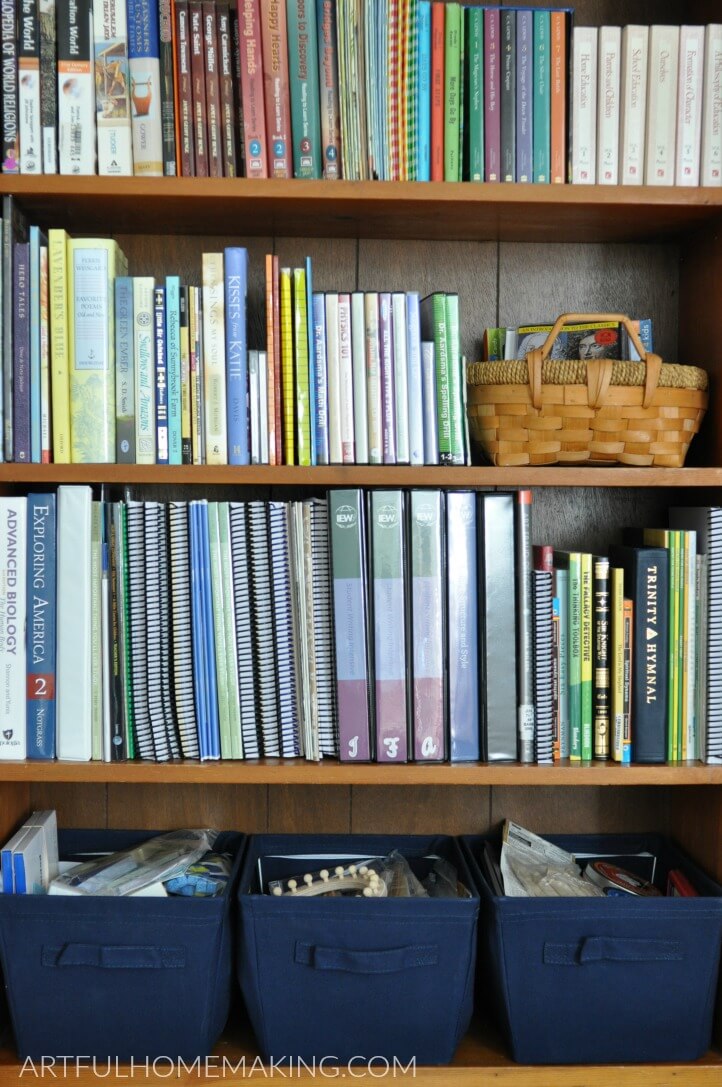
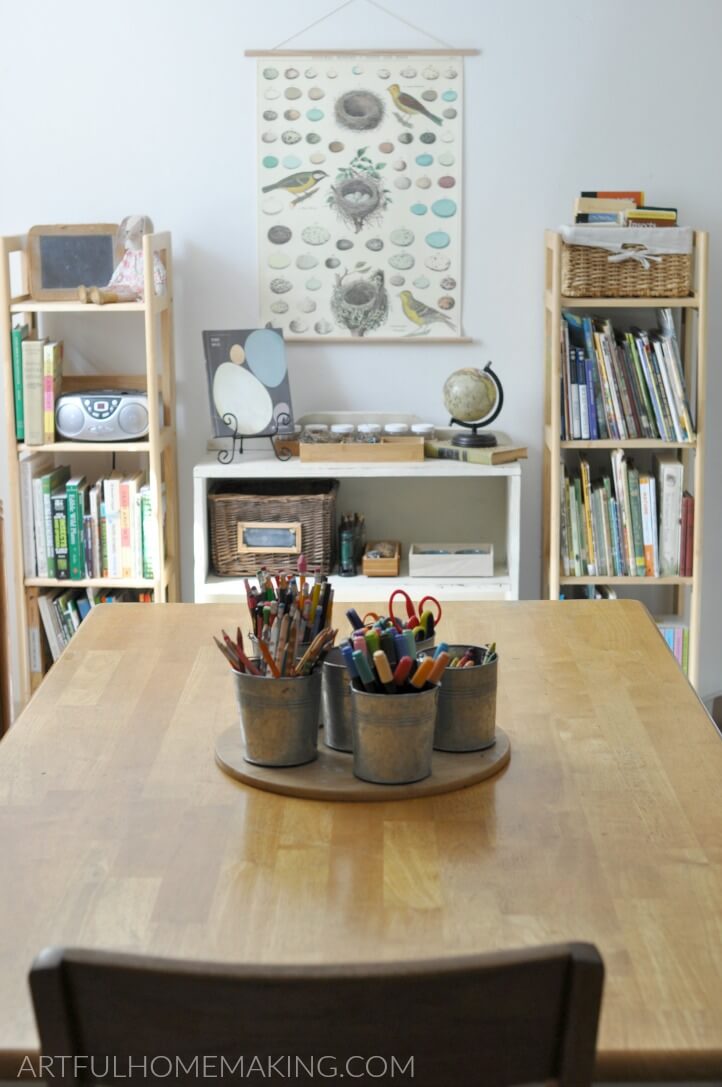
I keep most of the nature study guides and other nature study resources on these bookshelves.
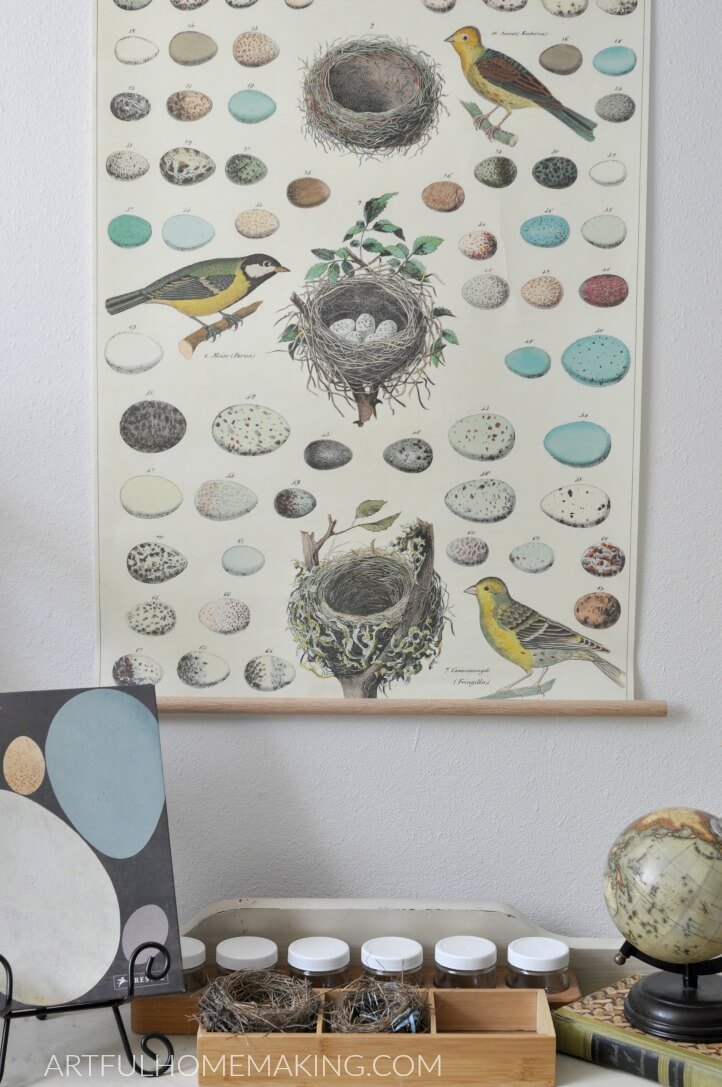
The bird poster was found here. I just love the vintage look it adds to this wall.
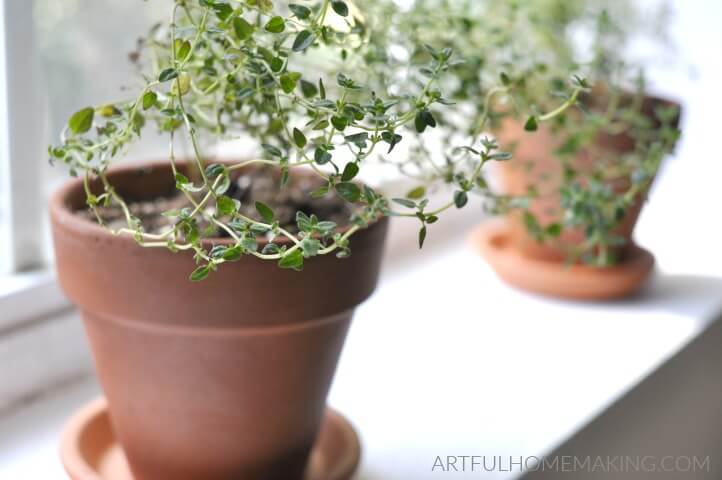
Here’s the other side of the room, with bookshelves lining the walls and my two English thyme plants sitting cheerily in the window.
The bookshelves on this side of the room have picture books arranged by seasons, science picture books, and some animal storybooks.
All the other books (non-fiction and fiction) are kept on bookshelves on the other side of the room (not pictured since it’s not really part of the schoolroom).
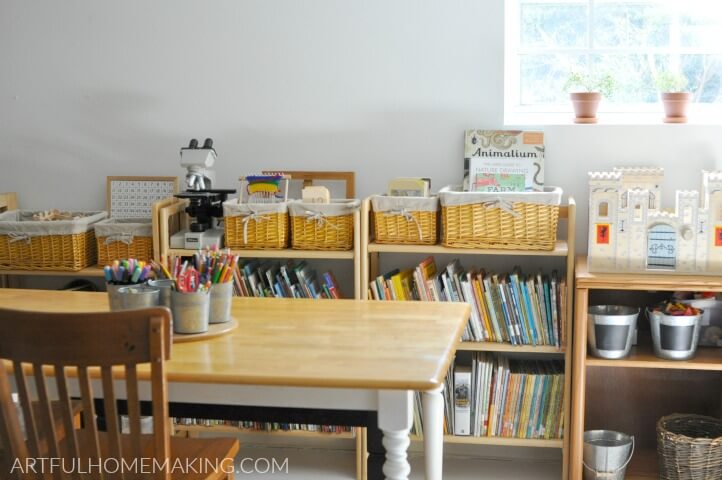
We also inherited the microscope from my dad after he passed away.
The baskets to the right of the microscope have handwork projects (currently a weaving we haven’t finished), math flashcards, and the Classical Conversations History Cards.

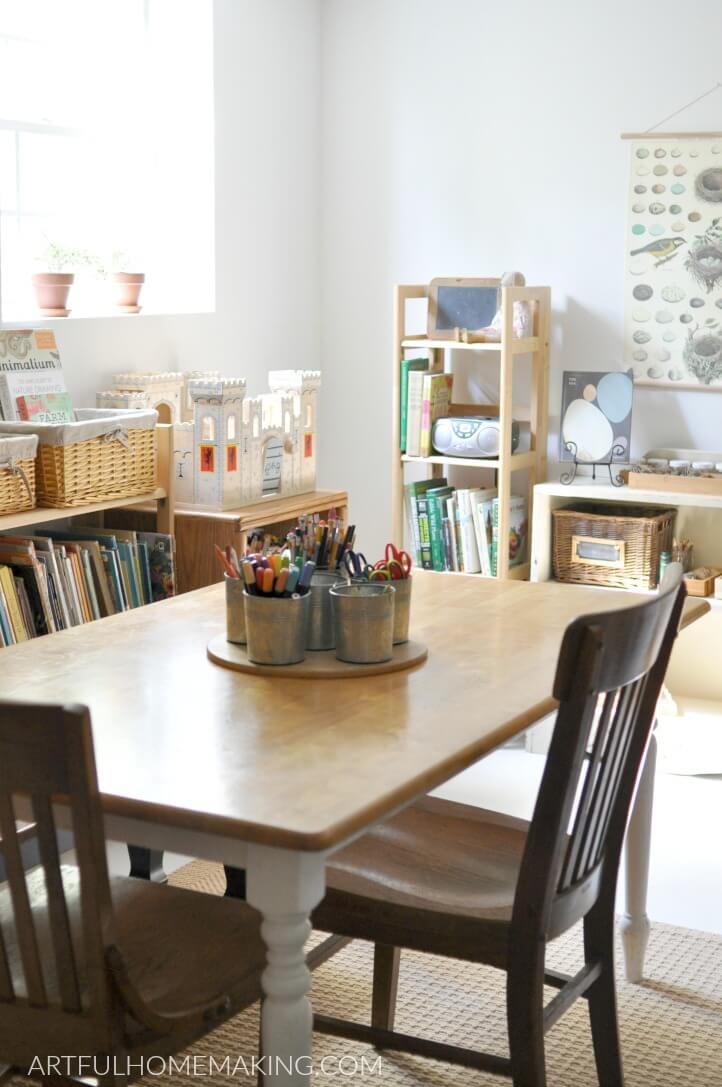
At the other end of the room is a bookshelf with books and supplies we’ll be using during our school time.
The cabinet next to it holds art supplies, and on top of the cabinet are our Pin It! Maps.
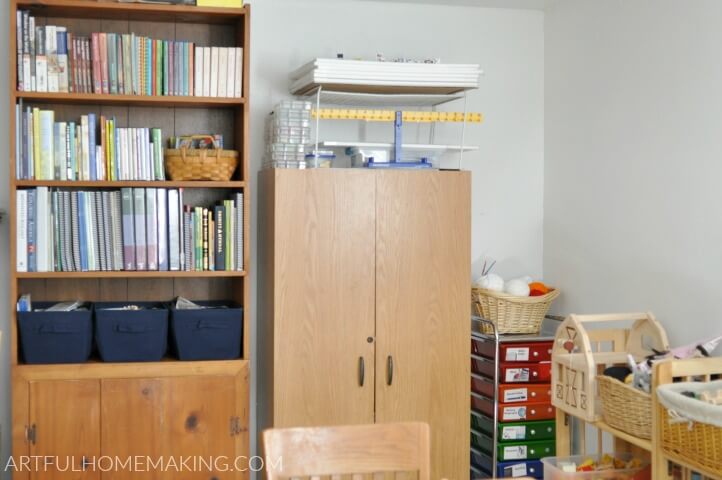
One of the kids completed the flag map and wanted to keep it undisturbed, so that’s the one on top. 🙂
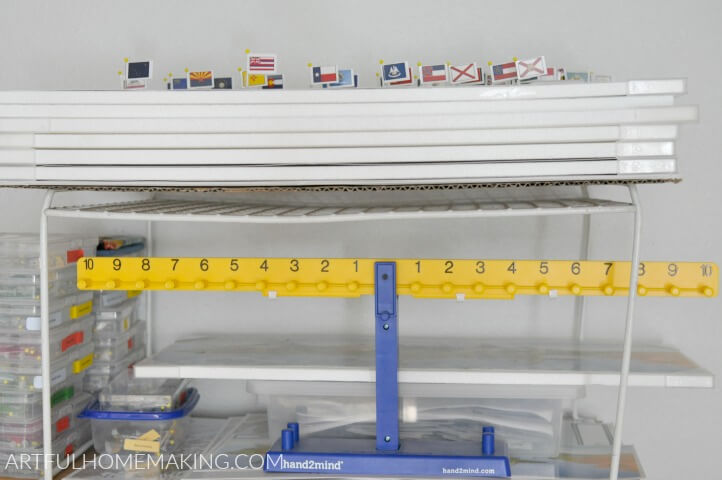
The math balance is from Right Start Math, which my youngest used last year, and it was such a great tool that we’re still using it.
I still need to go through some of the books on this bookshelf before we start our new school year in a few weeks. But these shelves will hold items we use on a regular basis.
The navy blue baskets hold math manipulatives, some art supplies, and some odds and ends like Thinking Putty.
I love that we now have enough light to enjoy plants on the windowsill!
The side of the table by the bookshelves has a bench, which is nice since we don’t have to push chairs in and out. The bench also came from my mom.
Favorite Homeschool Supplies
I thought I would share sources for a few of our favorite homeschool room supplies.
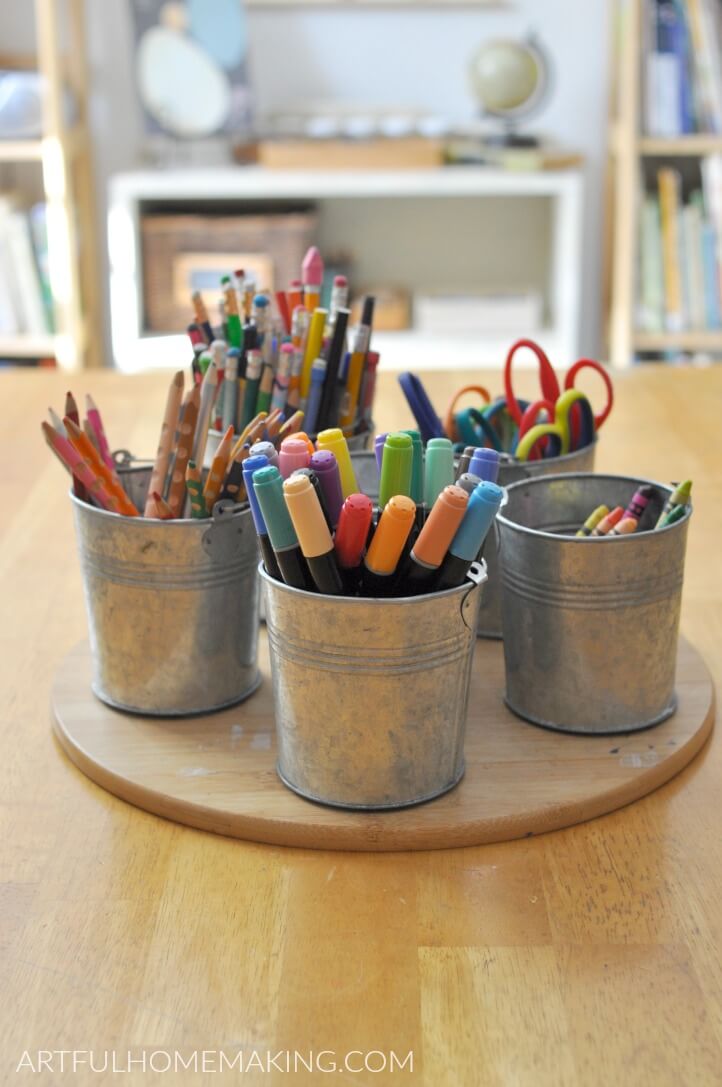
You can see in the photo above in our homeschool room tour that we’re still using the tabletop school supplies organizer that I made five years ago.
It’s not quite as shiny and new as it was back then, but it still serves the same purpose!
Here are some of the things we love:
- Lyra Groove Colored Pencils
- Lyra Waldorf Selection Giant Triangular Colored Pencils
- Prismacolor Colored Pencils
- Ticonderoga Pencils
- Stockmar Beeswax Block Crayons
- Watercolor Artist Set
- Liquid Watercolor Paint
- Bamboo Book Stand
- Watercolor Paint Jars with Wooden Holder
- Stockmar Watercolor Paint
- Stockmar Beeswax Crayons
- Julia Rothman Books
- Wooden Weaving Lap Loom
- Pocket Lighted Microscope
- Vintage Bird Poster
- Poster Hanging Kit
I hope you enjoyed our homeschool room tour! Thanks so much for stopping by!
Pin it for Later:
Related Posts:
Charlotte Mason + Eclectic Homeschool Curriculum

Disclosure: This post contains affiliate links. Read my full disclosure here. Sharing here.


Hi there! New homeschooler here – love your space. Curious, what are the dimensions of that table? How many kiddos do you think it’s suitable for? thanks so much!
Hello! It’s about 35″ wide by 59″ long. It’s just a table we found at a flea market. It easily fits 6 kids (or, in our case, we had 5 kids and 1 mom!). We also have a bench on one side, so you could potentially fit three on the side with the bench, but then you wouldn’t have much elbow room.
What a wonderful space to learn in. I love the old library chairs! Thanks for sharing!
Thank you!
What a beautiful & organized space! Thanks for sharing on Homestead Blog Hop – we are featuring you this week!
Thanks Liz, and thank you so much for the feature!
Love how your basement school room turned out!!! Btw, and I’m sure you did this already, did you check the outside of your walls for leaks?? I see that on Holmes on Homes all the time ~ cracks and such. Anyway, if you hadn’t, then have someone come and check your wall out as you may have to dig up some of the dirt around the foundation to fill in the cracks and add a sealer and membrane to the outside of the wall. This post is kinda timely as my son and DIL are having to do that just now on their first house.
Great post and I pinned a few photos for you and our readers,
Thanks,
Barb 🙂
Thank you, Barbara! Yes, we’ve had some work done on the outside too. Unfortunately, I think we may need to do some more work on this soon. Basements are both a blessing and a pain to deal with!
Your homeschool space is wonderful! So glad you got your basement dry; I know what a mess that can be. But what a bonus to have the chance to rearrange things; your new space is so inviting!
I homeschooled for three years back in the late 90’s. I’ve often thought that if I’d had the resources that are available now, I might have kept going for much longer than three years. I’m always inspired when I see people who take homeschooling seriously, as you obviously do. Bless you!
Thanks so much for joining the Grace at Home party at Imparting Grace. I’m featuring you this week!
Thank you, Richella! Yes, it’s such a relief to have the basement finished and usable again. Thank you so much for the feature!
I love the way you have your homeschool room set up.
Thank you, Alice!